
Happy Earth Day!
What better way to celebrate Earth Day (and for those of us in Minnesota to forget that it’s snowing again) than starting seeds to plant a garden?
So here we go…
Seed Starting 101

1. Wash your hands. This feels like an oxymoron. Wash your hands before getting them dirty? In this case, yes. When handling seeds and the soil they grow in, we are trying to start a life. We want to make sure that we have a sterile environment in order to minimize as much bacteria, virus and contamination as possible.
Note: Hand washing is extremely important for smokers because Tomato-Tobacco Mosaic Virus Disease can be spread by the fingers of smokers touching plants, particularly those found in the Nightshade family (tomatoes, peppers, etc.). More info on Tomato-Tobacco Mosaic Virus Disease can be found here.
2. Start with a new or sterilized seed tray, pot or other container with drainage holes. Again, we’re looking for a clean sterile environment to start our seedlings in. All containers must have drainage holes to allow water for proper drainage and to prevent drowning our precious seedlings.
Note: To sterilize containers, soak in a solution of 1 part household bleach to 10 parts water for 30 minutes. Rinse thoroughly.
3. Pour soil-less seed starting mix into a sterilized container.
Note: Soil-less mixes work best because they are light weight and retain moisture while also providing air space and drainage necessary for seedlings. Soil-less mixes are also sterilized to limit disease. Soil (garden soil, top soil and potting soil) is not recommended for starting seedlings because there is an increased risk of disease, weed seeds and typically does not have adequate drainage required for seedlings.


4. Moisten seed mix, gradually adding water until the soil mix is like a damp sponge but not dripping wet.
Note: If using municipal water, make sure to “air out” water prior to using on plants. To “air out” water pour tap water into a sterilized milk jugs or similar container. Leaving the cover off, allow it to sit for for 24 hours to allow chlorine to evaporate. Chlorine will cause leaf-drop and can kill plants.

5. Gently fill seed trays or containers with damp soil mix, and level off. Do NOT pack the soil into the container. Seedlings need air space for their delicate roots to get established.

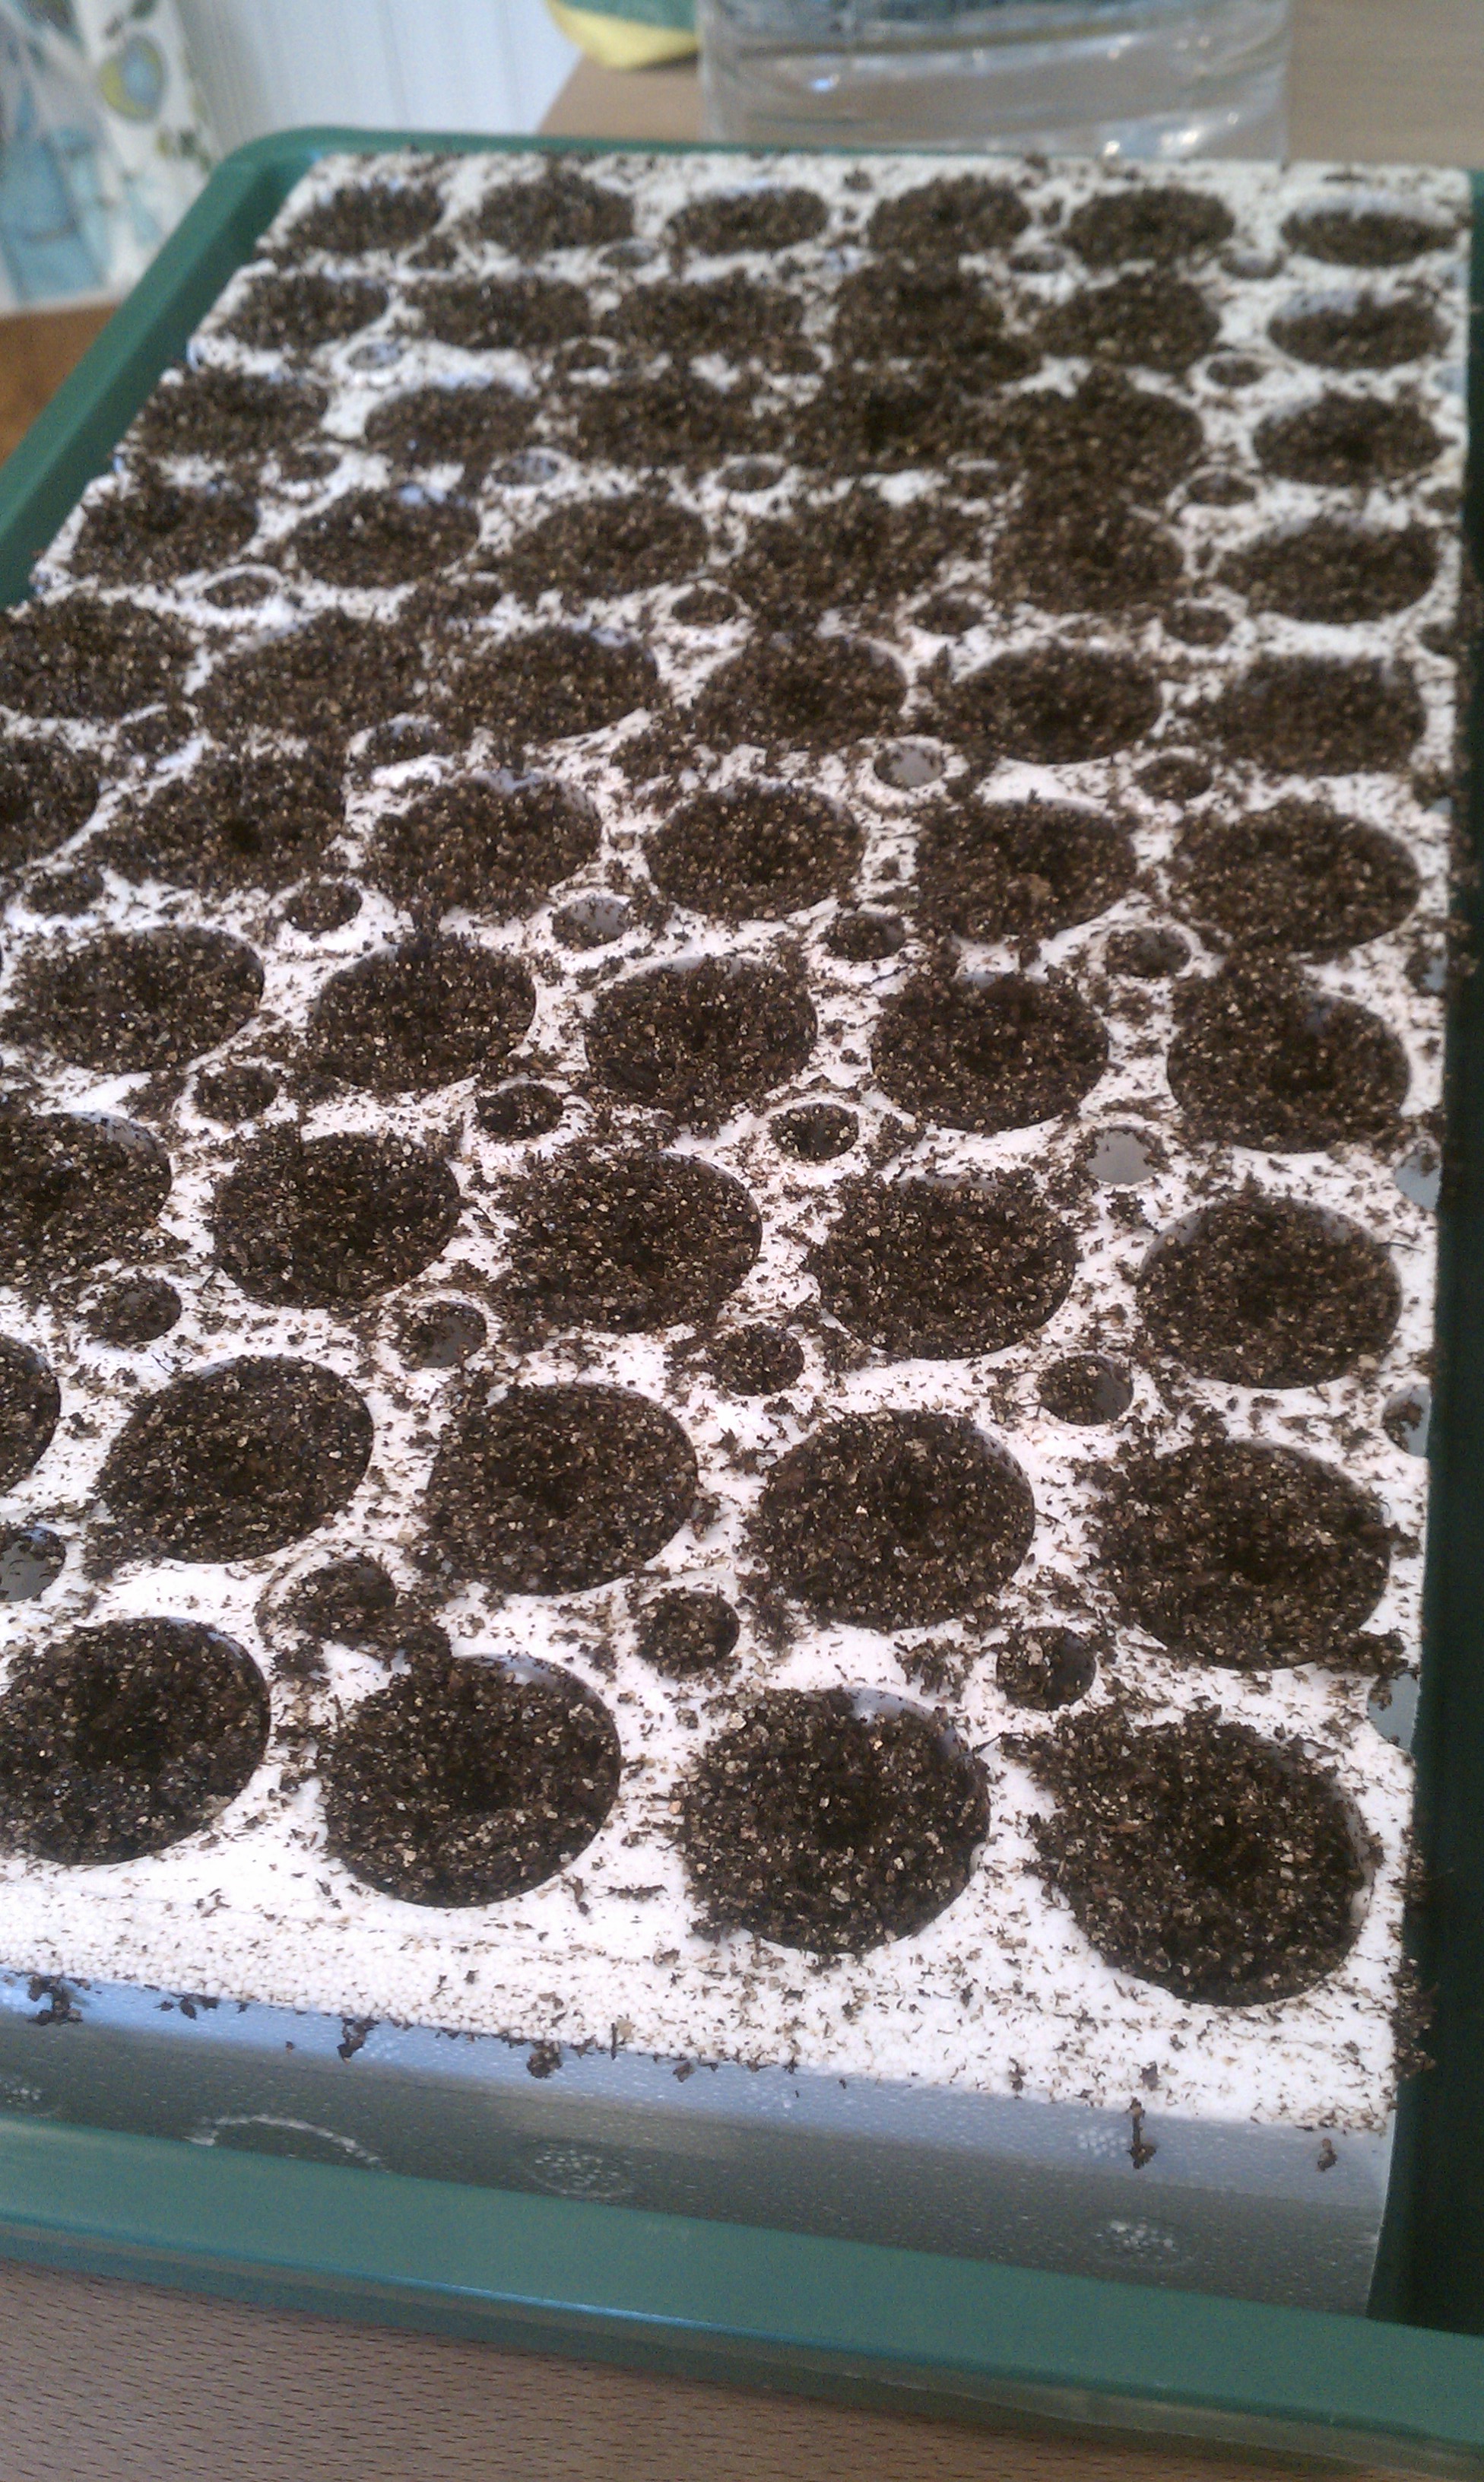
6. Using a sterilized dibble or dull pencil, make a small impression on the surface of the soil in the middle each cell or container, about 1/4- inch deep.
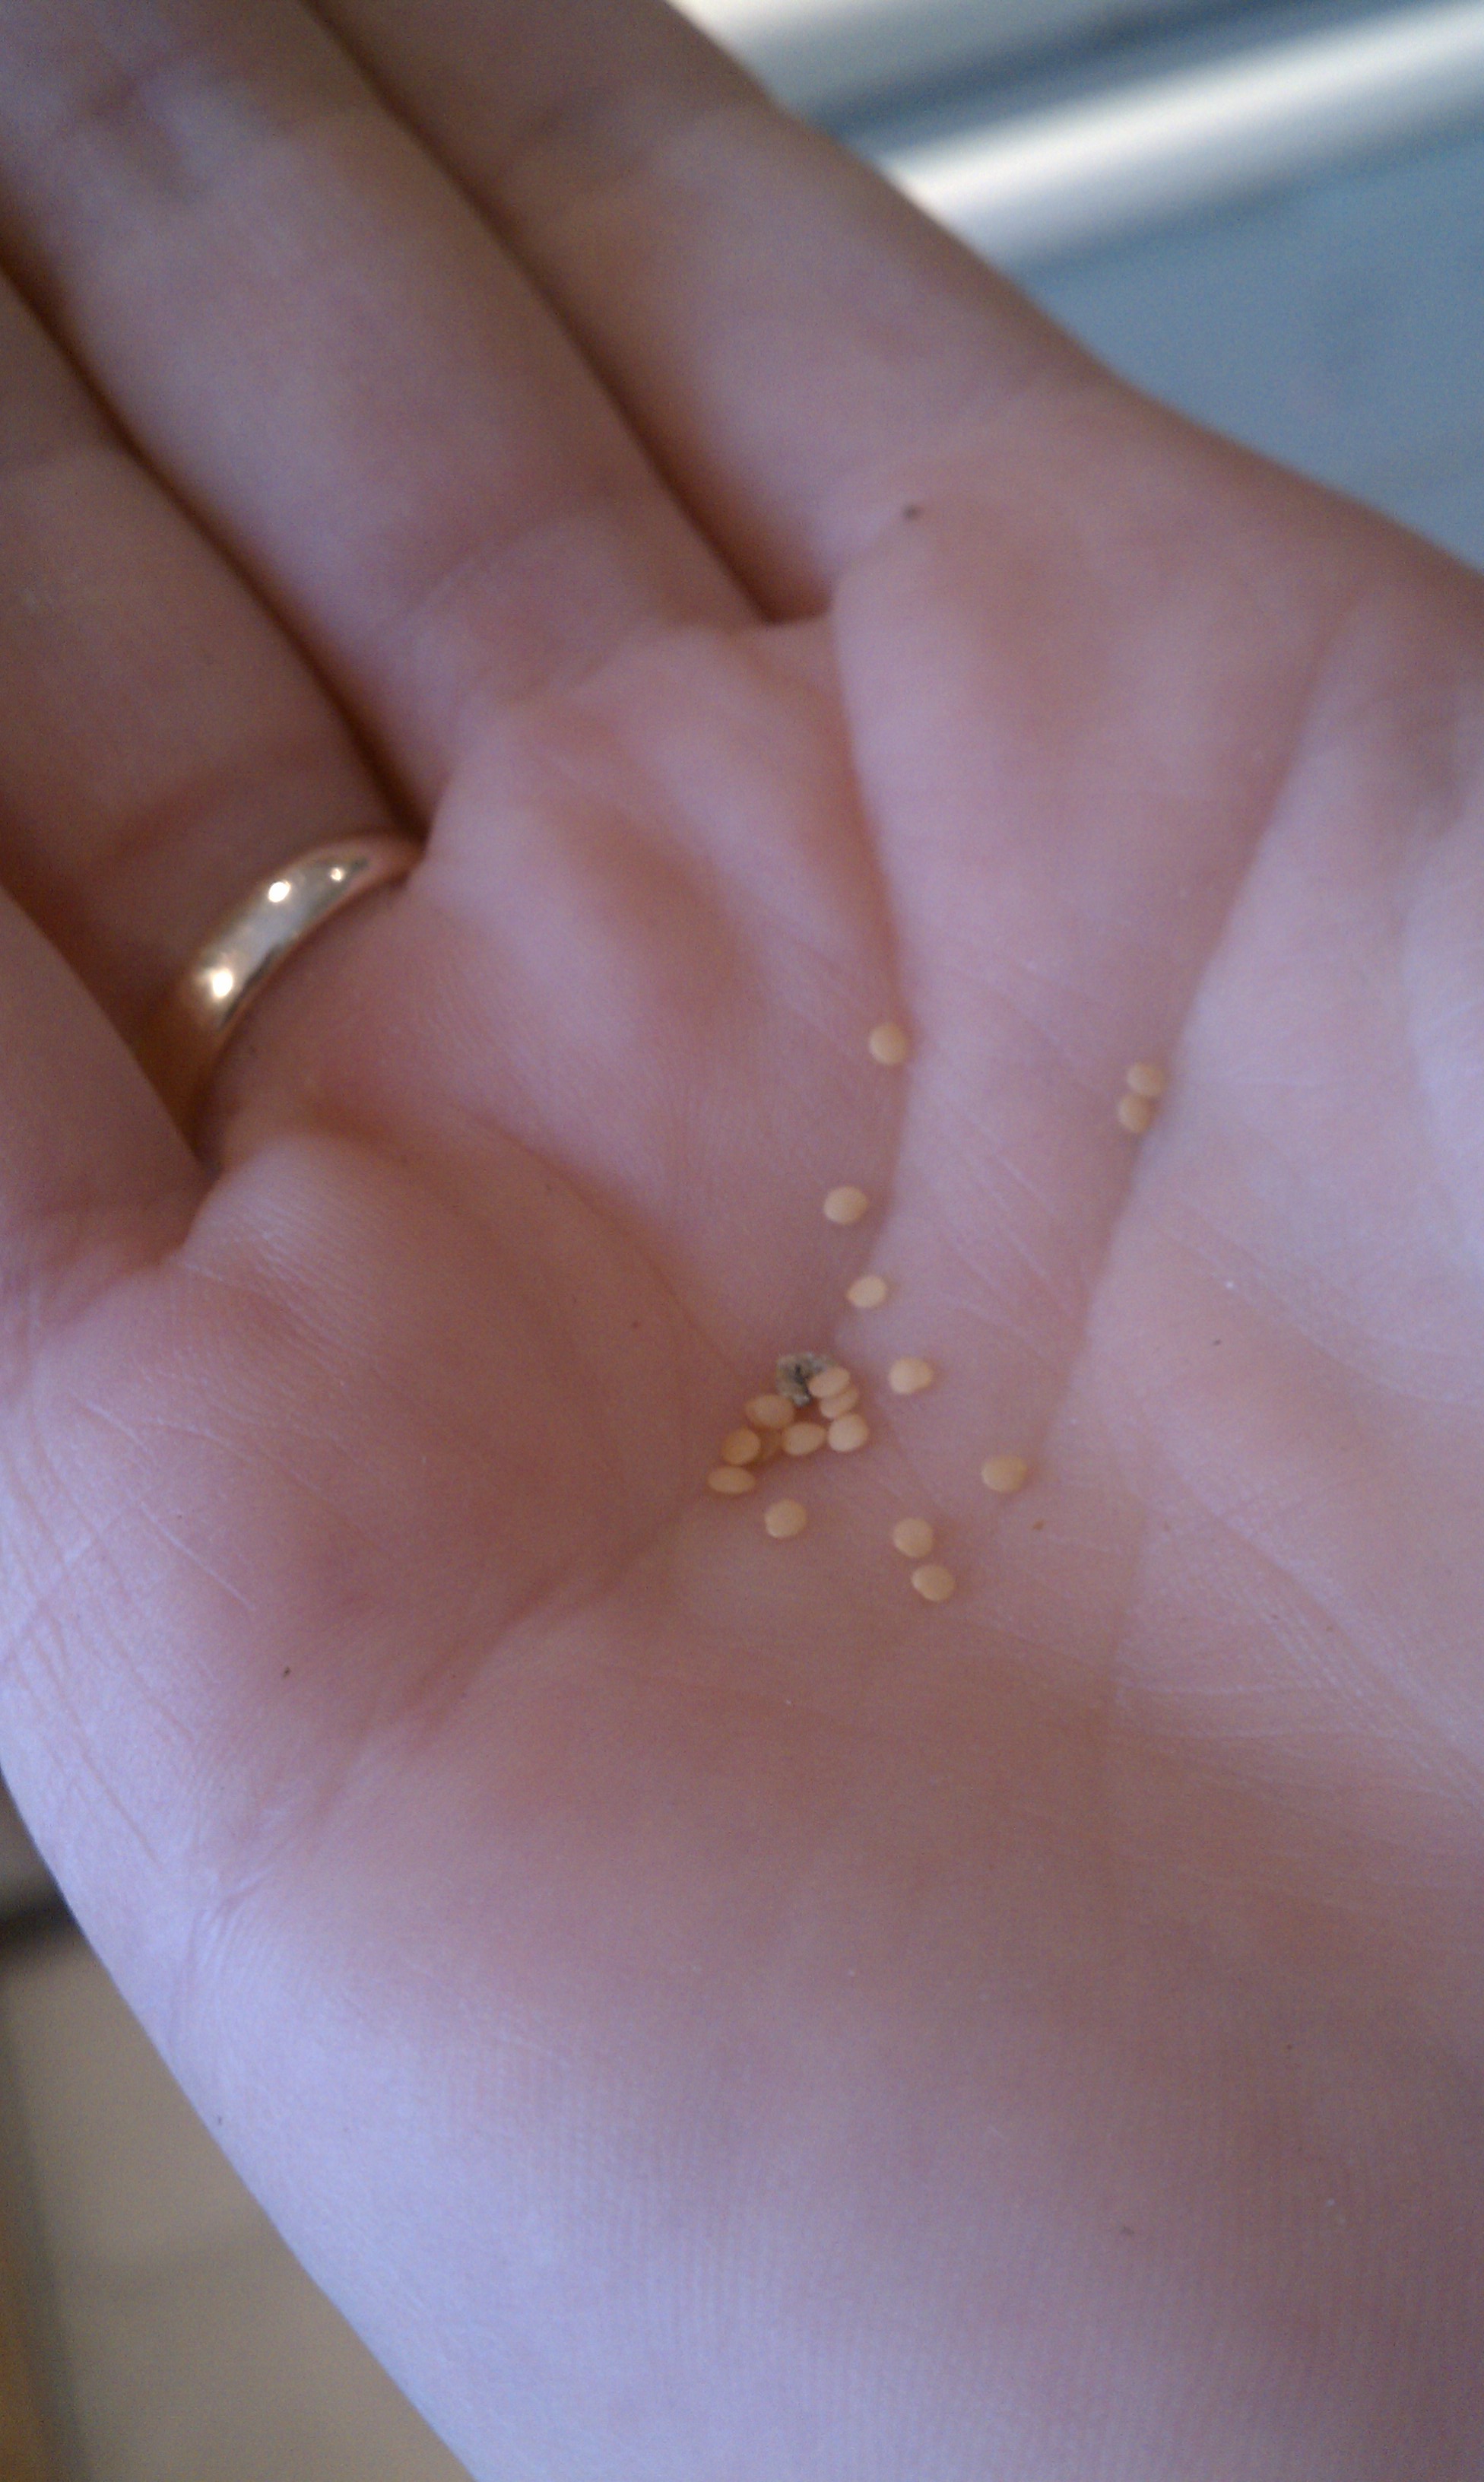

7. Place 2 – 3 seeds in the hole (unless otherwise noted on the seed packet).
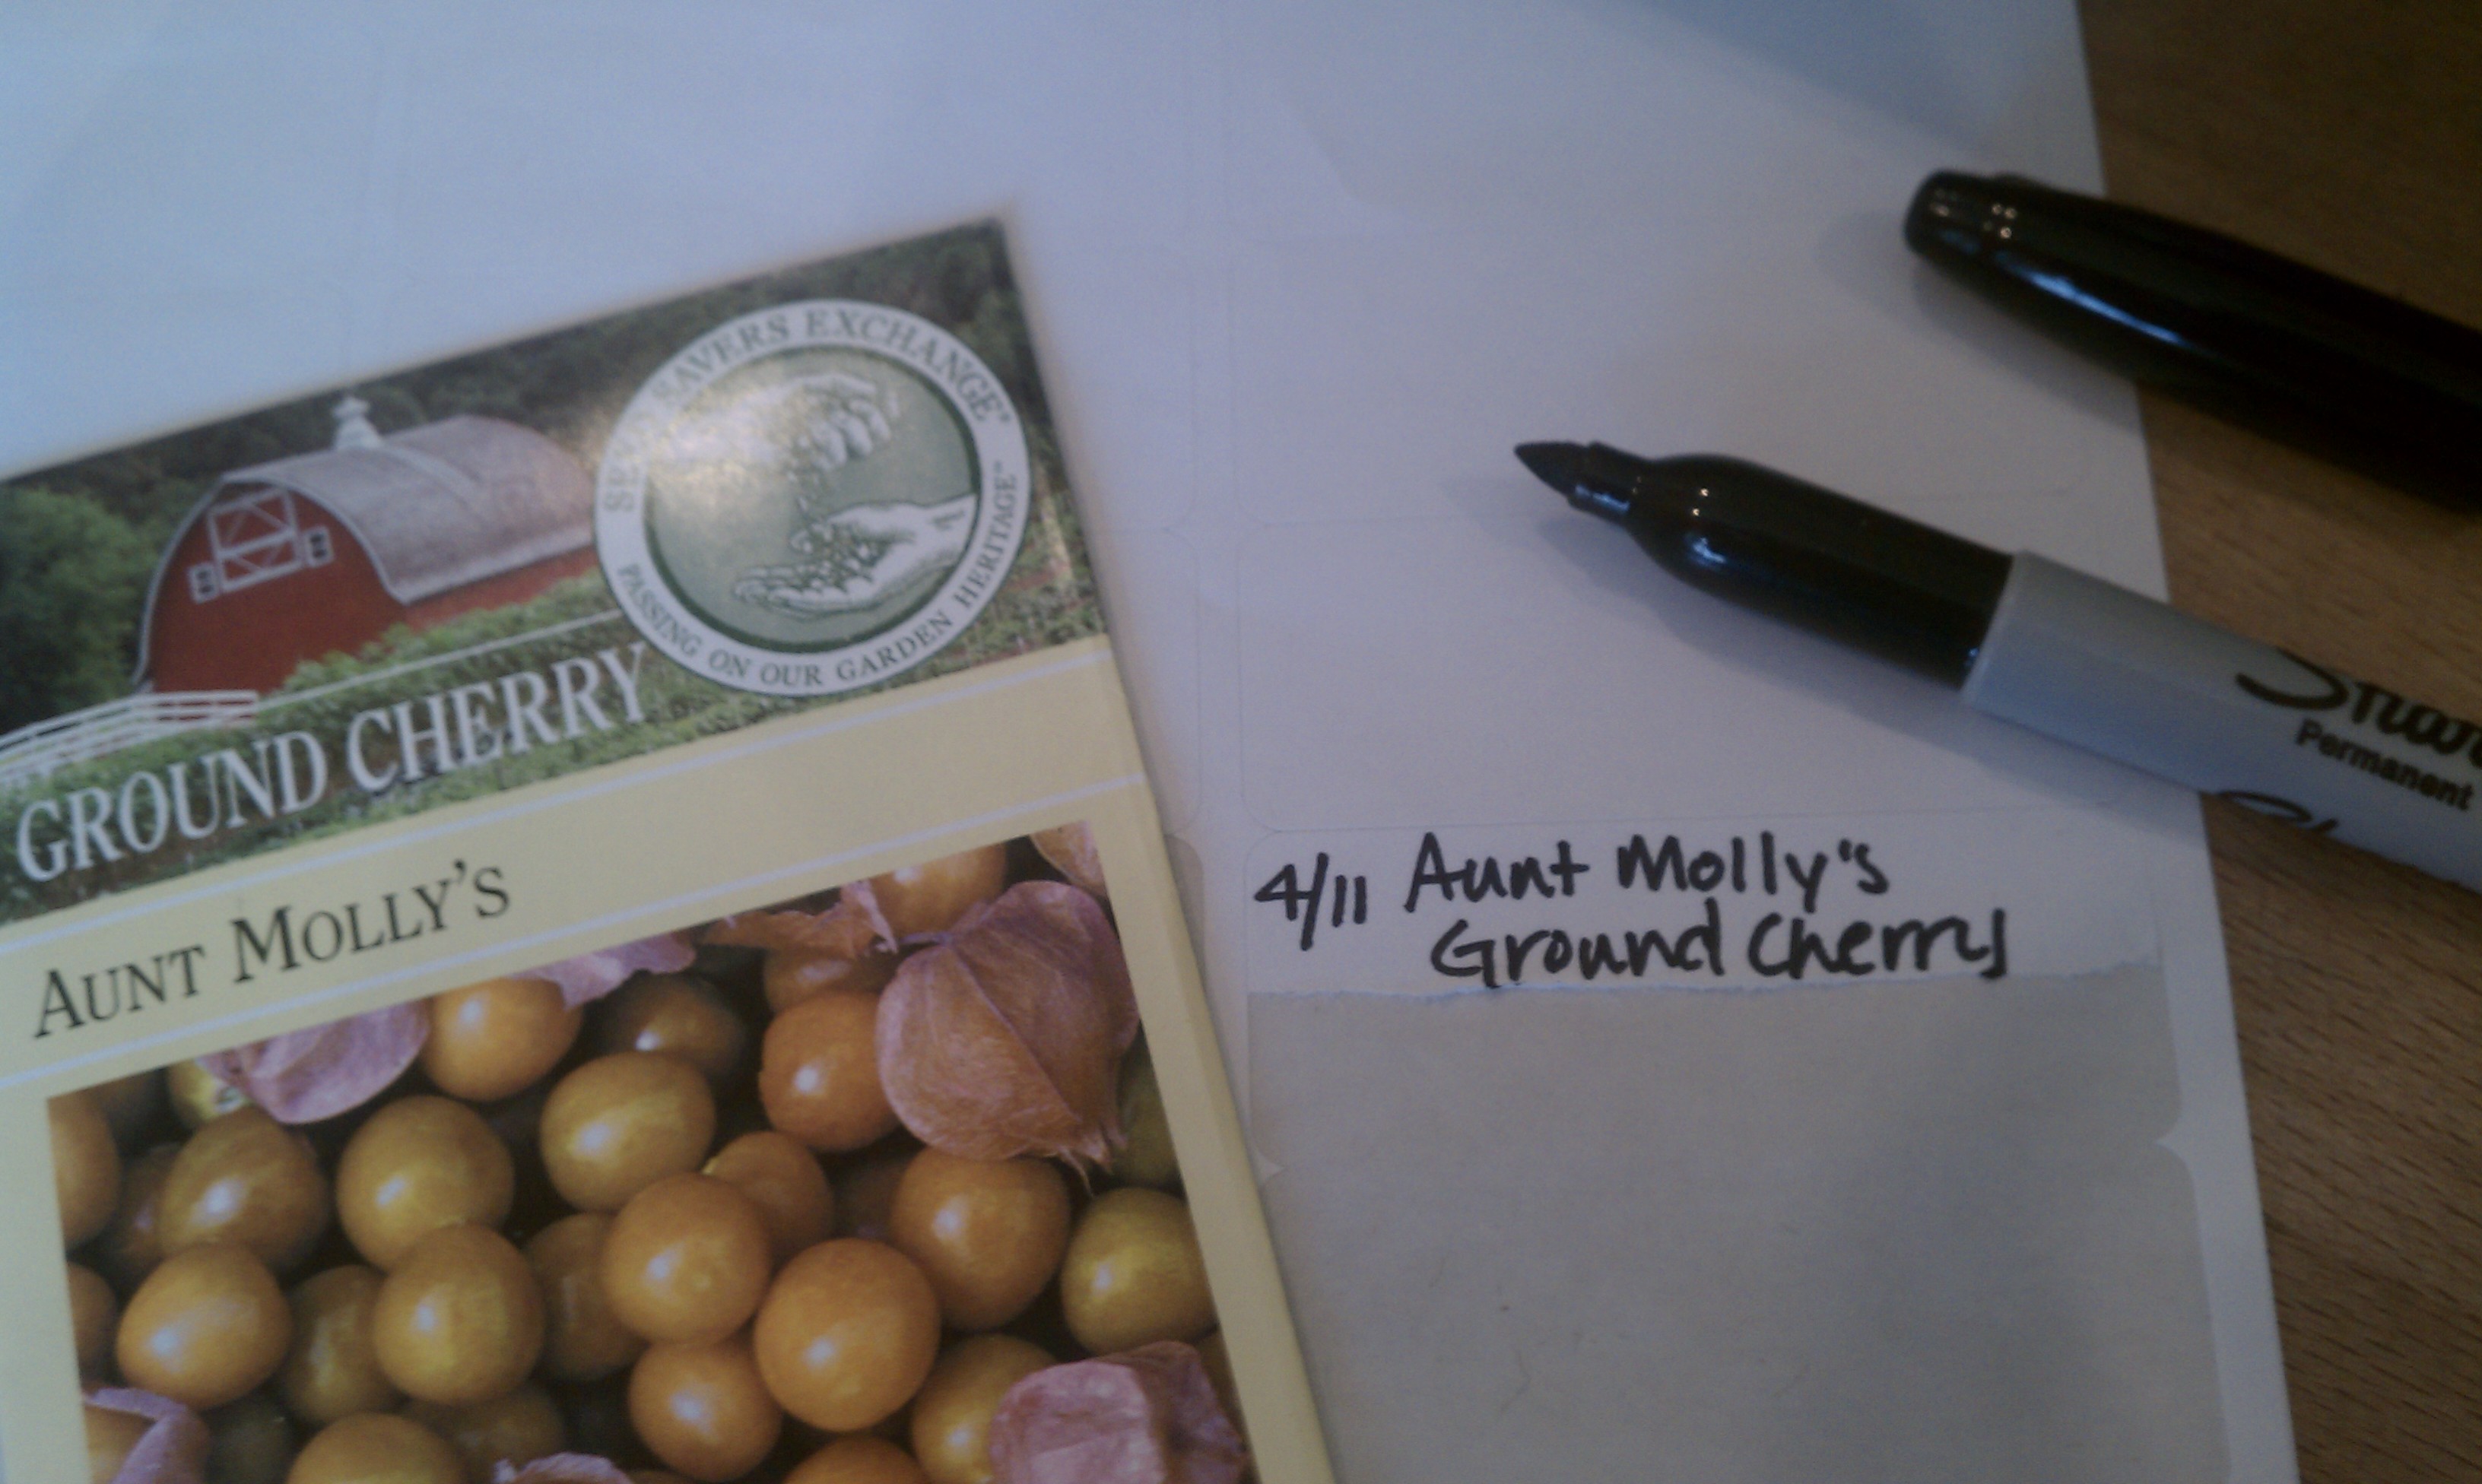
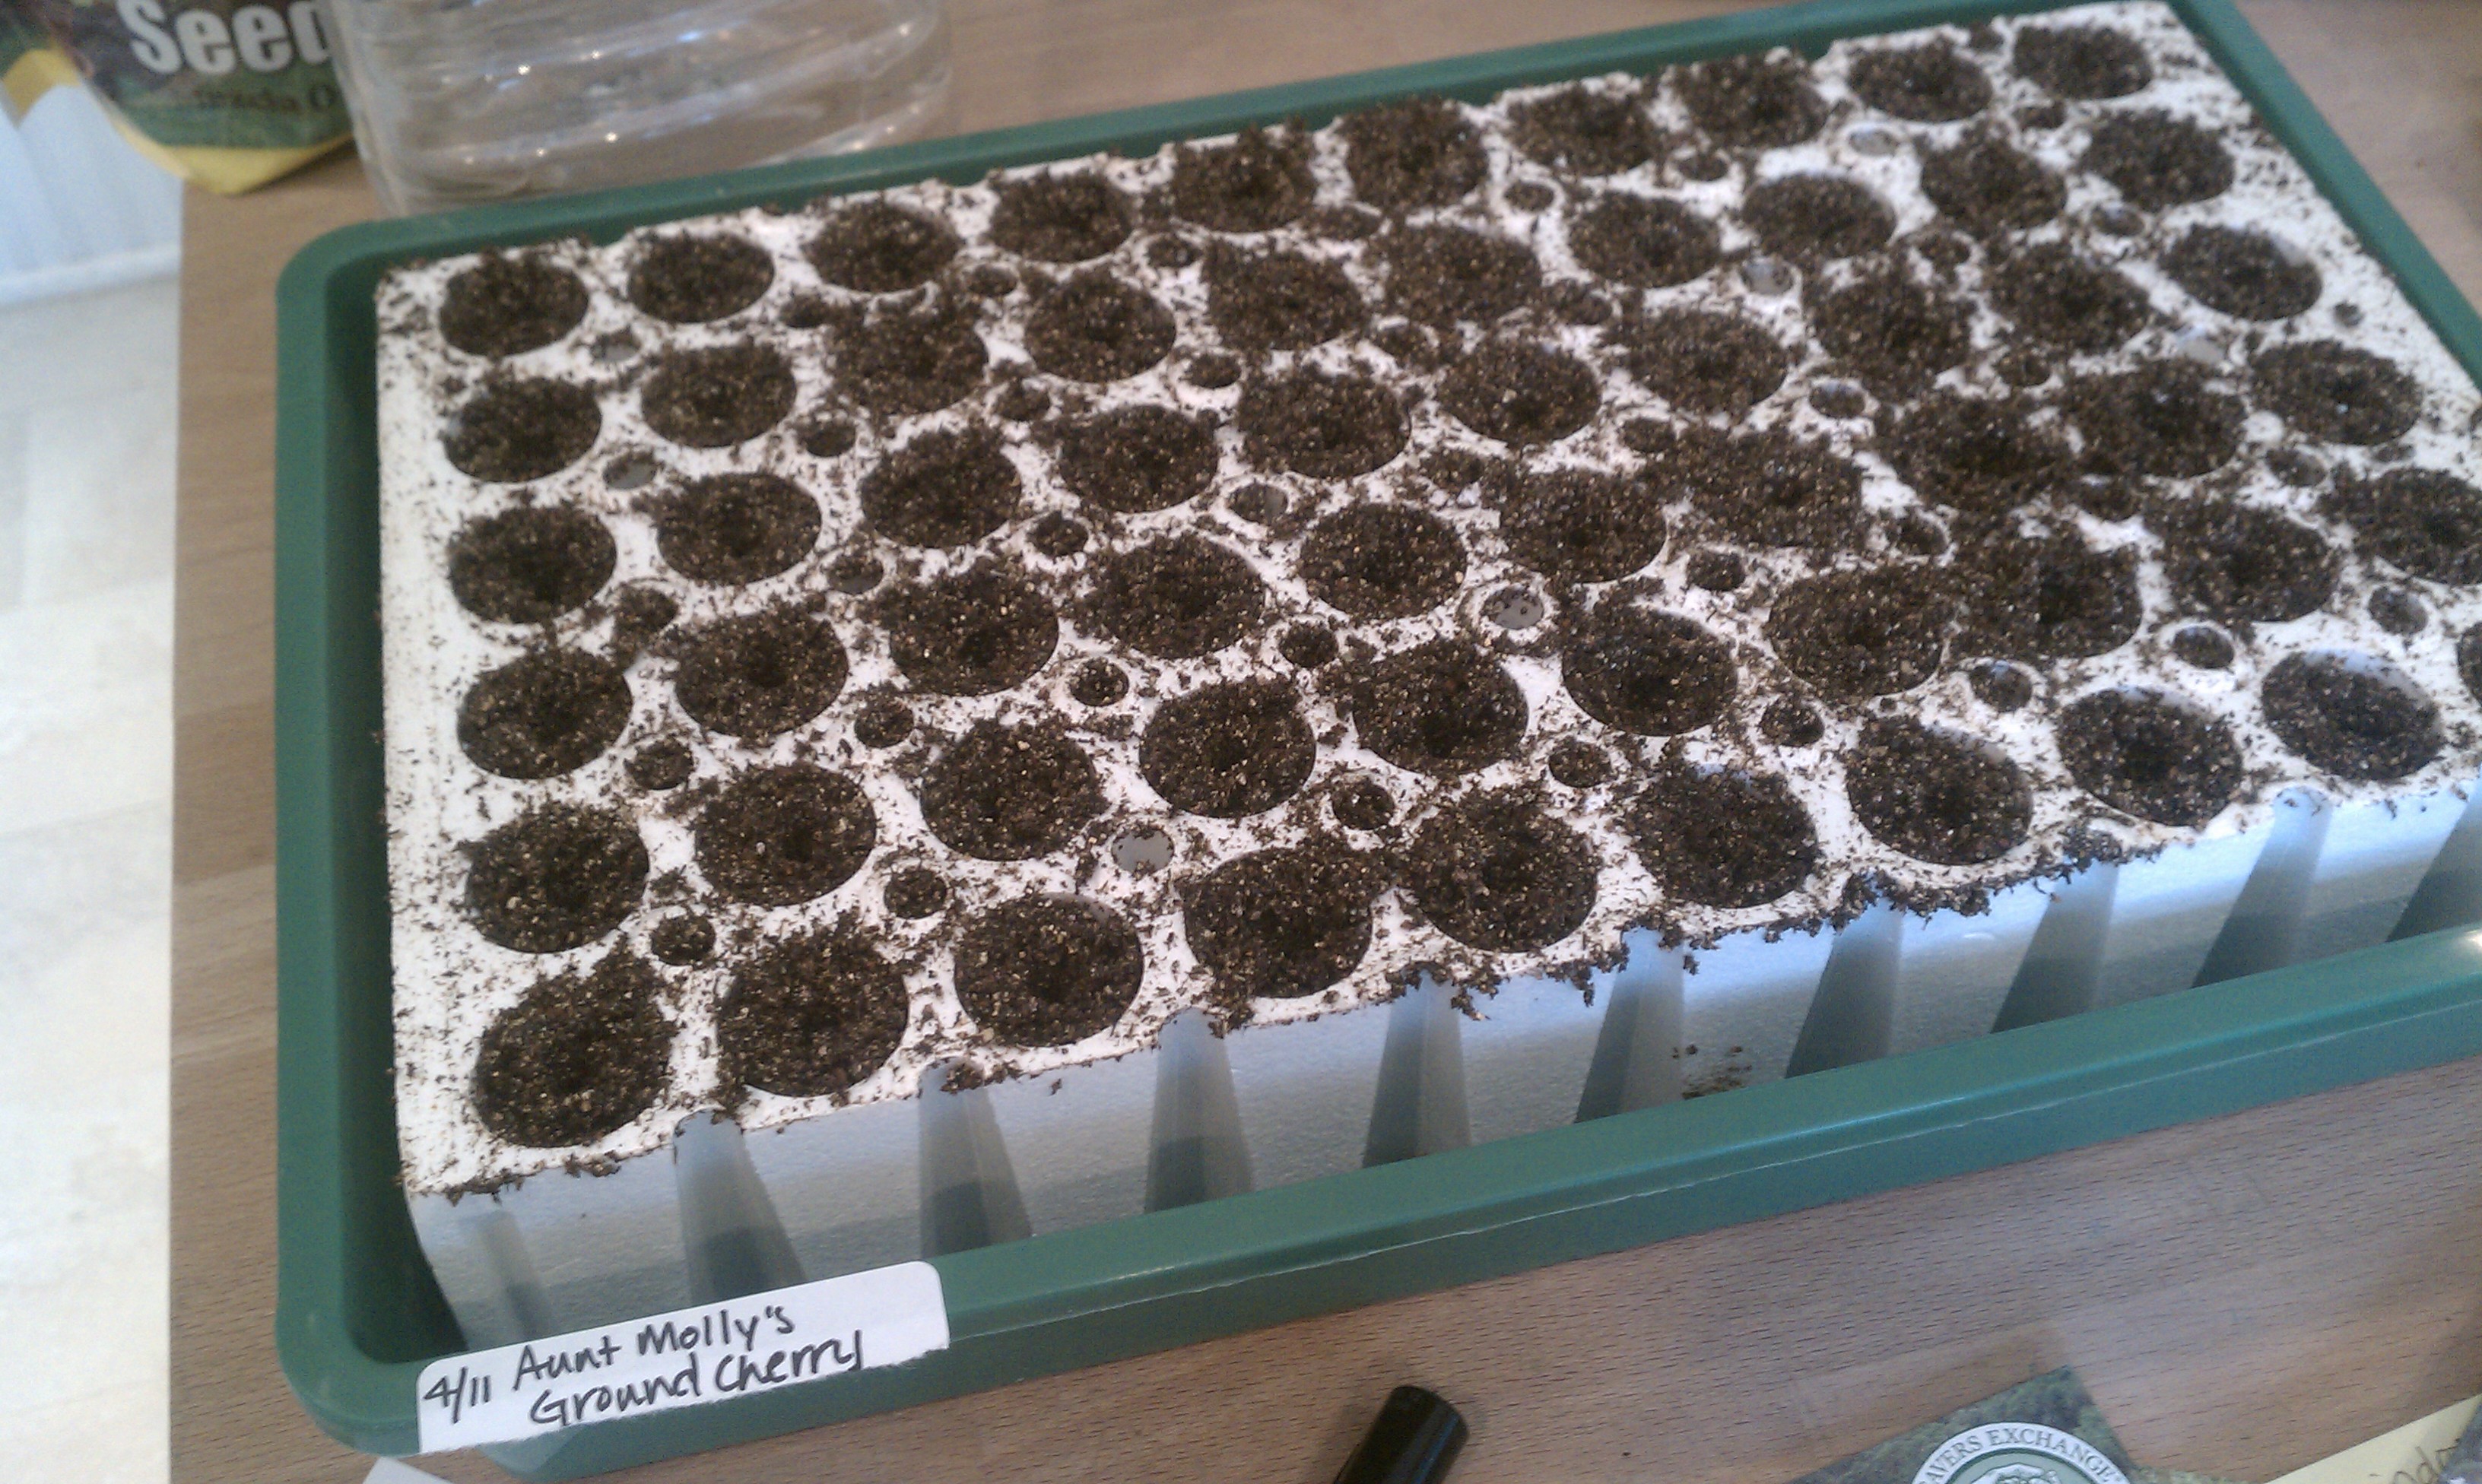
8. Label as you go. Include the date you are planting and the variety planted.

9. If seed packet says to plant 1/4 inch deep, lightly cover seeds by sprinkling a thin layer of seed starting mix or vermiculite onto the surface of the soil.

10. Place seed tray or containers into a solid tray (without drainage holes). Water seeds by gently misting the surface with a spray bottle filled with “aired out” water or by bottom watering. If bottom watering, make sure to drain off extra water after soil is thoroughly moist to prevent “damping off” (a fungi which will kill seedlings).
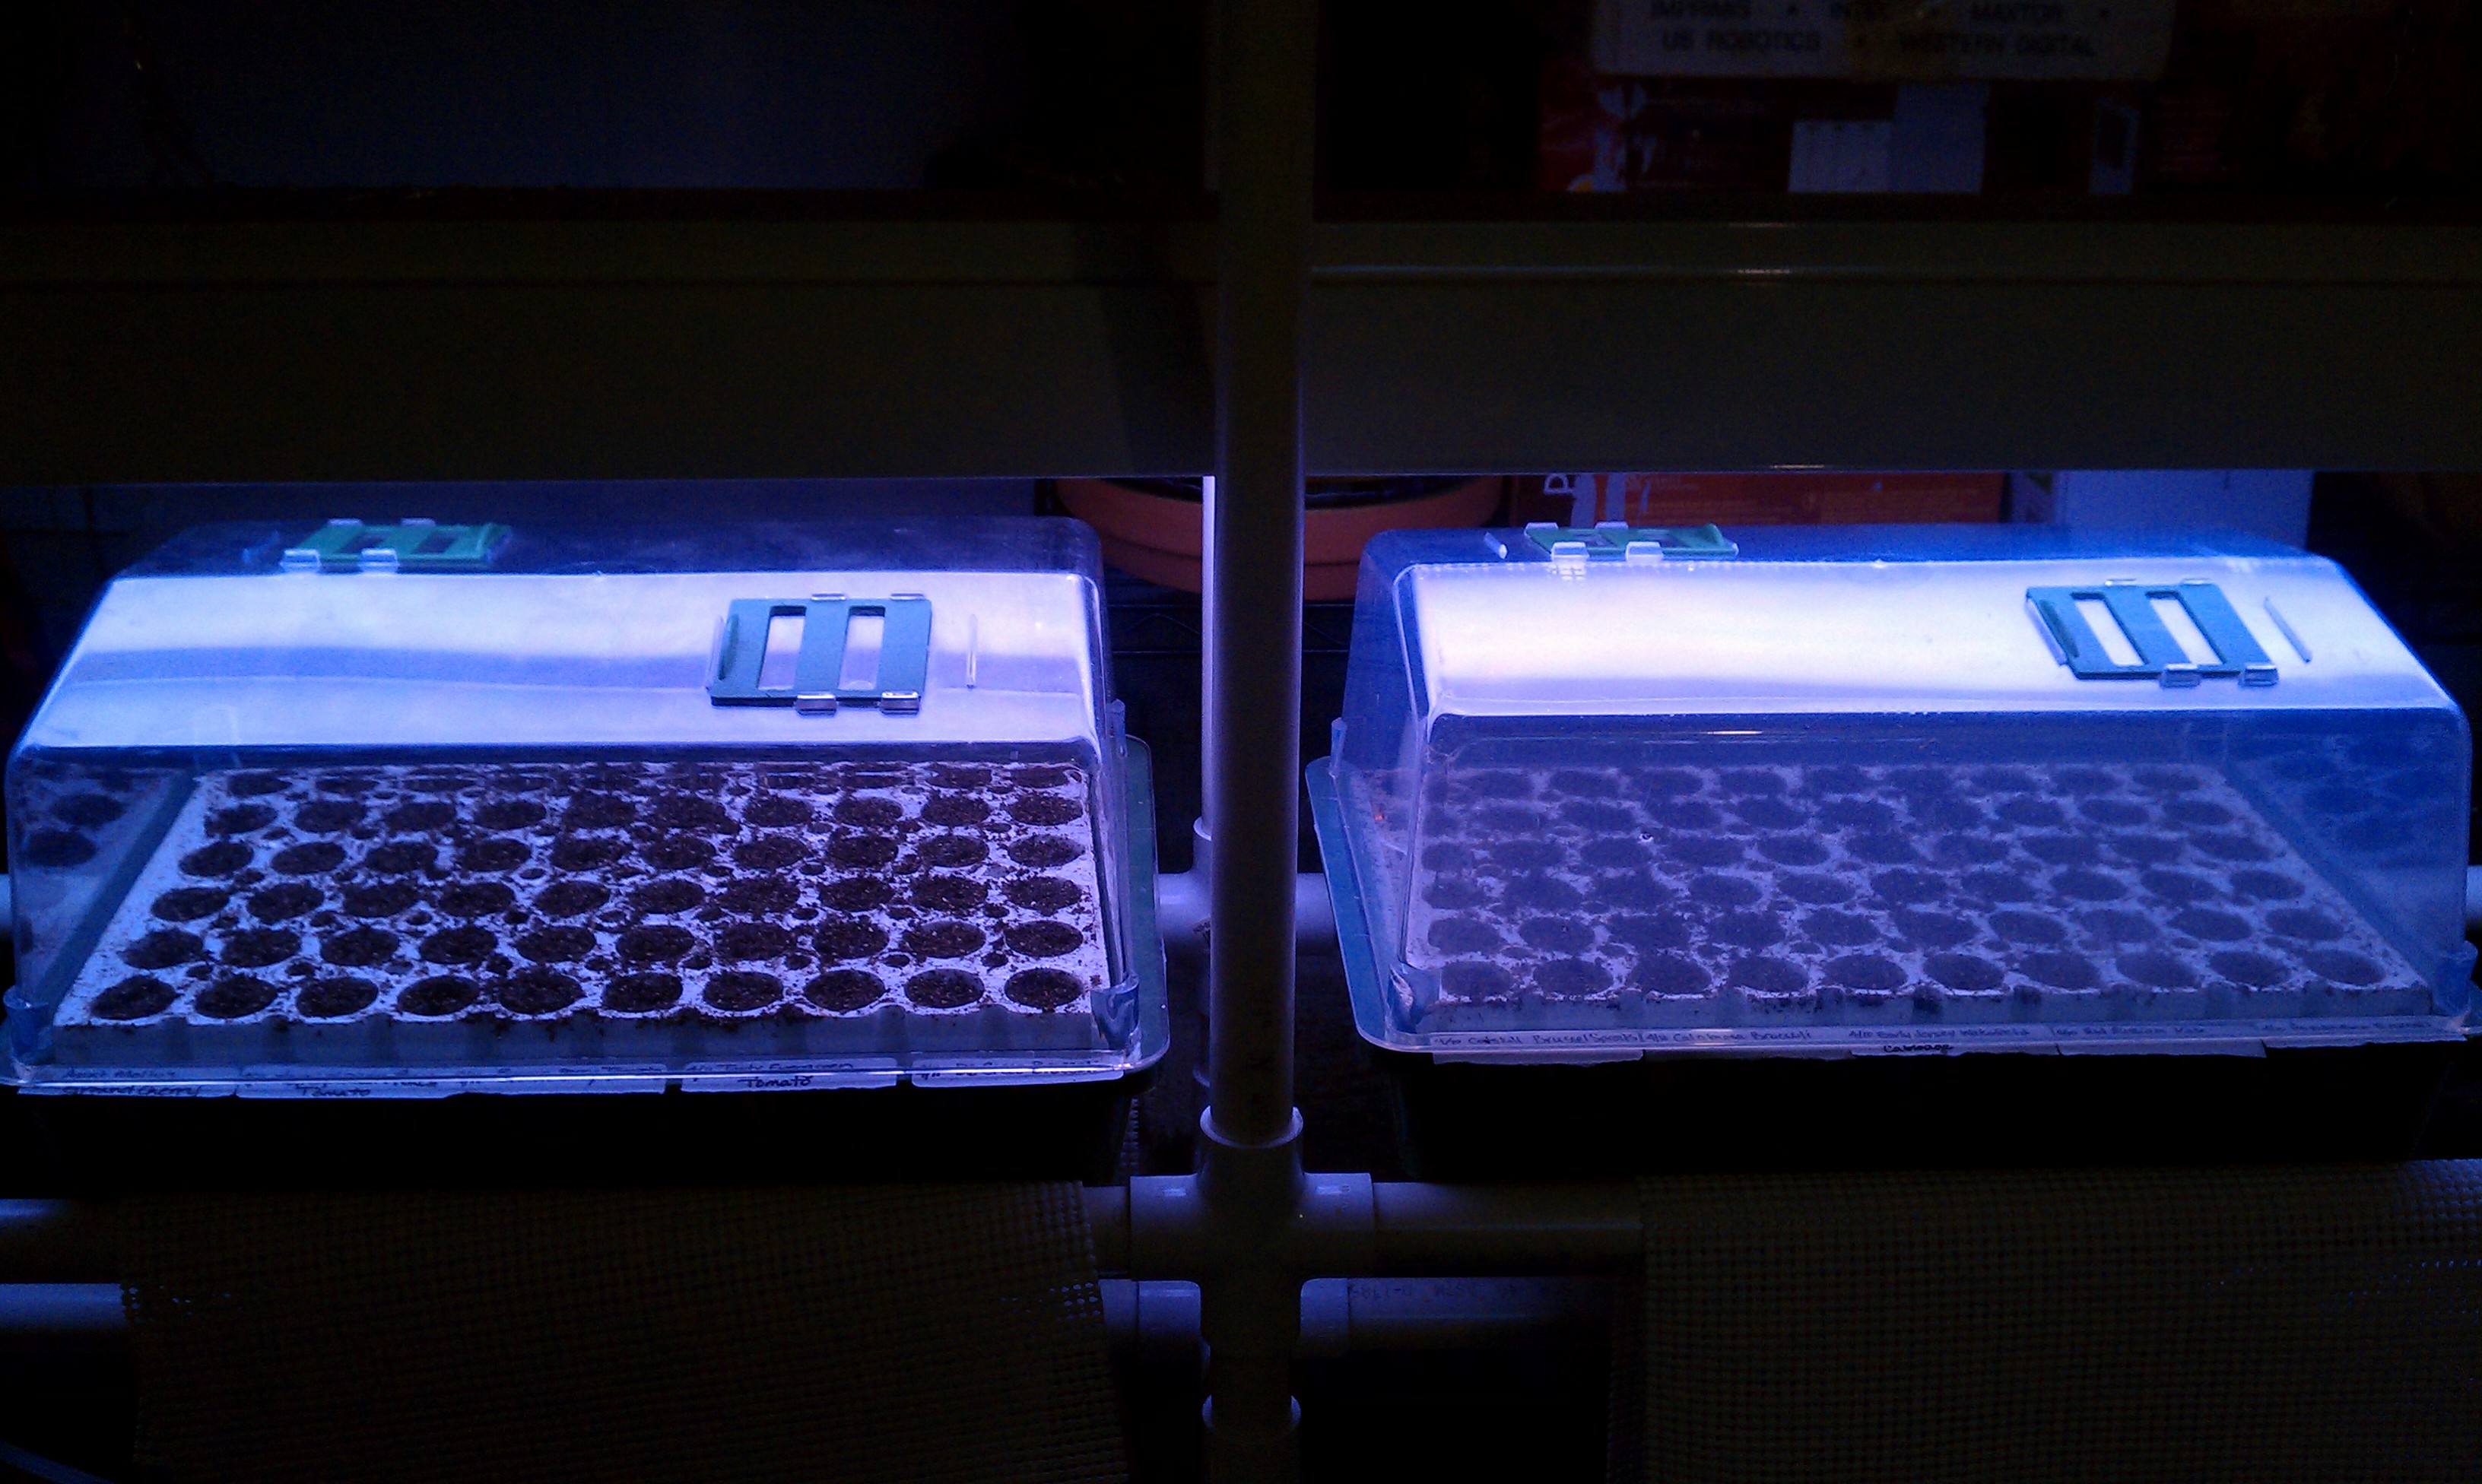
11. If using a “green house” seed tray, cover, keeping vents closed if available, and place under plant lights (or a sunny window).

12. Watch for seedlings to sprout. If using a green house cover, adjust vents to allow for air circulation.
13. Check seedlings daily for water. Do not allow seedlings to dry out or to sit in standing water.
Tips:
As seedlings grow, raise plant lights, always keeping as close to the plants as possible without touching them. Don’t worry, plant lights do not generate enough heat to burn or harm the plants. Keeping the plant lights close to the seedlings will keep the seedlings compact and prevent them from getting “leggy” (stretching for the light).
When the seedlings have developed 2 sets of leaves (the first set of leaves are the cotyledon or seed leaves, the second set of leaves are the “true leaves”) transplant to a larger container, if necessary.
Run an oscillating fan near the seedlings to mimic wind in order to grow stronger plants and help prevent damping off. Place the fan close enough to provide a gentle breeze, but not so close as to be a gale-force wind.
Have fun!
Kate
