Timing. It can mean making it big or missing it all. It can mean coming in with the choir or sticking out like a sore thumb.
Timing, in so many areas of our lives can “make it or break it”. Timing in the garden isn’t quite as cut and dry as other situations in life, mostly because we’re dealing with Mother Nature and that means what we do and when we do it depends upon the weather, which can make timing a bit of a guessing game. Even though historically speaking weather has been a certain way in April or May, Mother Nature is going to do what she wants to do. (Take our never-ending winter for example.) So when you garden, you need to be willing to be flexible regarding timing.
Timing: Seed Starting
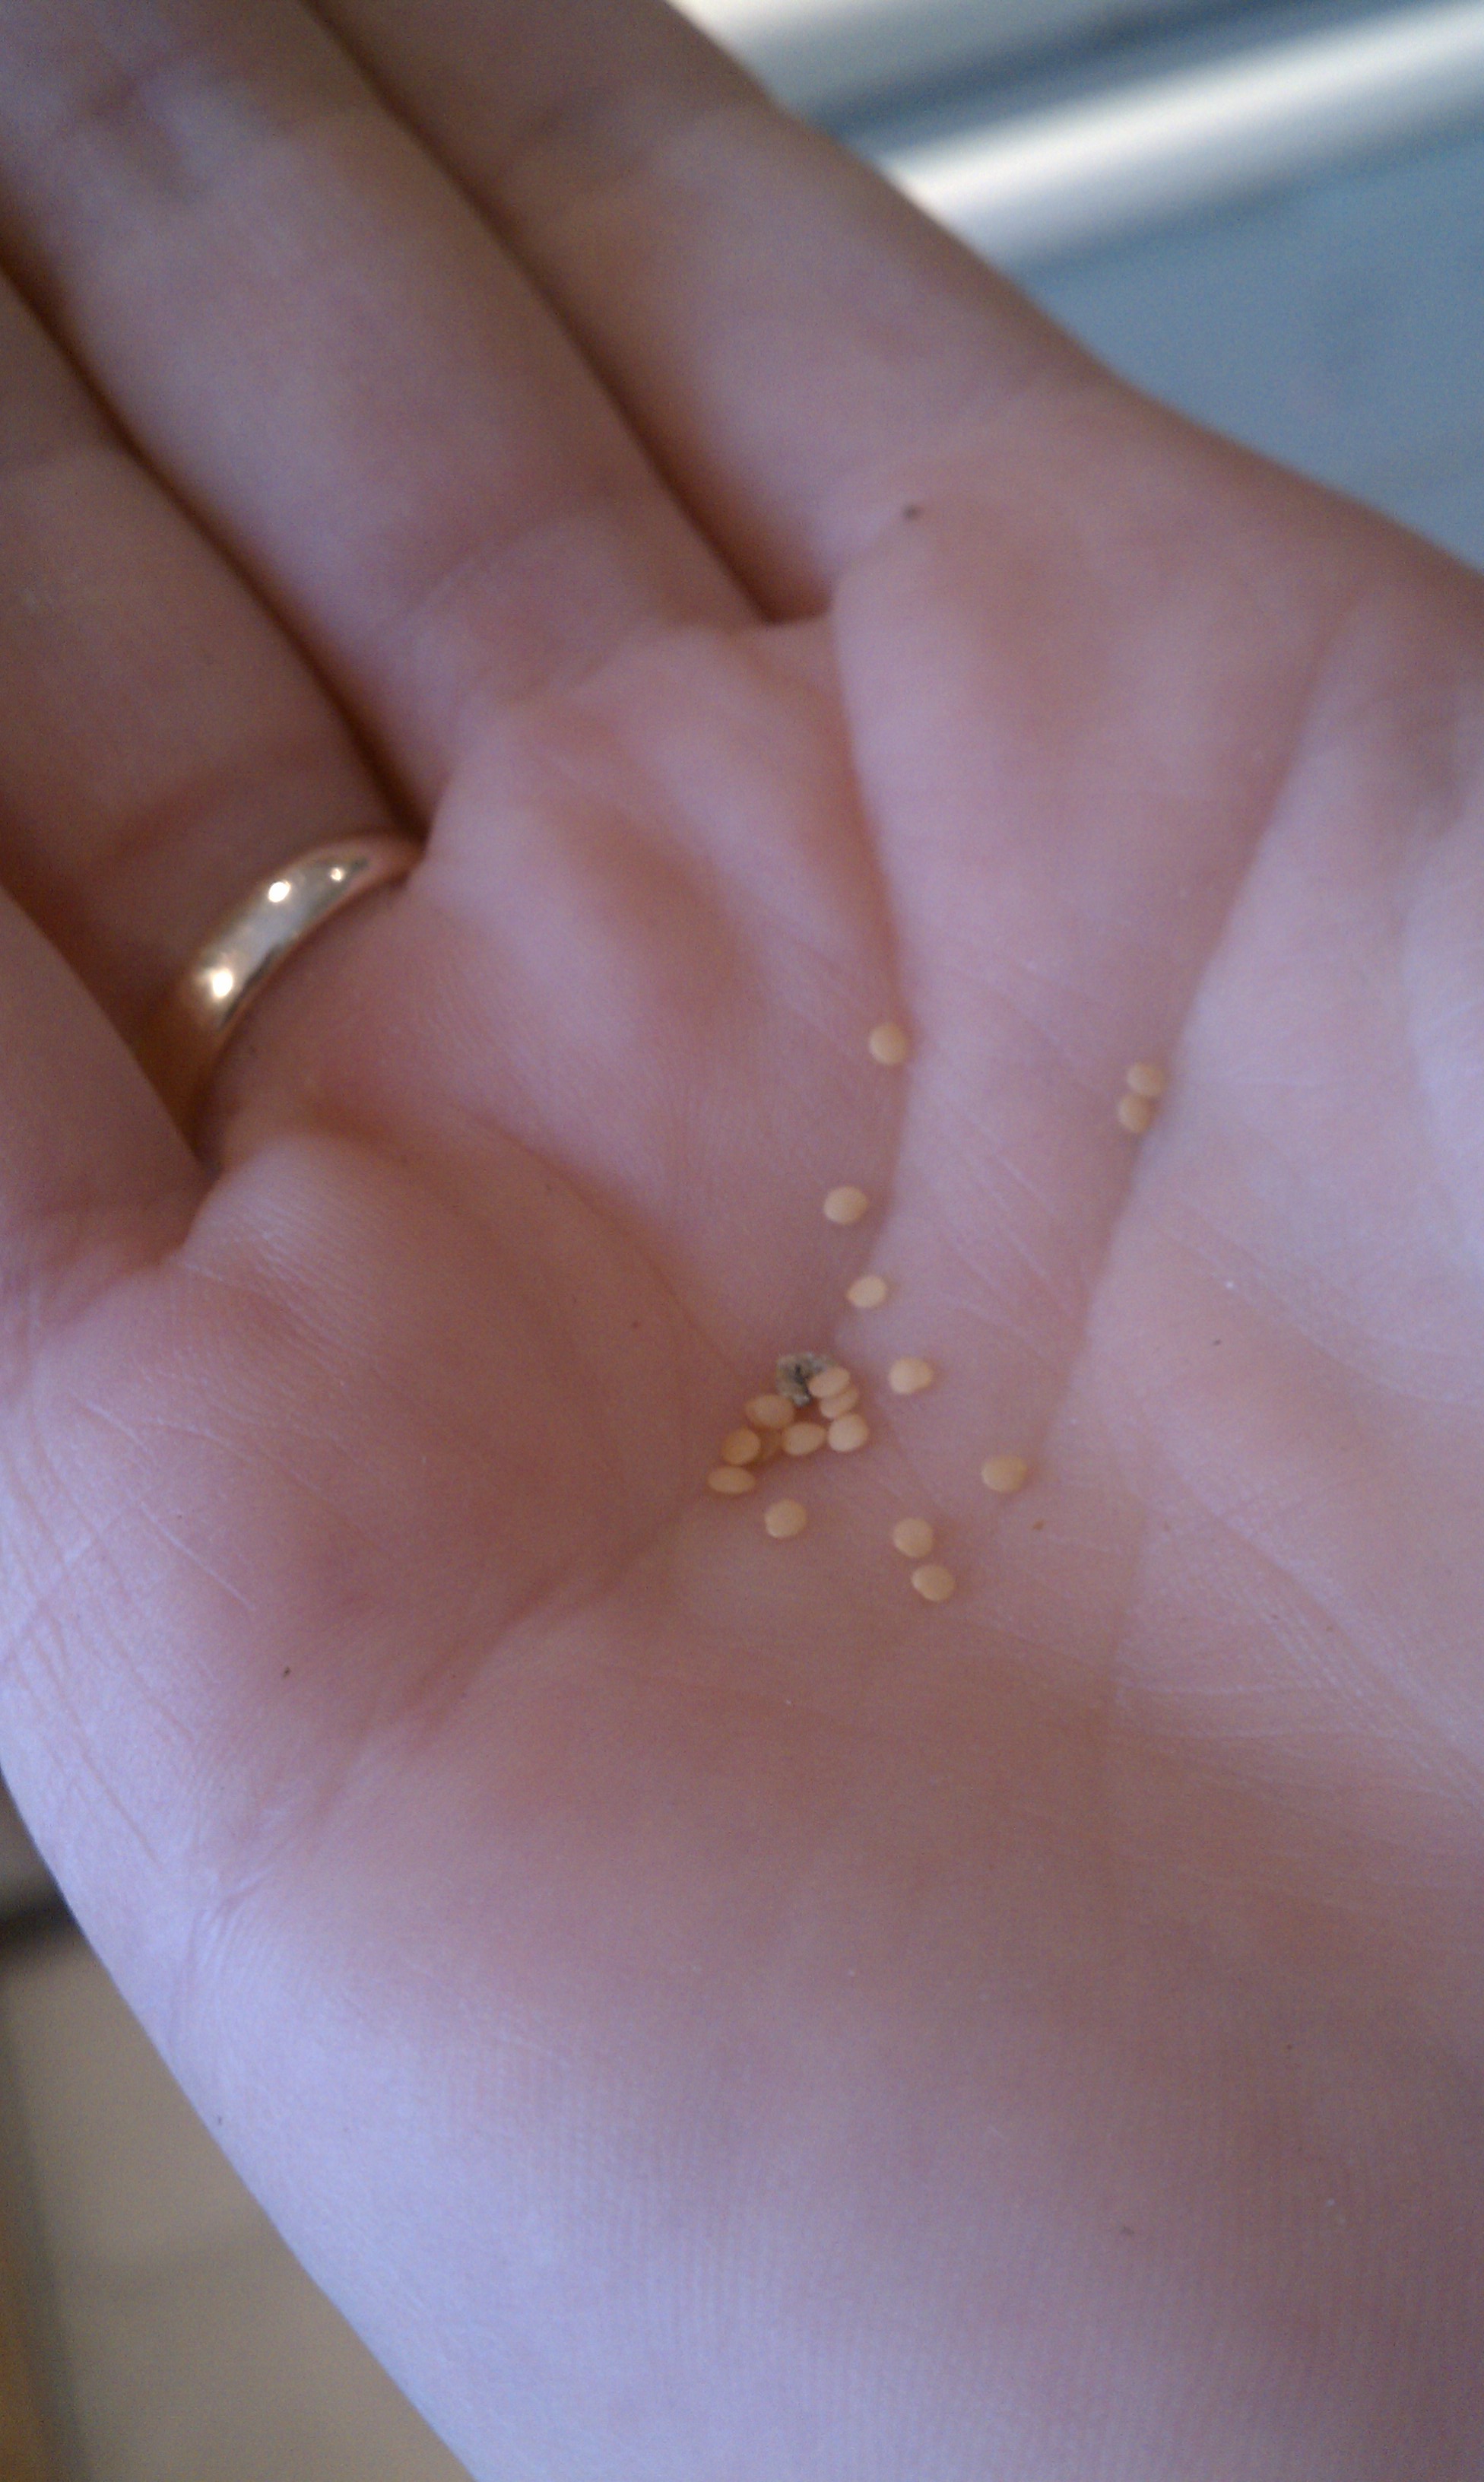
That said, there are some basic timing guidelines that will help us at least aim in the general vicinity of when things “should” happen in order to have a fruitful season. Take seed starting for example: When you look at a packet of seeds, it is loaded with information.

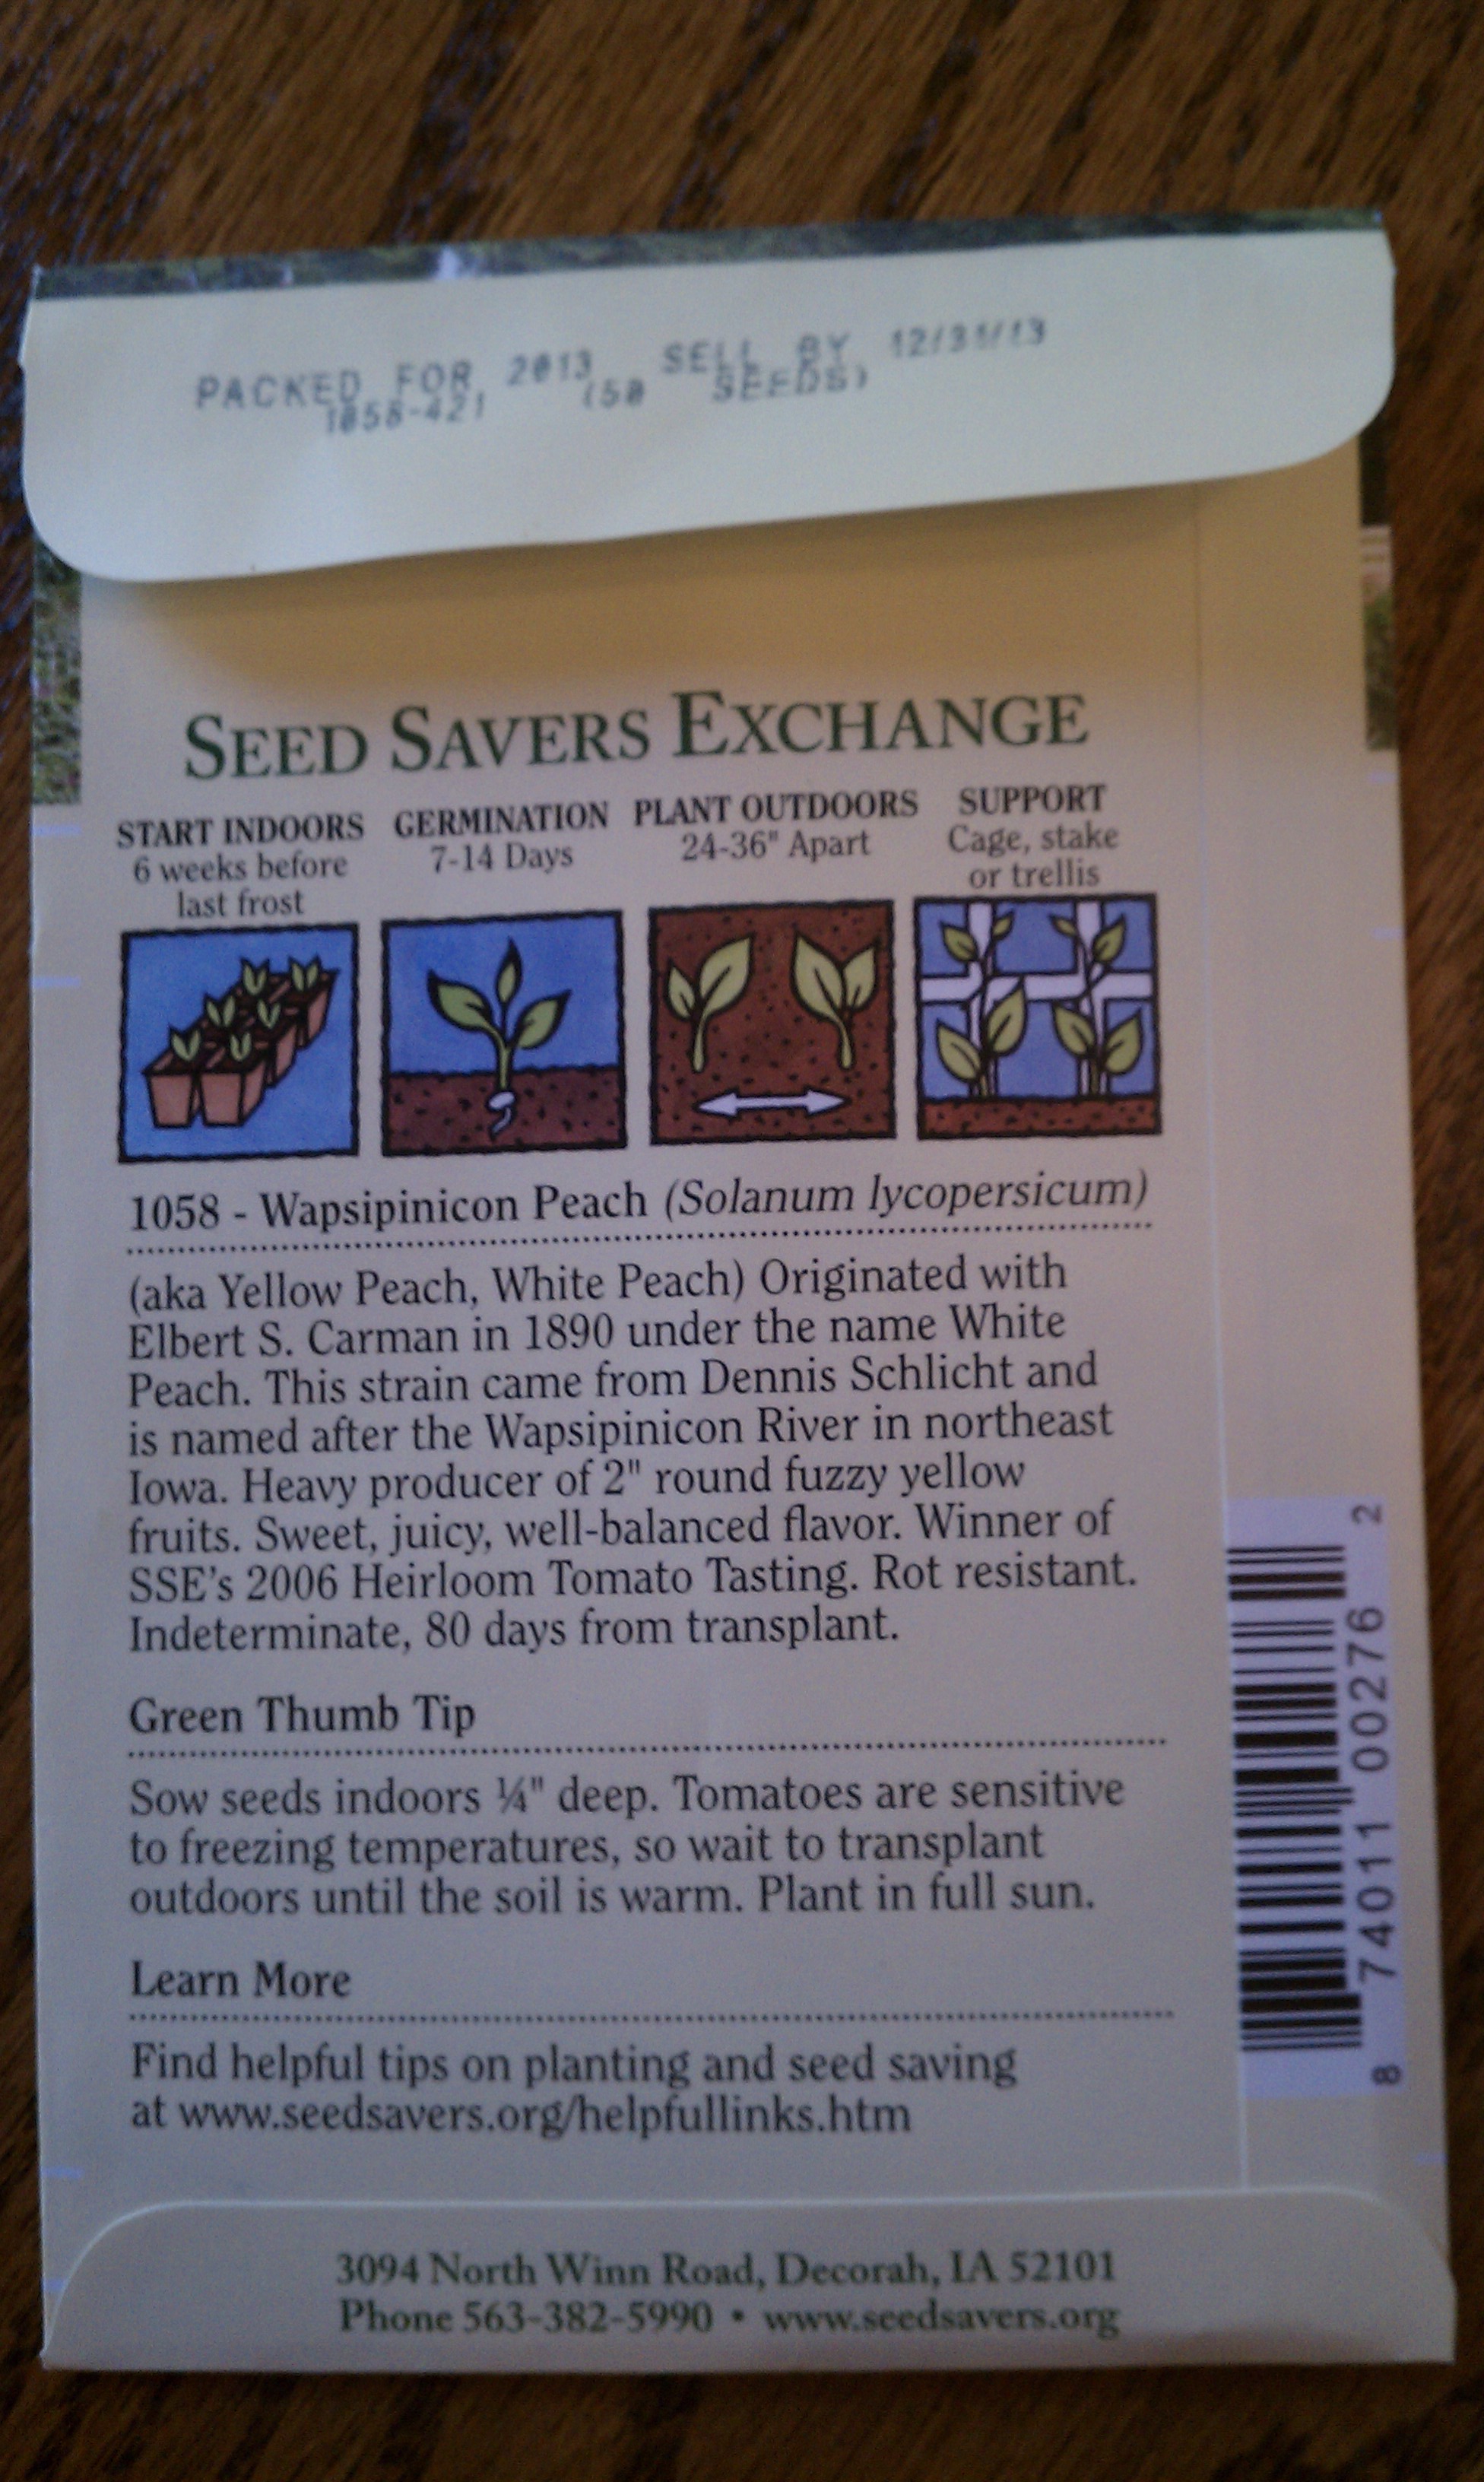
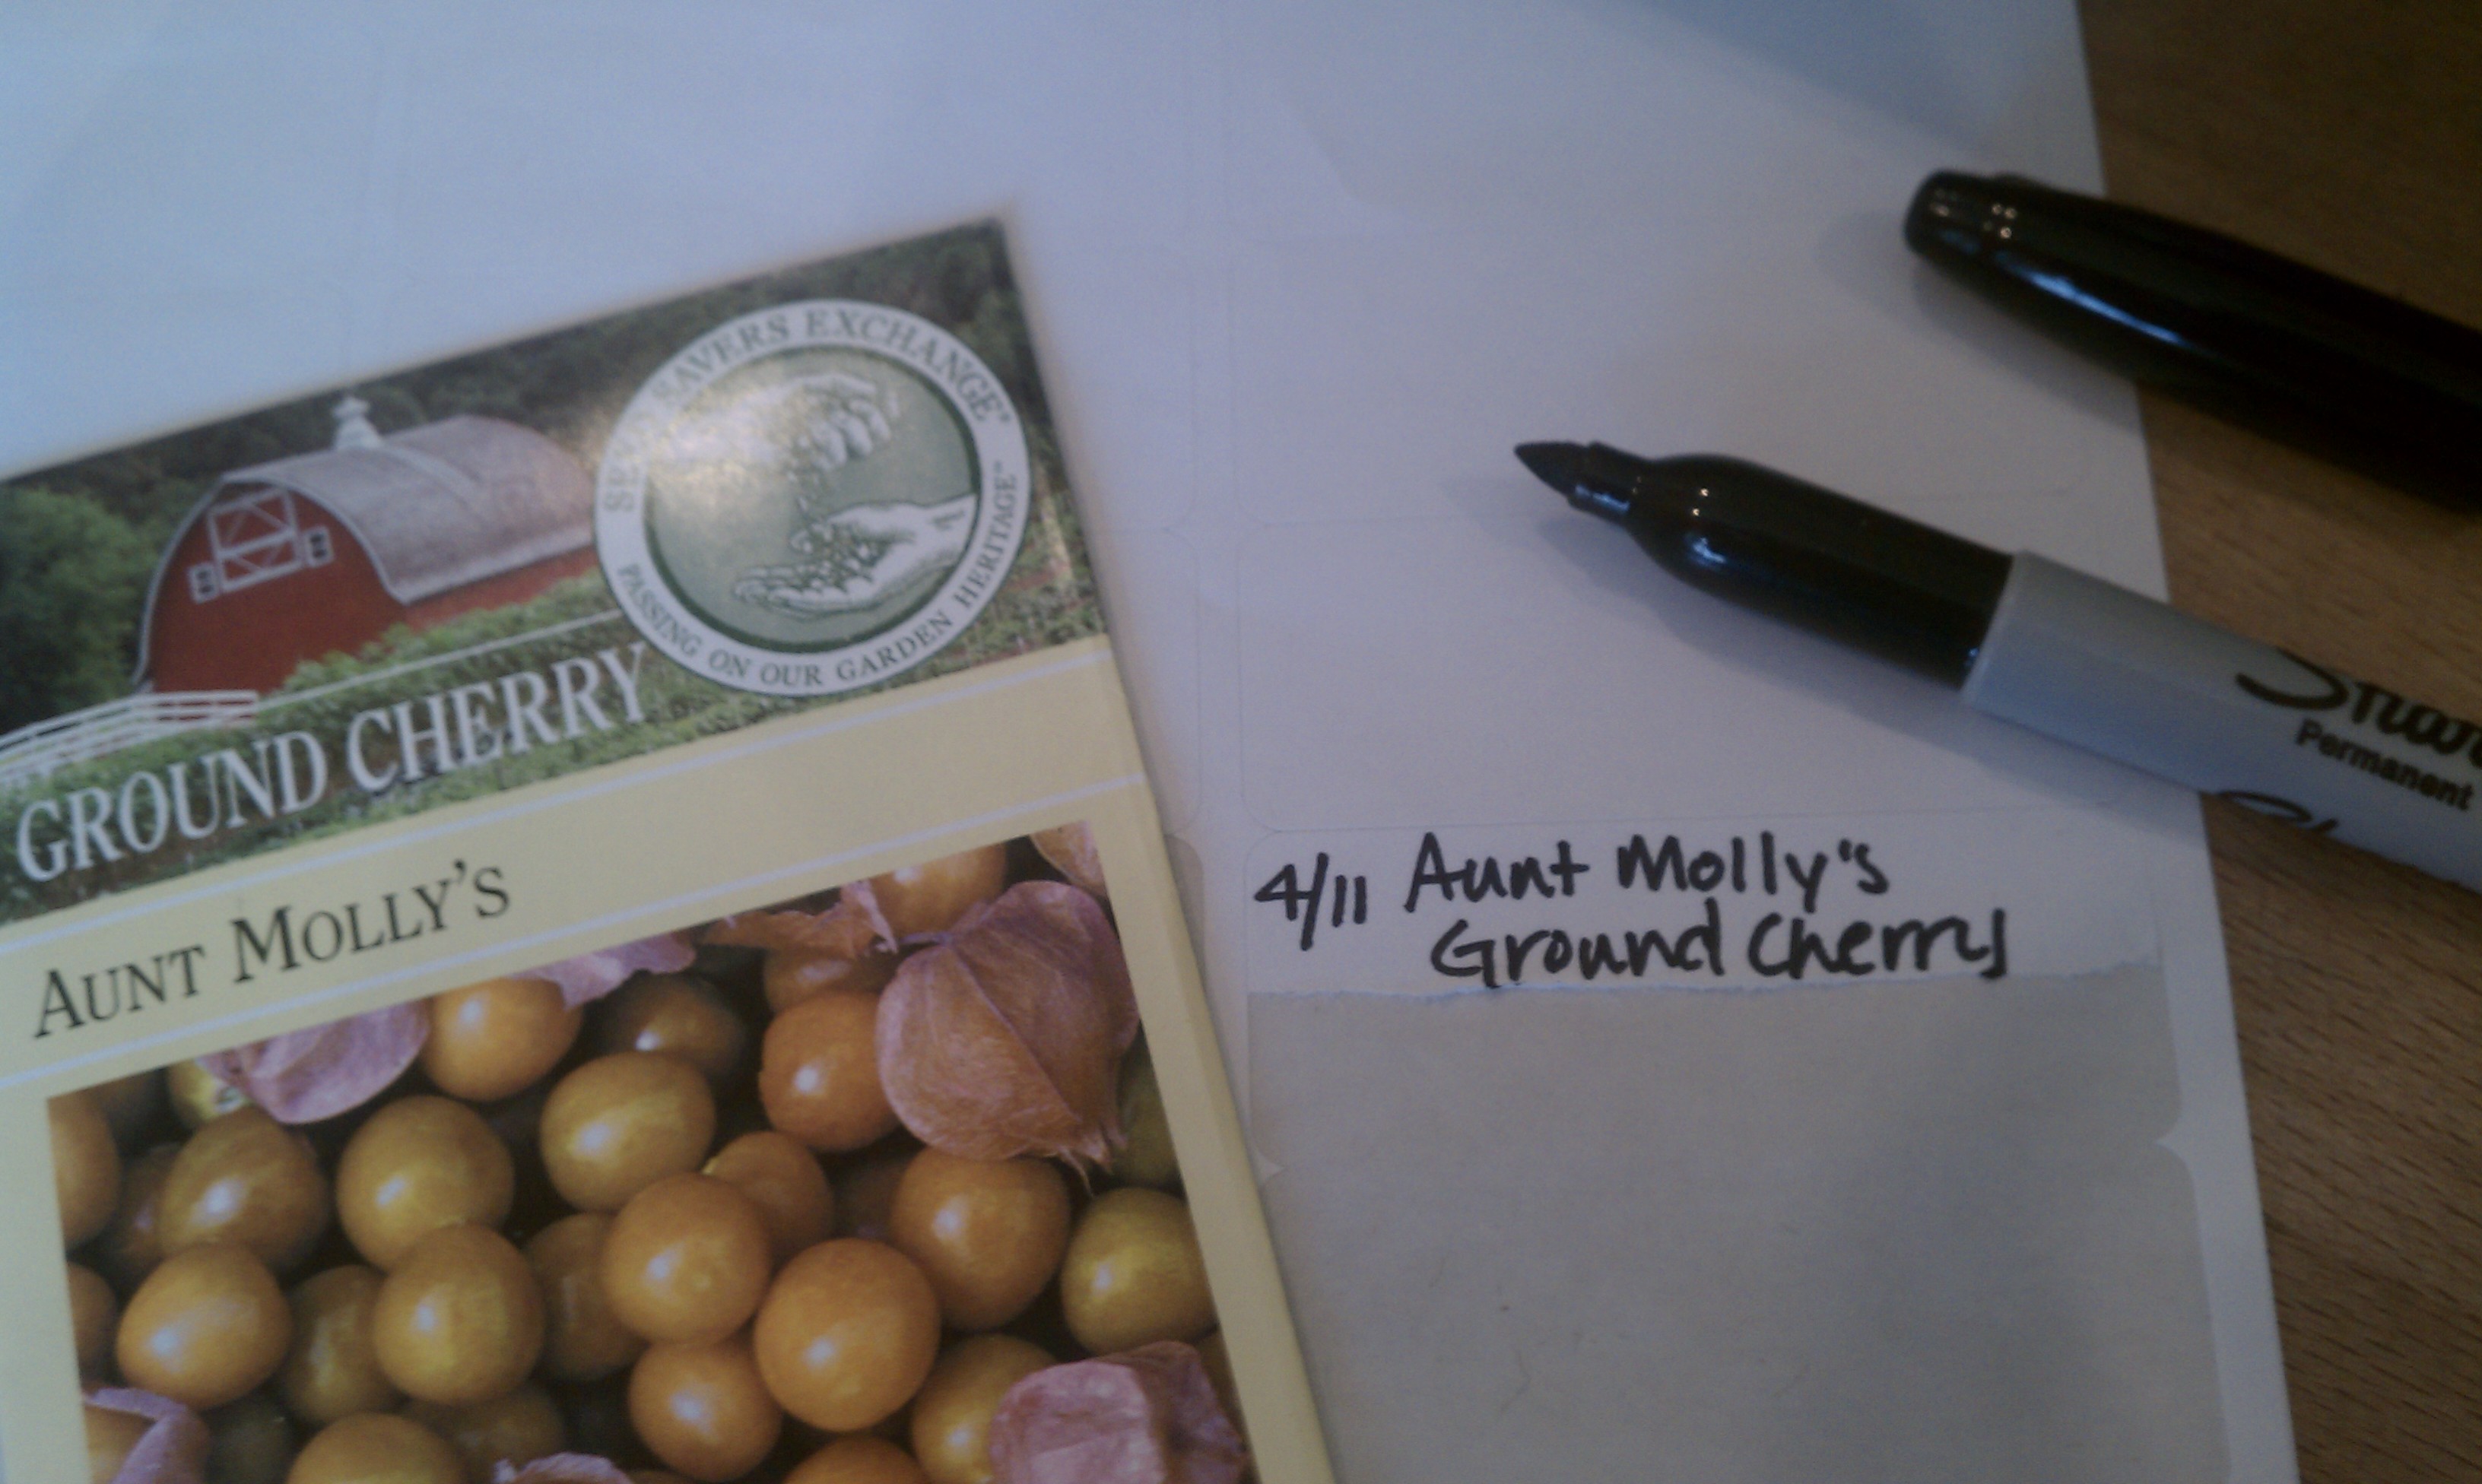
Let’s use my packet of Wapsipinicon Peach Tomatoes. For the sake of this post, we’ll only focus on the information pertaining to timing.
Start Indoors: 6 weeks before last frost
Germination: 7-14 days
Green Thumb Tip: … Tomatoes are sensitive to freezing temperatures, so wait to transplant outdoors until the soil is warm. …
Okay, so what does that mean? To begin with, “Start Indoors: 6 weeks before last frost” means you need to determine when the last frost is going to happen in your area. When I first started gardening my thought was, “How the heck do I know when the last frost is going to be?!?” Turns out, we aren’t expected to look into a fortune teller’s crystal ball. No, instead, we are to look at the history of the weather in our area over the past 10 years to determine when the average last frost occurred. Luckily for us, there are people out there who track this information so we don’t have to figure it out! If we search on the web for “average last frost date” along with the city we live in, we should see either a map of our state which shows the average last frost dates across the state or a list of major cities in our state and the average last frost date for each city. In Minneapolis, our average last frost date is May 21st (recently adjusted from May 15th).
Okay, so now we know that we (in Minneapolis) should plant our tomato seeds indoors 6 weeks prior to May 21st. If we count 6 weeks backwards from May 21st that puts us at April 9th. Oh, April 9th has already passed. Hopefully we already planted our seeds around that time frame. But let’s say we didn’t. Now what? Well, now, we look to the next piece of information, “Germination: 7 – 14 days”. This piece of information is actually more beneficial to knowing whether our seed was viable or not. (If we haven’t seen any signs of life by 14 days, we are probably not going to.) However, it’s also good to know that we need 1 – 2 weeks just for the seed to start growing. Hmmm… we’re about 2 weeks behind schedule and it’s going to take 1 – 2 weeks just for it to germinate? That puts us at May 1st – May 8th before there are any signs of life. That’s going to be a pretty young plant to put in the ground by May 21st.
But here’s the good news, “Tomatoes are sensitive to freezing temperatures, so wait to transplant outdoors until the soil is warm.” That sounds pretty vague, doesn’t it? It is, but a little research will show you that tomatoes typically need soil temperatures higher than 60 F for the seed to germinate and they won’t grow unless the air temperature is at least 55 F. In fact, it is recommended not to put them outside until the nighttime lows are at 55 F or higher. In Minneapolis, that nighttime average temperature doesn’t come until the end of May or beginning of June.
Ha, ha! Did you catch that?! We just bought ourselves a little time! The end of May or beginning of June is another week and a half (past May 21st), which just so happens to be roughly the same amount of time that we are “behind” schedule if we didn’t already plant our tomato seeds. So can we still plant our tomato seeds today? Yes! (But we need to hurry up and do it!)
When thinking about how to time planting seeds, the other thing to consider is when you plan on planting your garden. Personally, I don’t like to plant my warm season crops (those that prefer warm weather and really dislike or won’t grow under colder conditions) until around Memorial weekend. At that point we can (typically) safely assume there won’t be any further chances of frost, the daytime and nighttime temperatures are rising and the soil is starting to warm up.
In summary, to figure out timing as to when to plant your seeds, you need to know:
- The average last frost date in your area
- When to start seeds indoors (number of weeks in advance)
- When you plan on planting your garden
With those pieces of information, you can simply count backwards (in weeks) from your average last frost date and mark on your calendar or organize your seeds by weeks so you know what to plant when.
It’s also important to note that some seeds are to be “direct sown“, in other words, they do not need to be and typically shouldn’t be started indoors, but instead planted directly into the garden (such as peas, carrots and radishes). This too, should be noted on the seed packet.
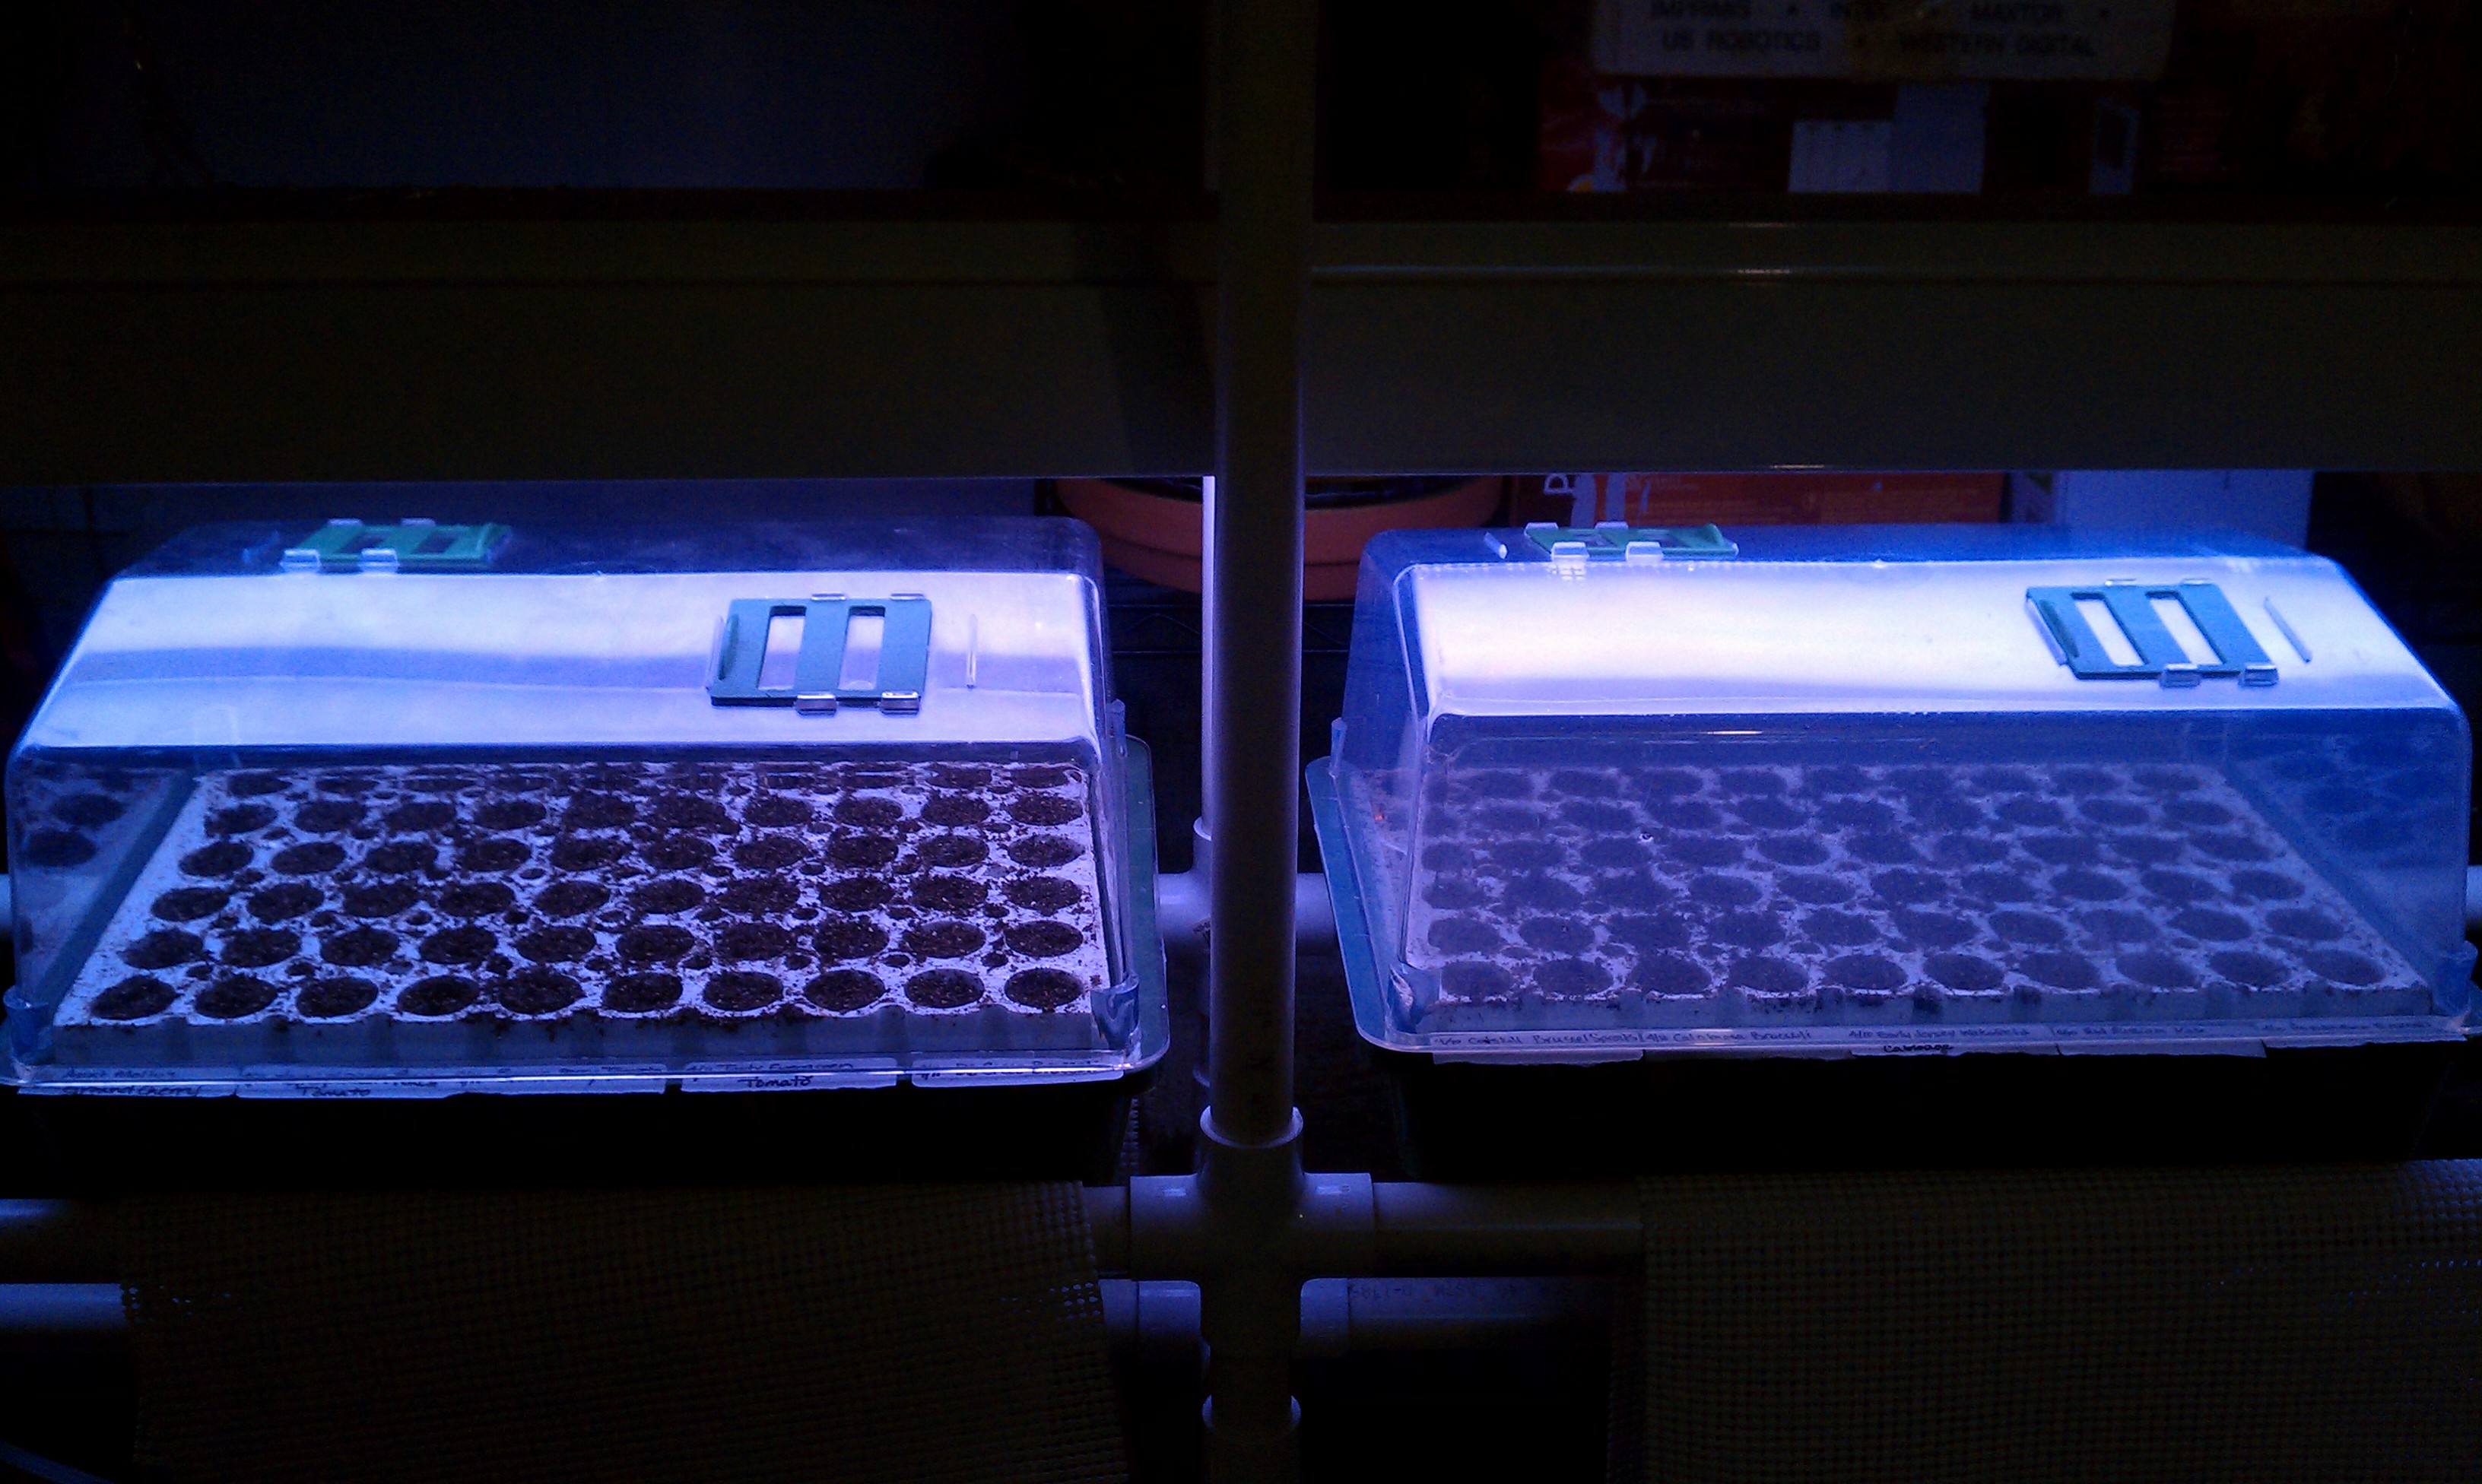
How To Get From A Pile of Seeds To A Planting Schedule
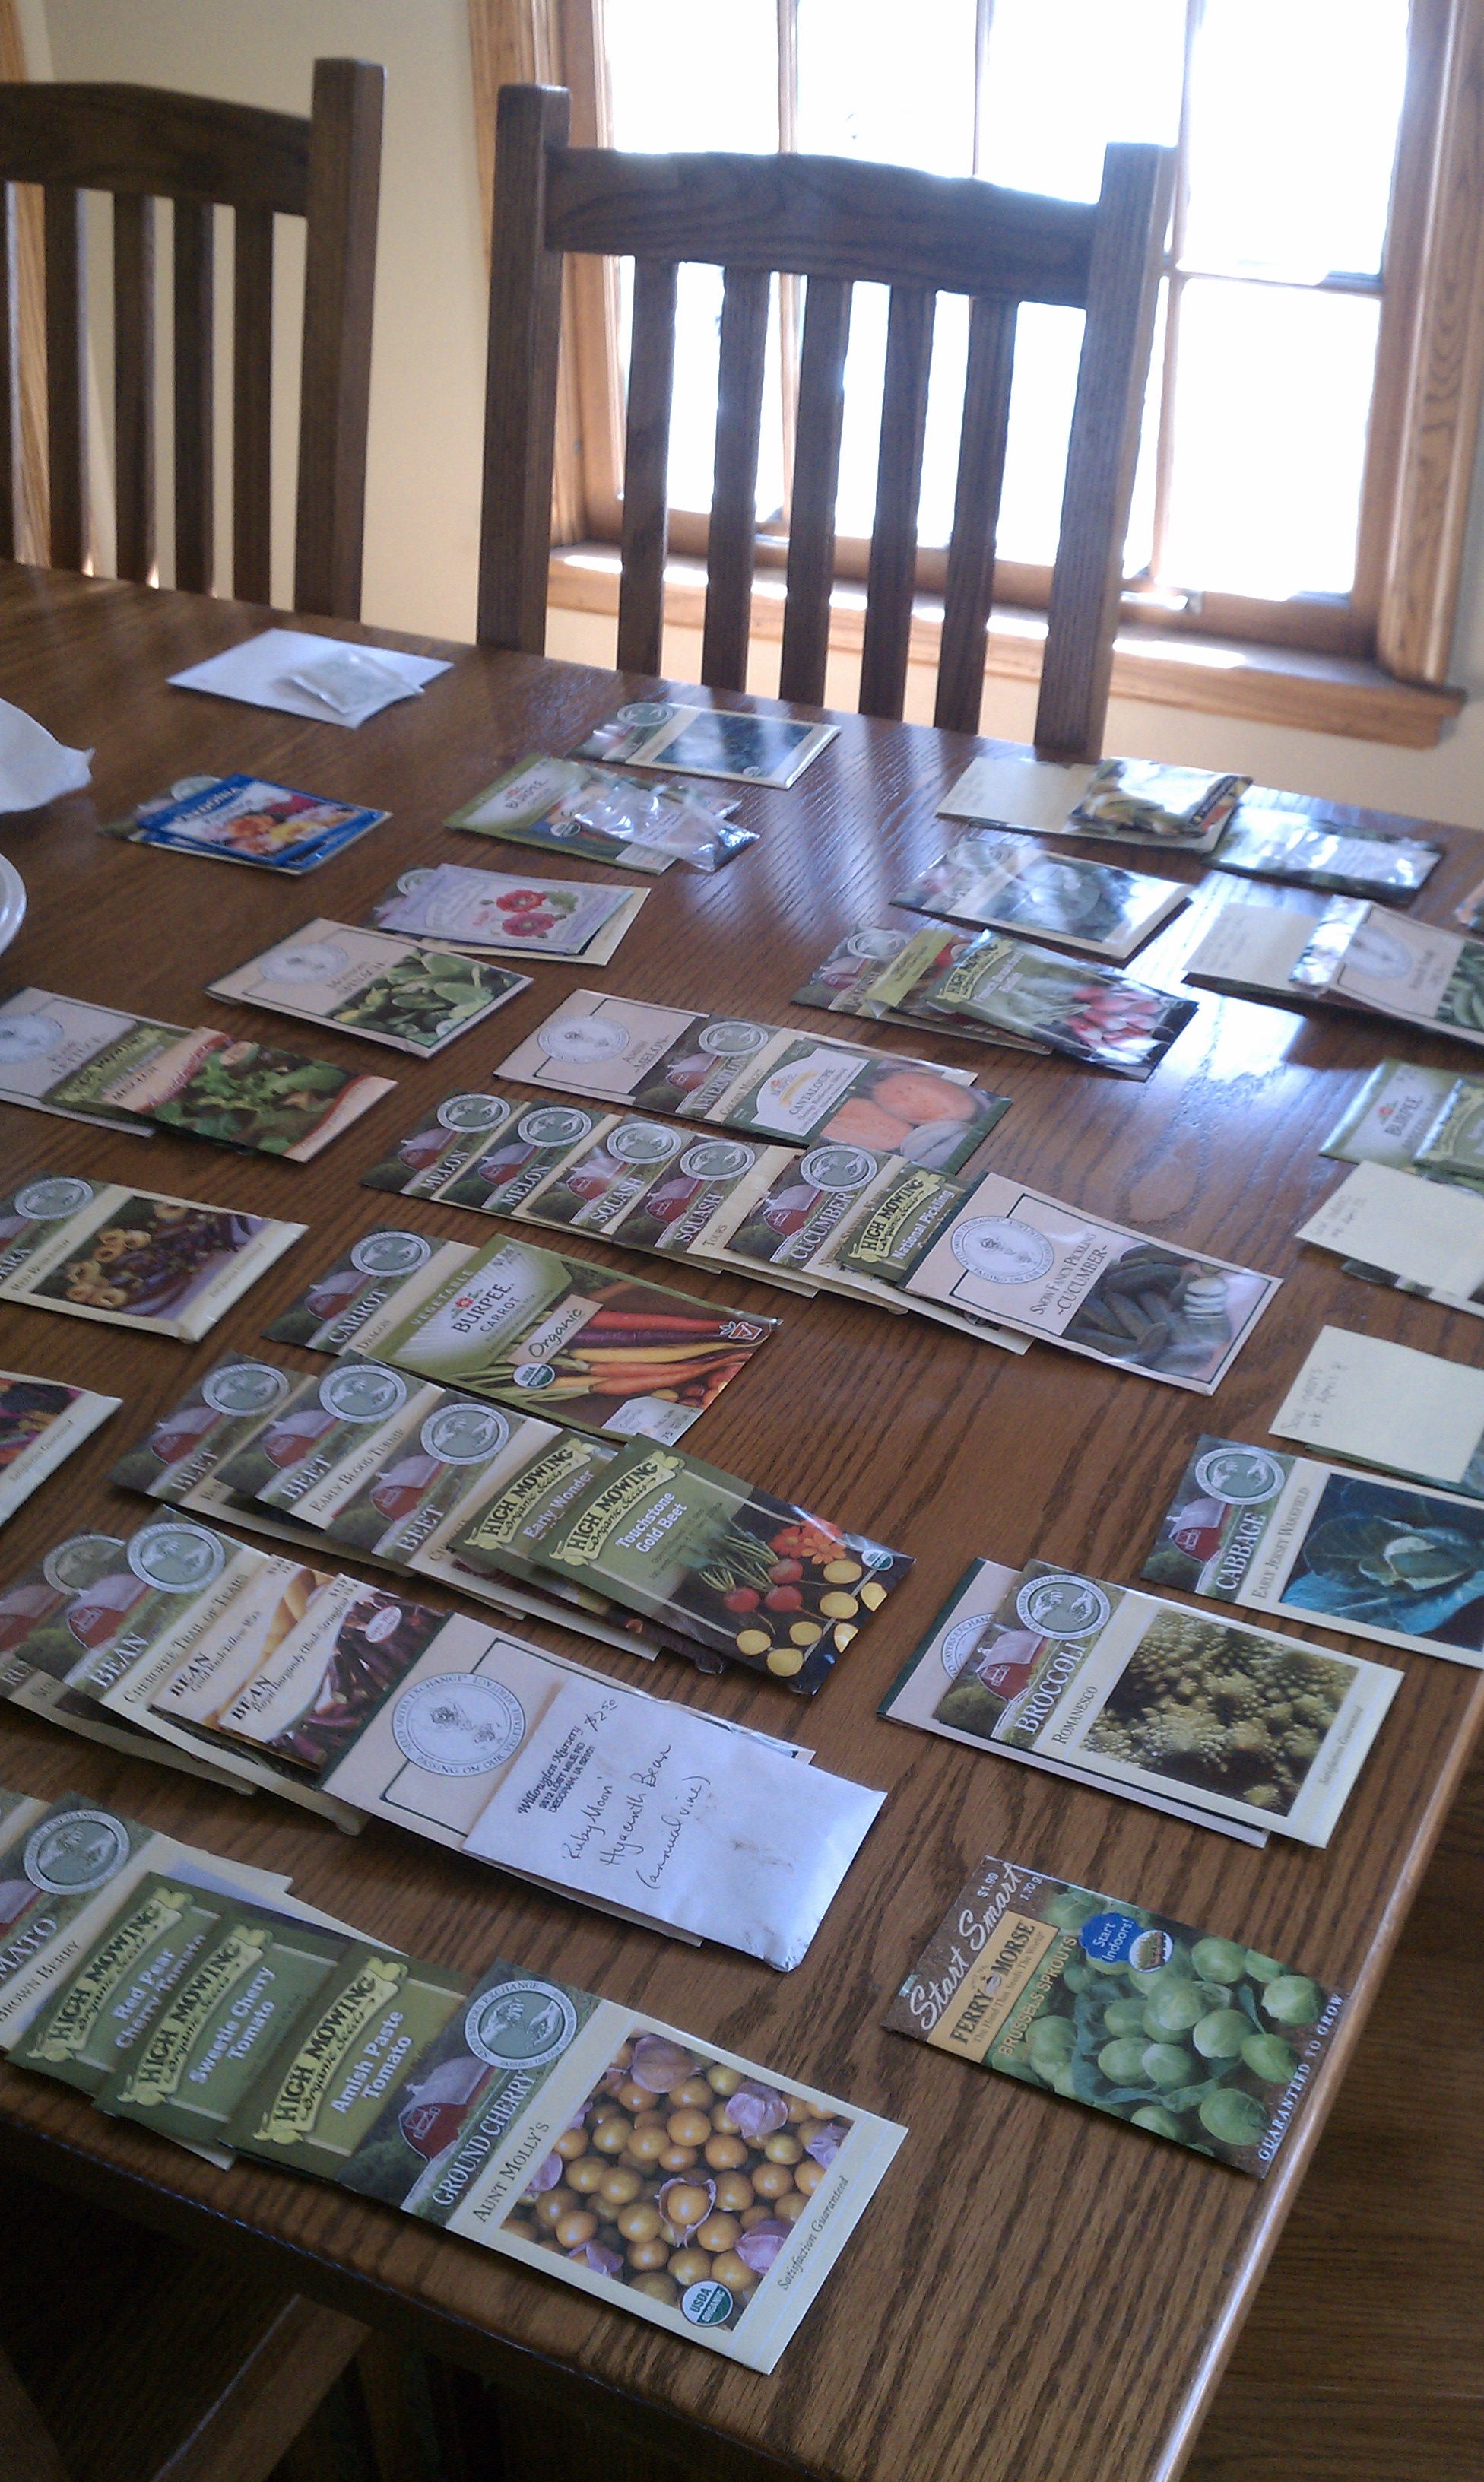
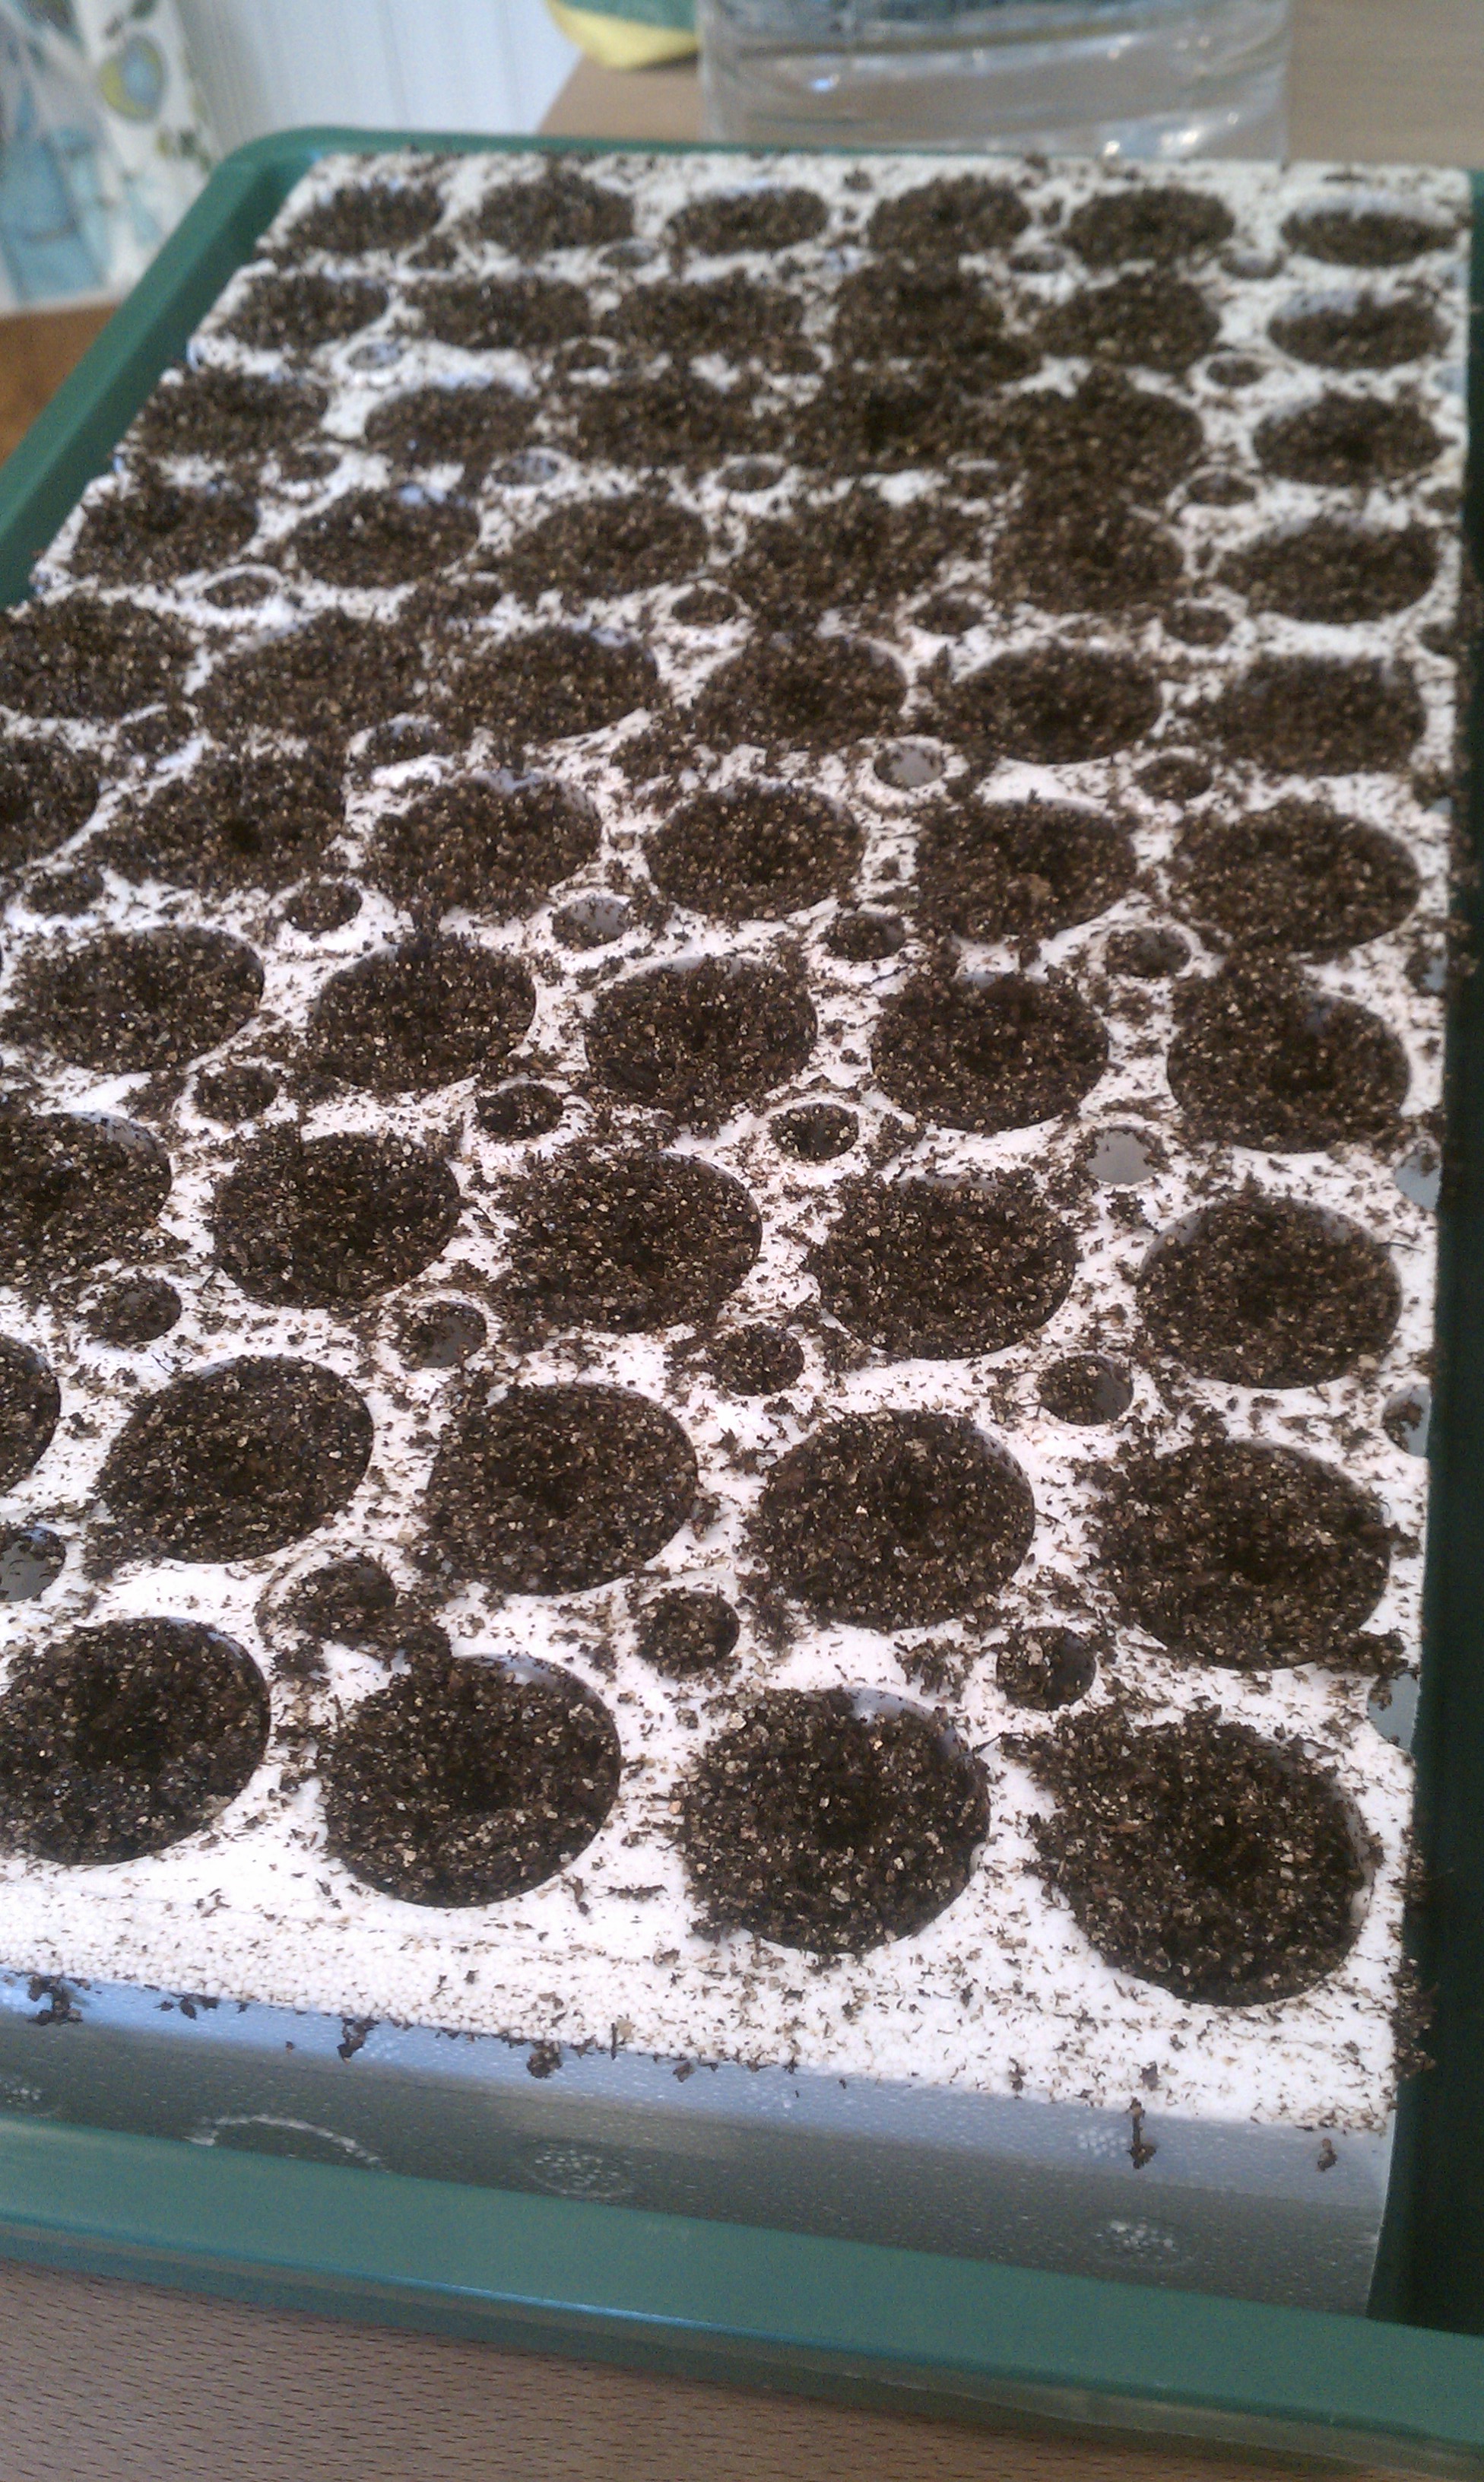
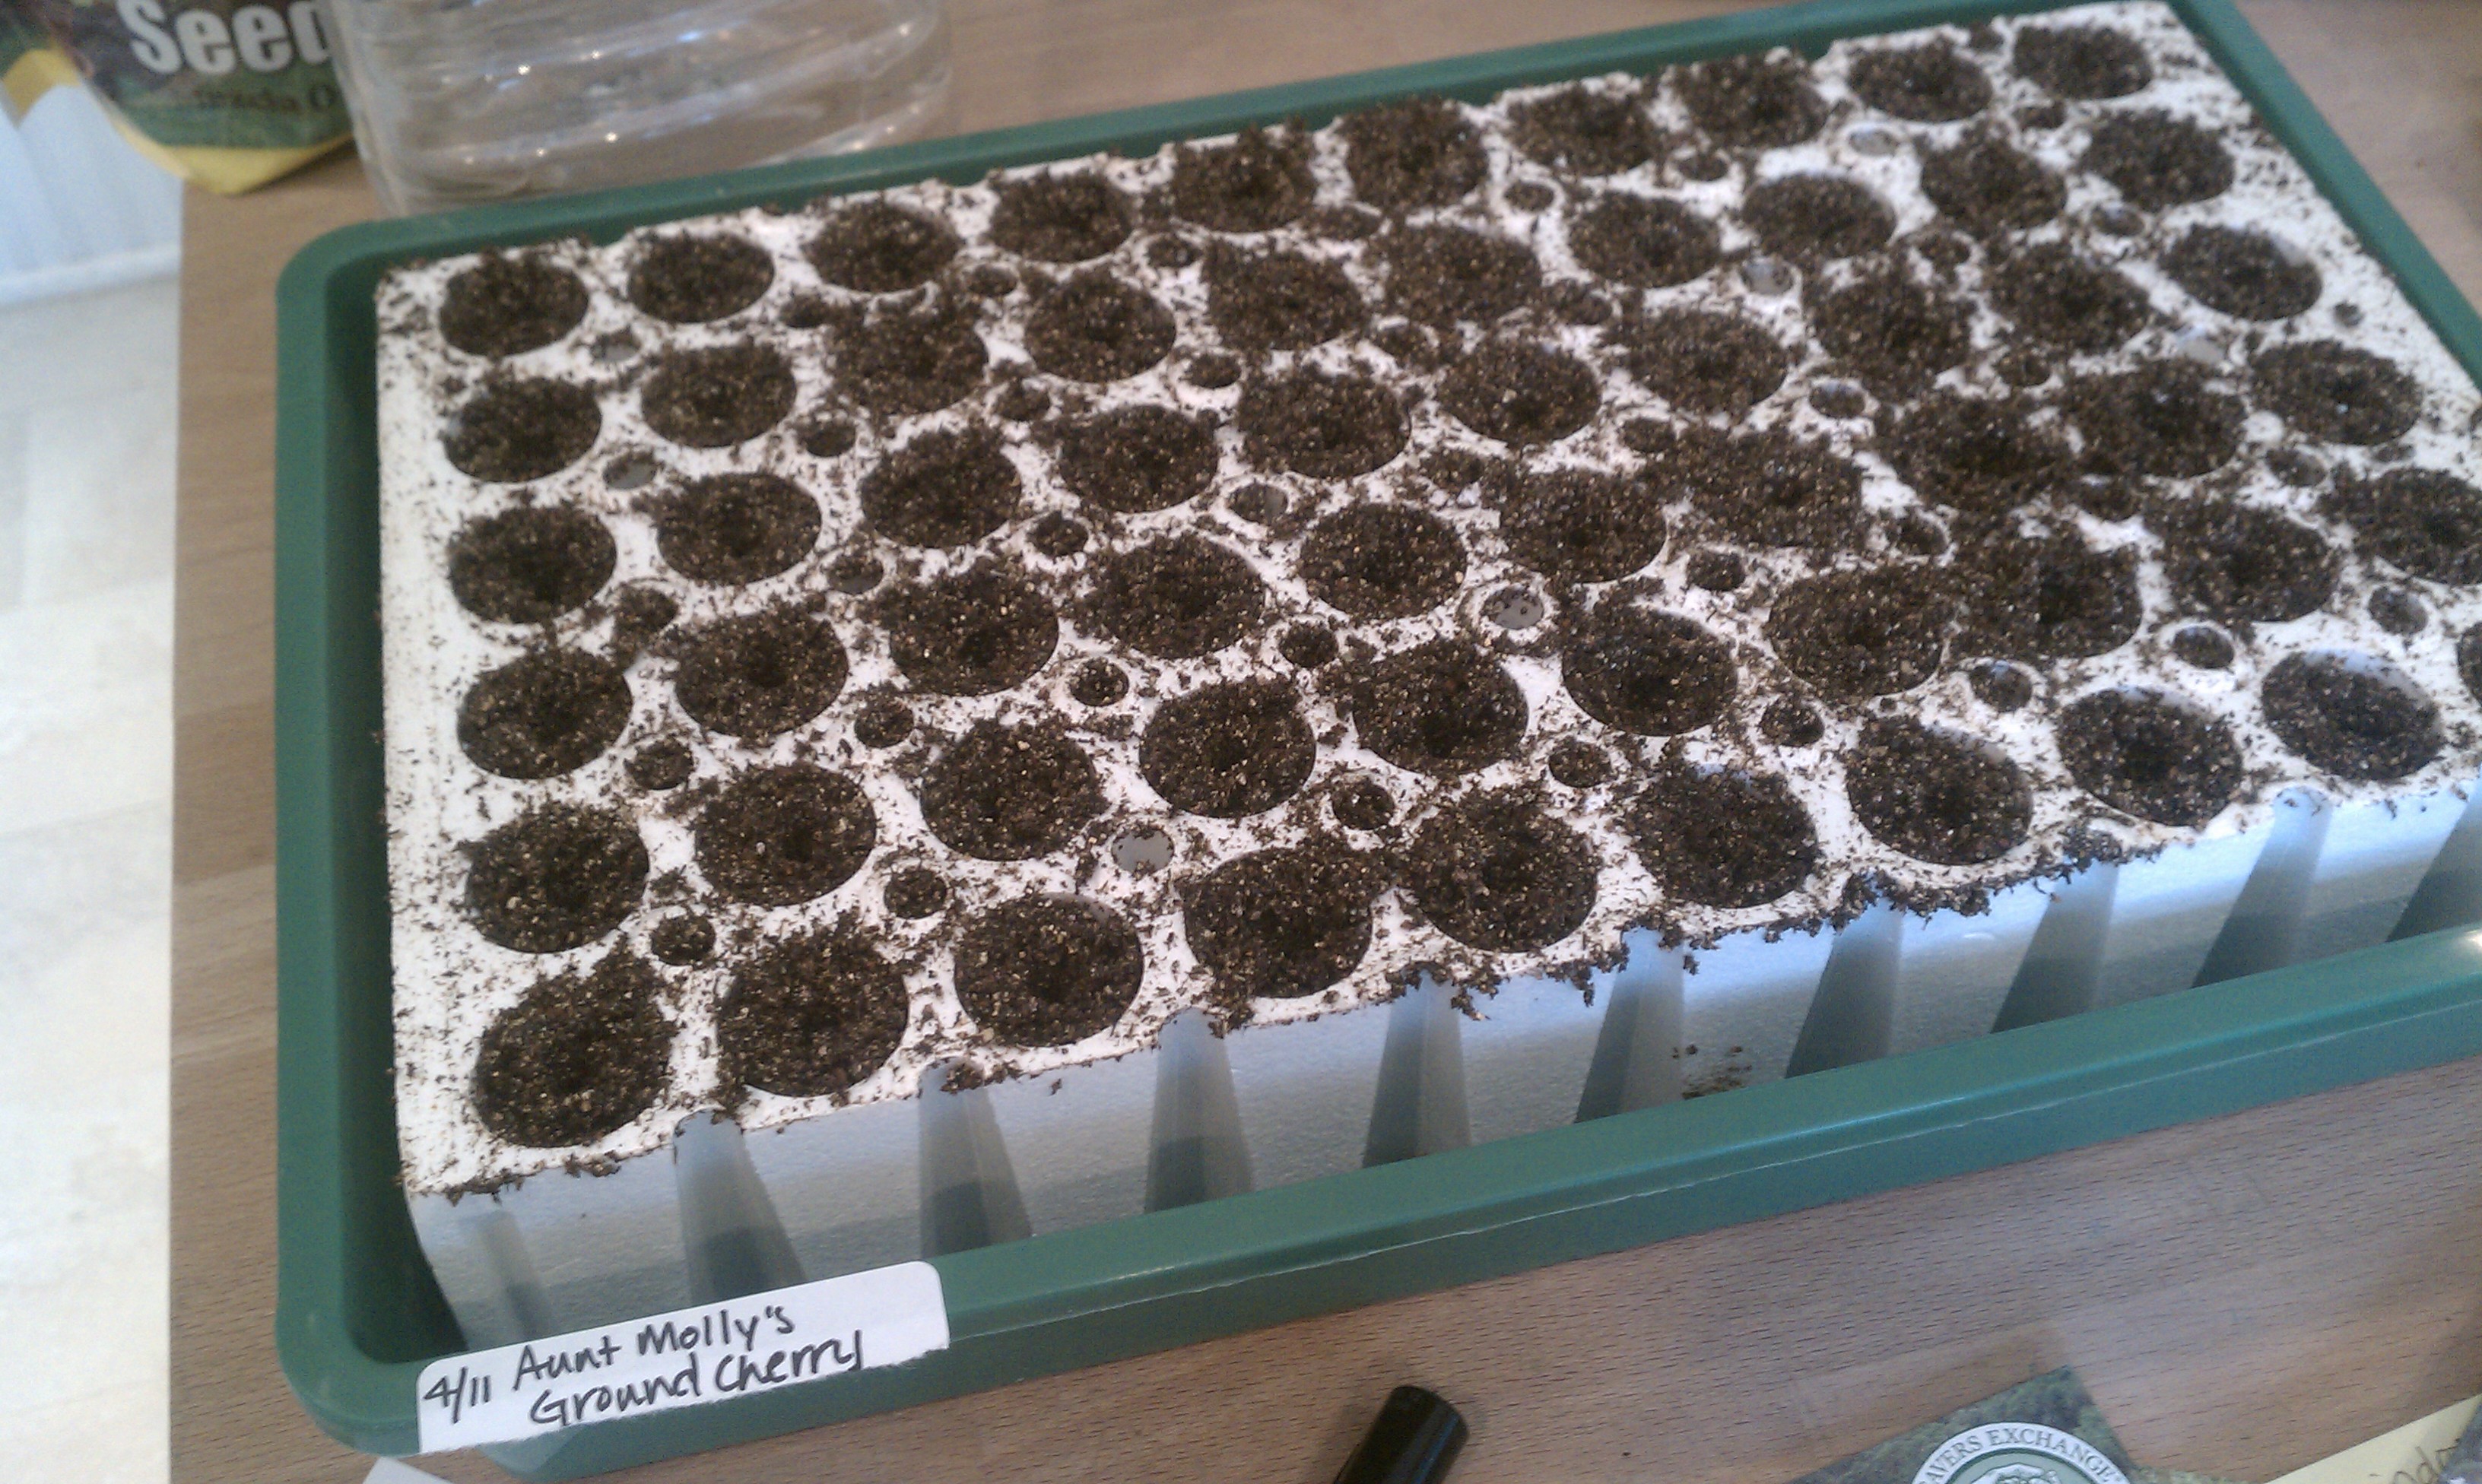
I lay out all of my seeds by type (tomatoes, cucumbers/squash, peas, beans) because typically, plants in the same family are going to require the same timing (give or take a week).
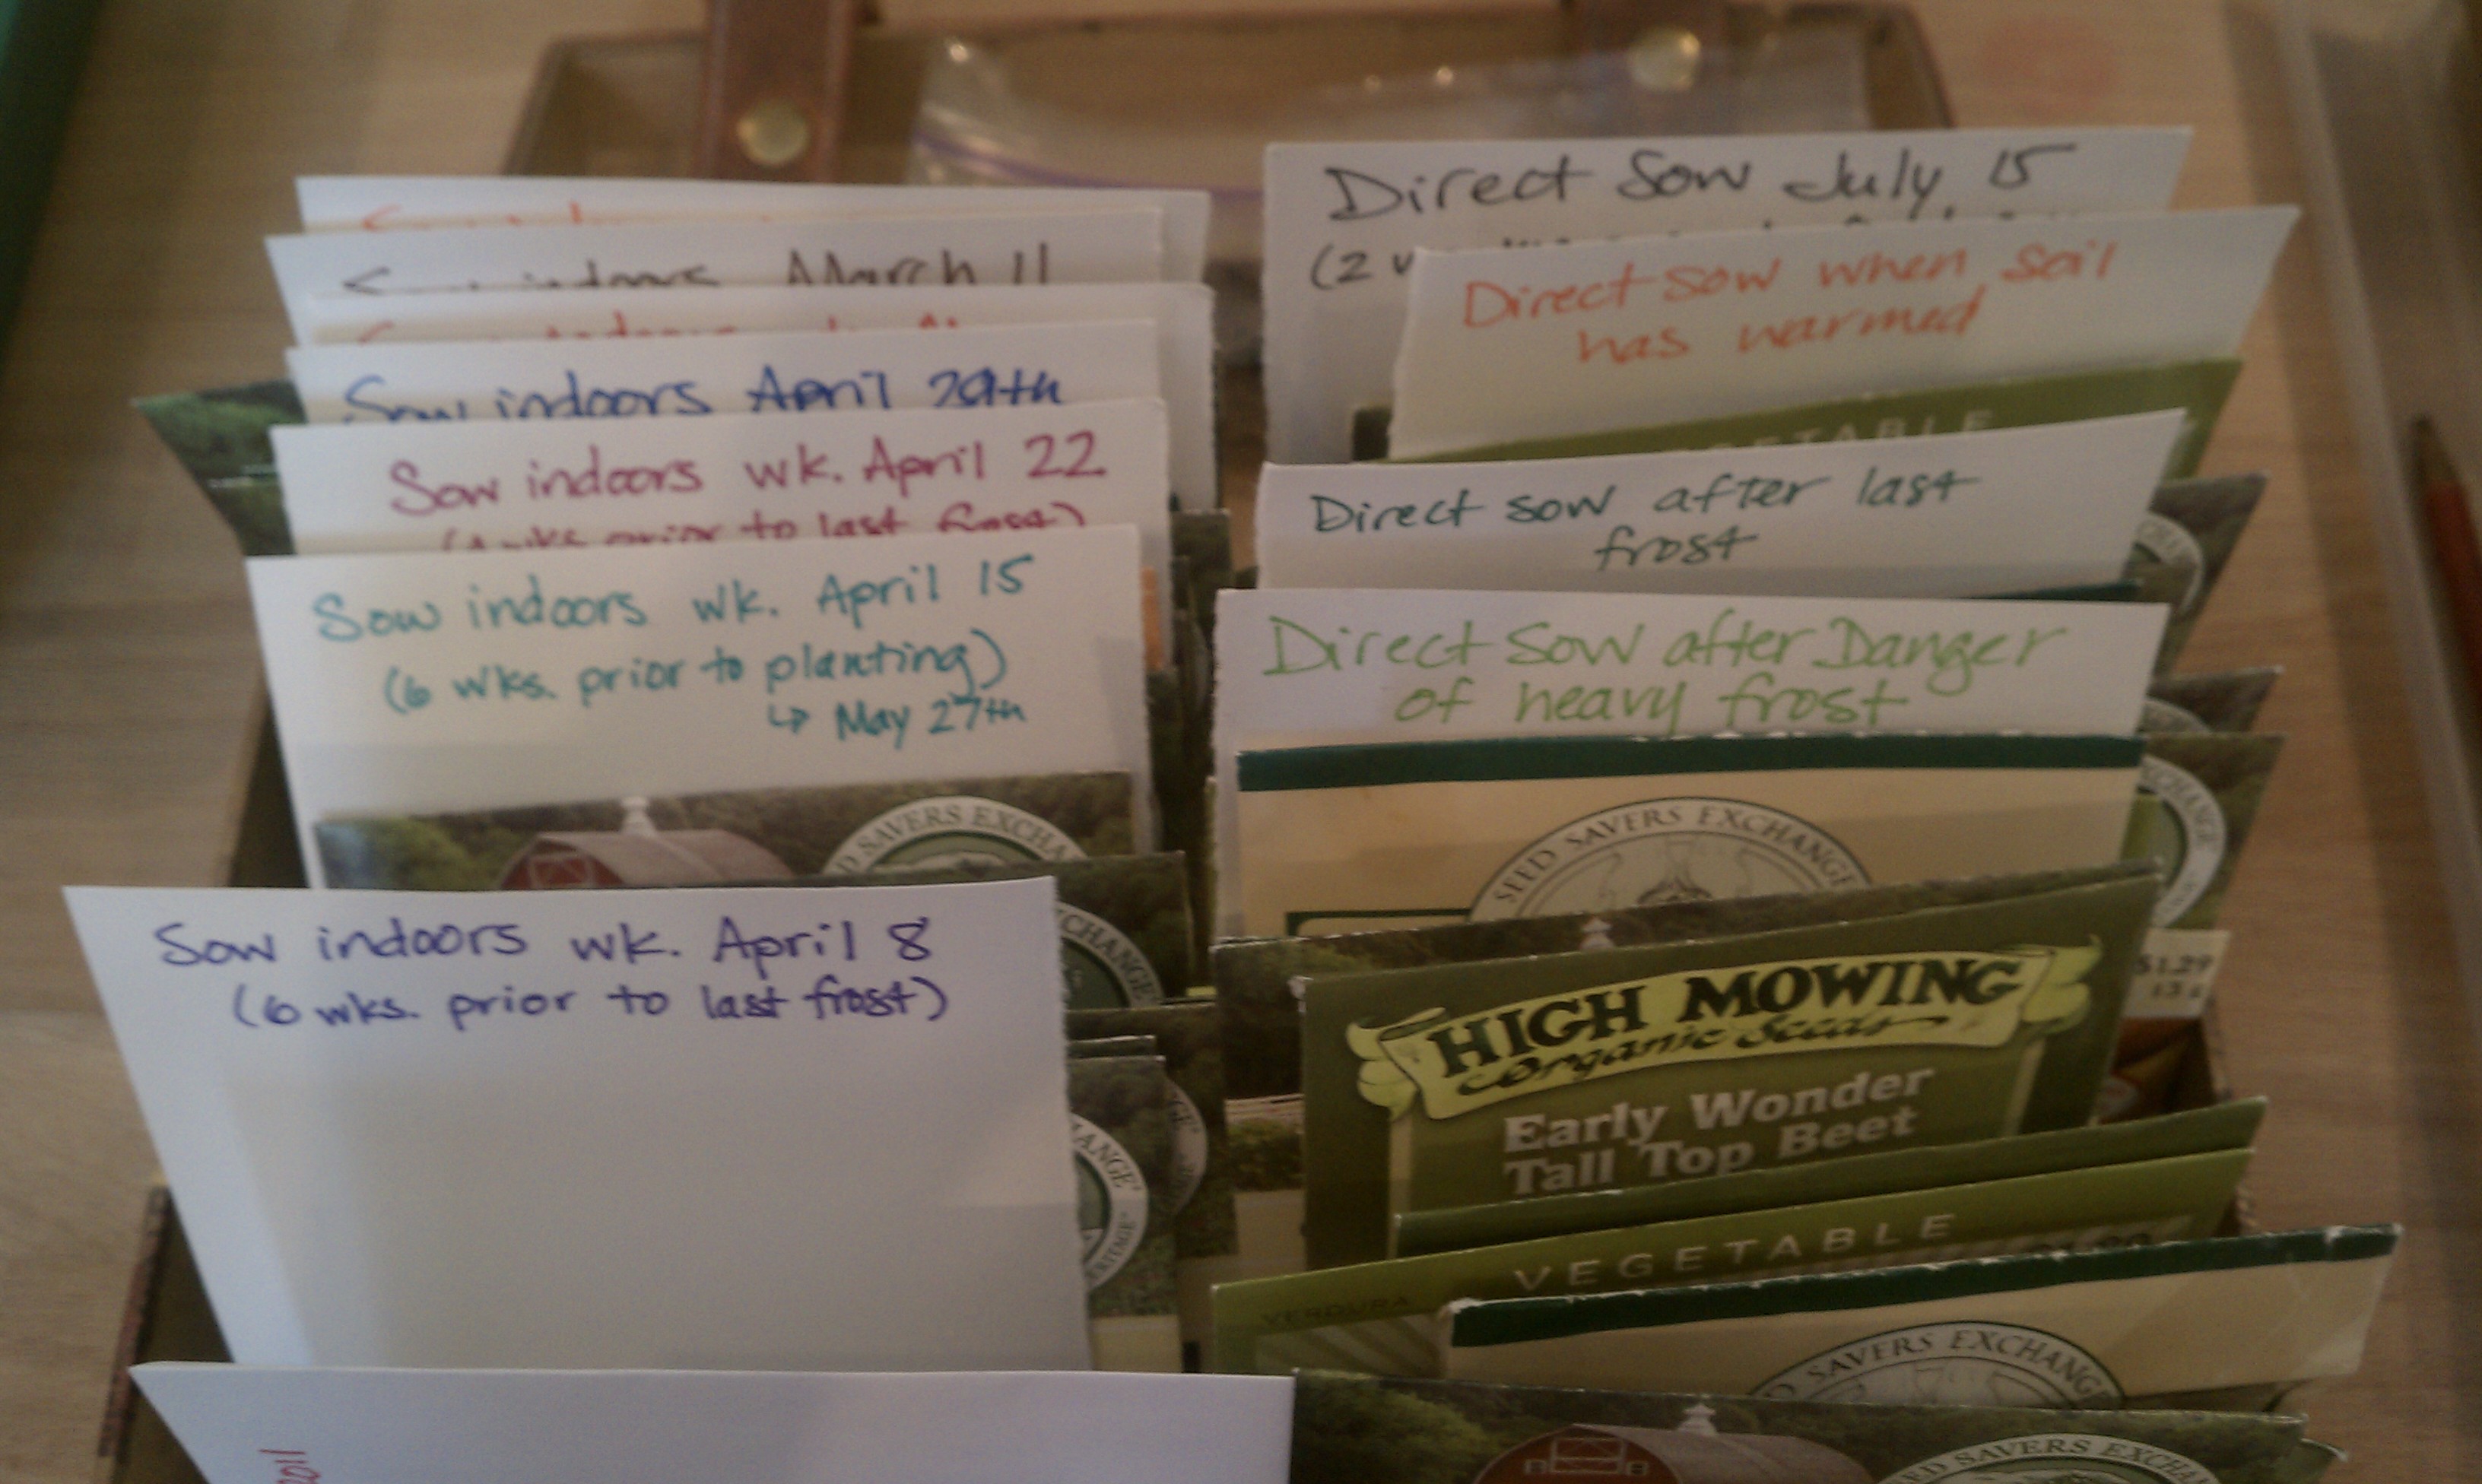
Then, using my calendar, I figure out when each seed packet needs to be planted and group them together by week. I put them all in a box with the seed packets behind their proper week. This makes it quick and easy to look and see what needs to get planted each week and I can simply grab the packets, plant the seeds and move onto the next group the following week.
Timing: Planting in The Garden
As far as timing the planting of your garden, it’s important to remember that different plants prefer different conditions, so you should plan to plant your garden in phases.
Tomatoes, peppers, eggplant and beans are all warm season crops, so I wait to put them into the ground until things warm up. Cool season crops, on the other hand, (cole crops such as broccoli, cabbage, kohlrabi, etc.) prefer colder temperatures, as do peas and spinach, so as soon as the snow melts and the soil starts to dry out, it’s time to get those plants in the ground.
Don’t try to get your whole garden planted in one day. Give yourself a week to plant, whether it’s planting seeds indoors or planting in the ground. Shoot for “the week of…” rather than a specific day. That way if the weather or life gets in the way of the exact day you targeted, you’ll have a little wiggle room.
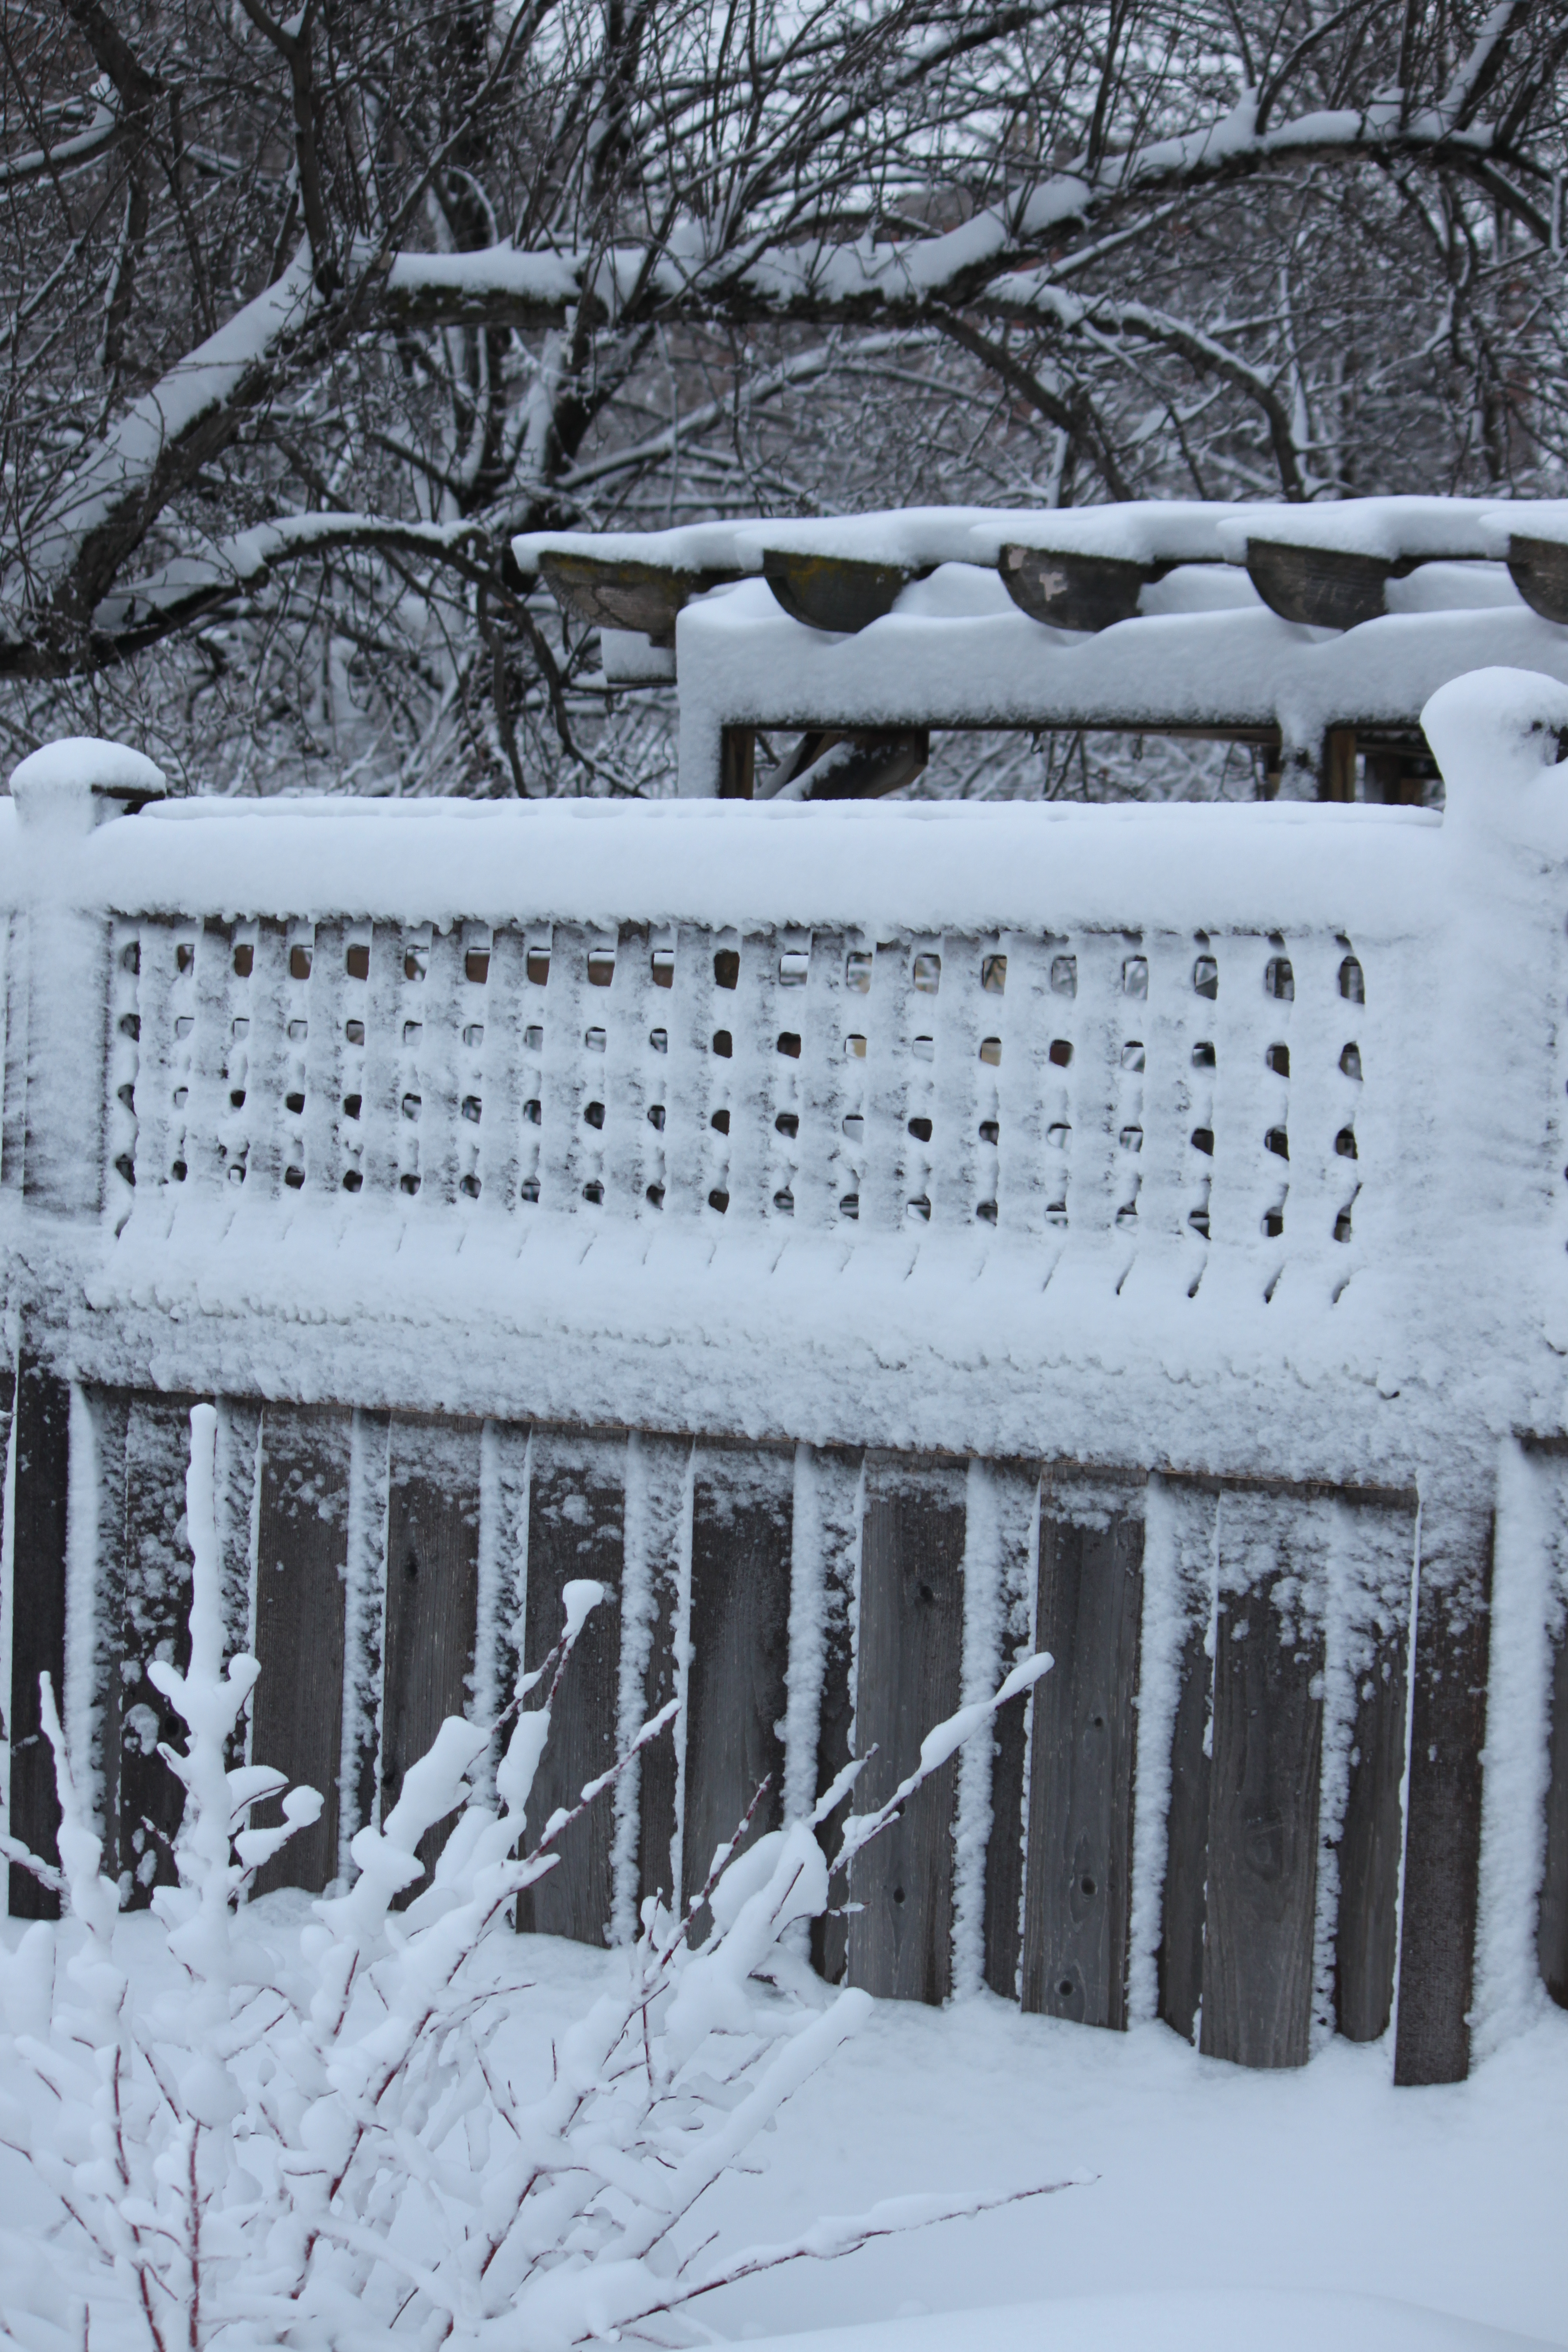
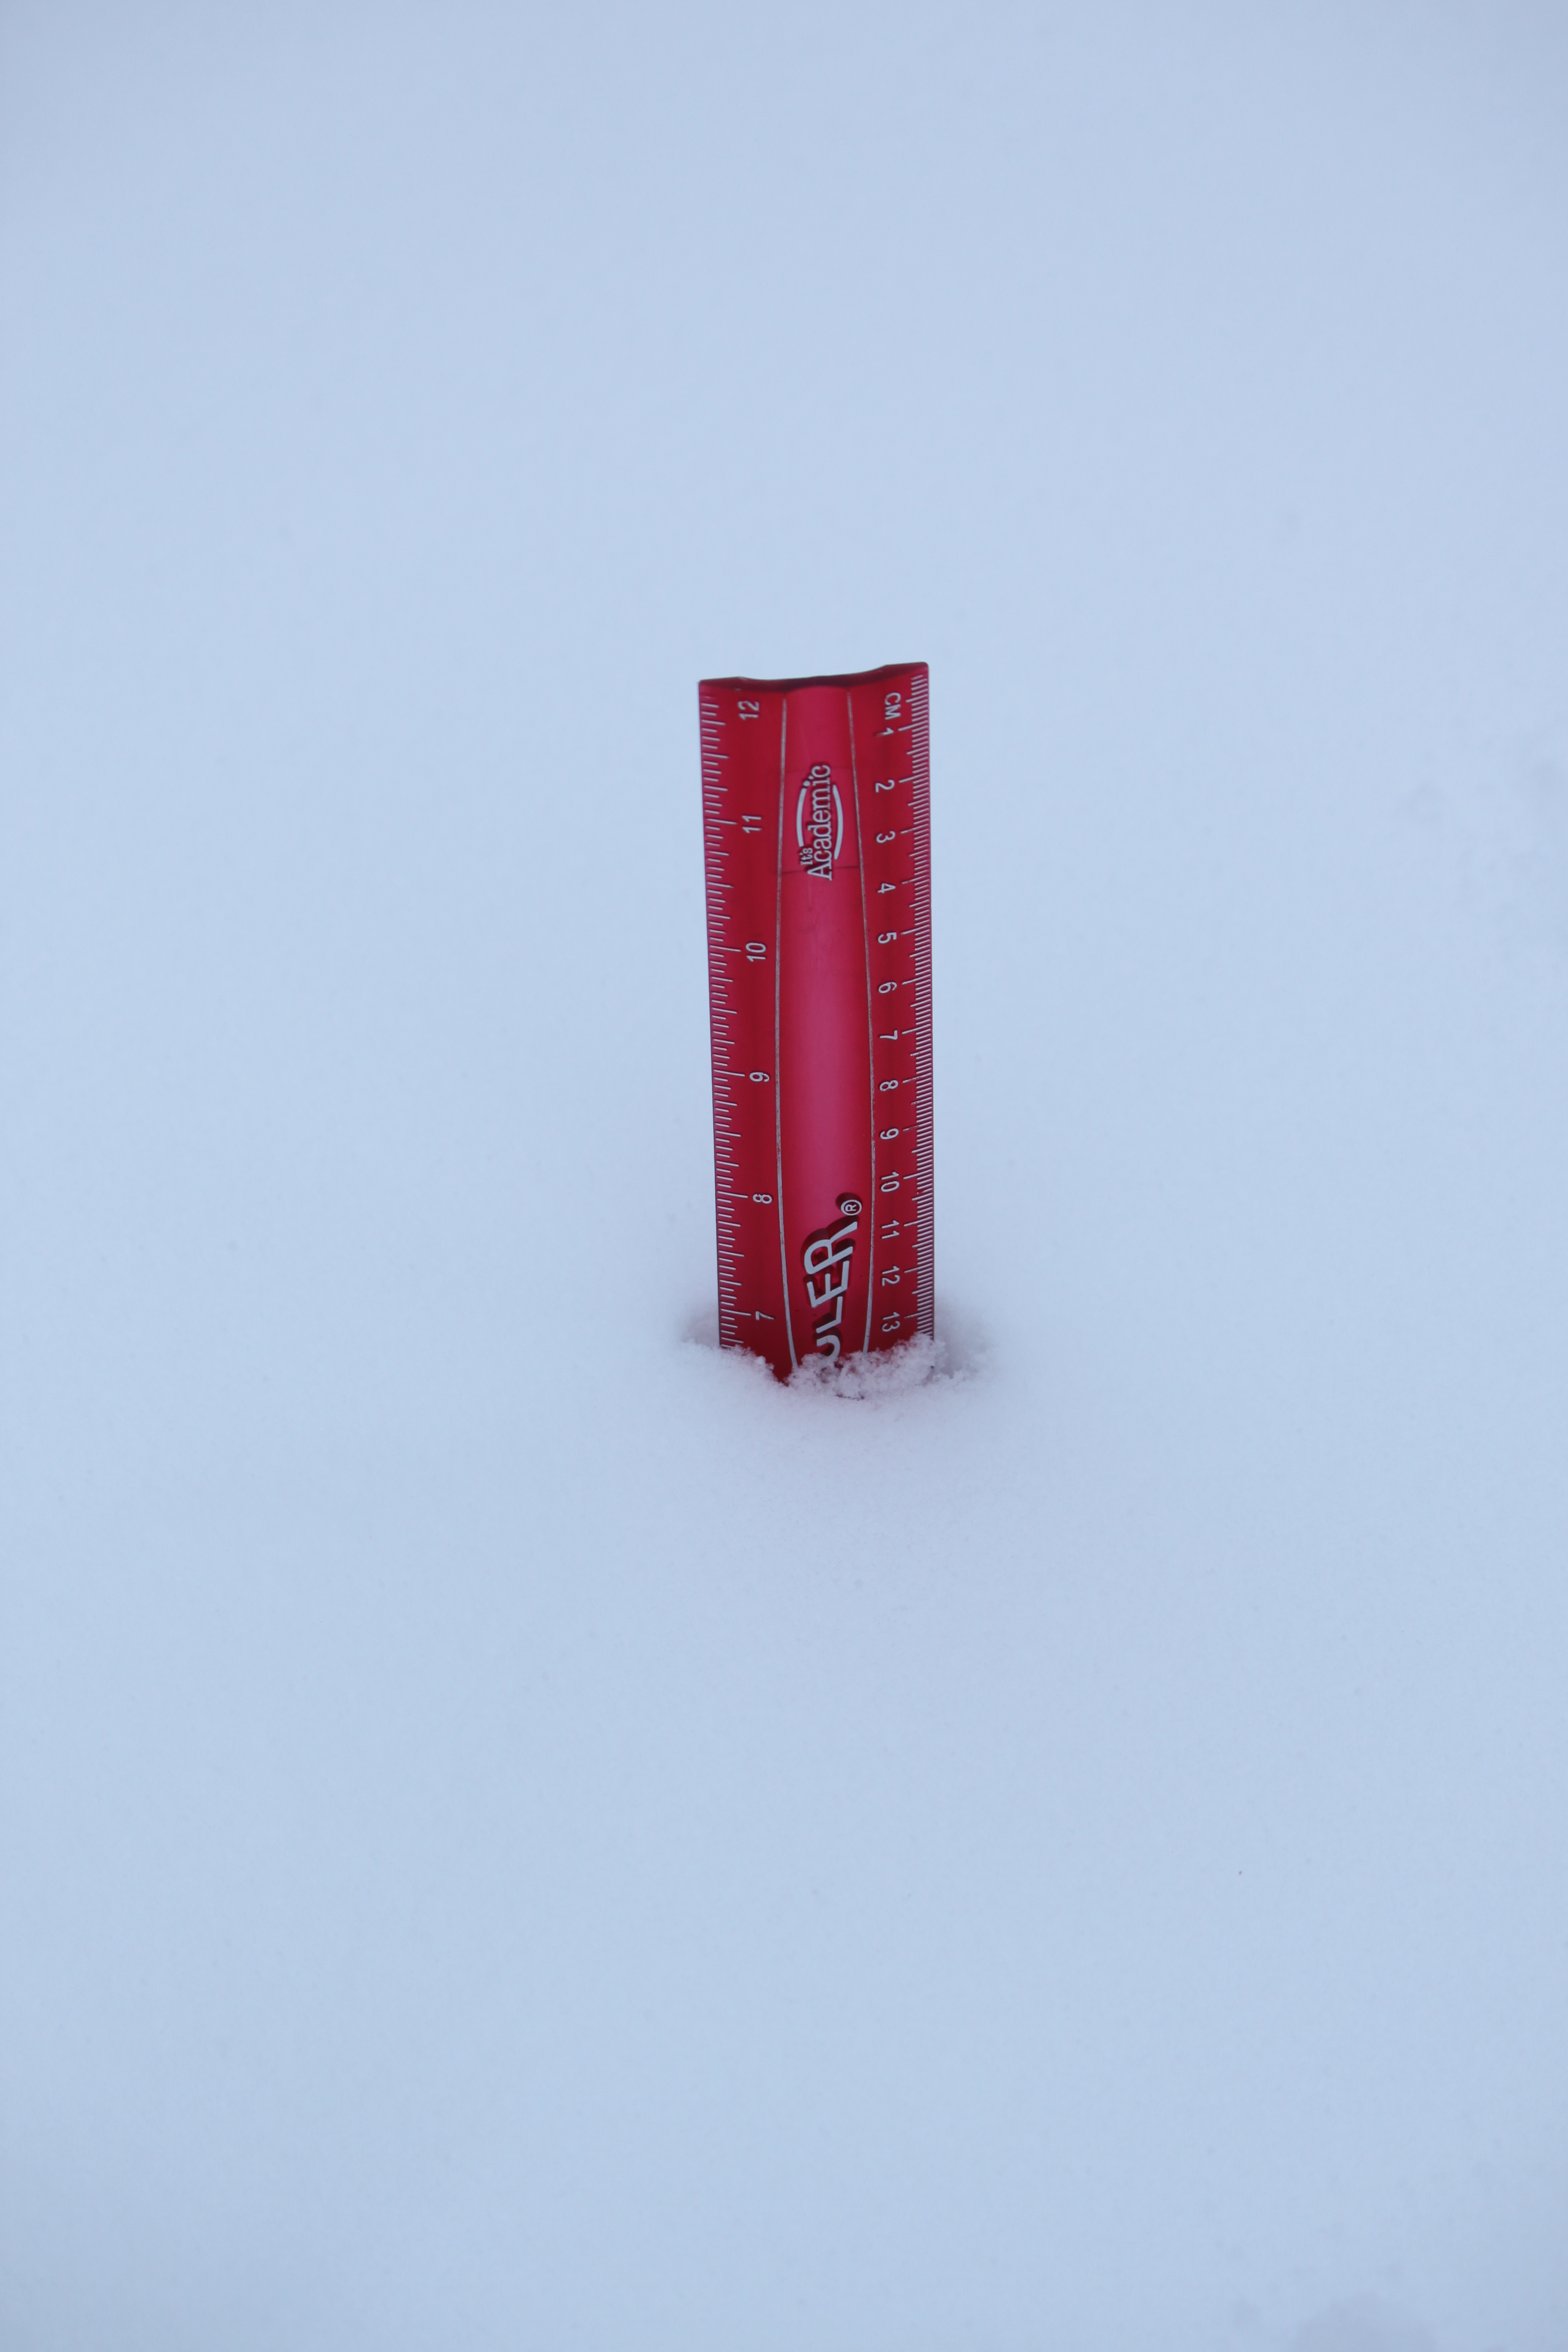
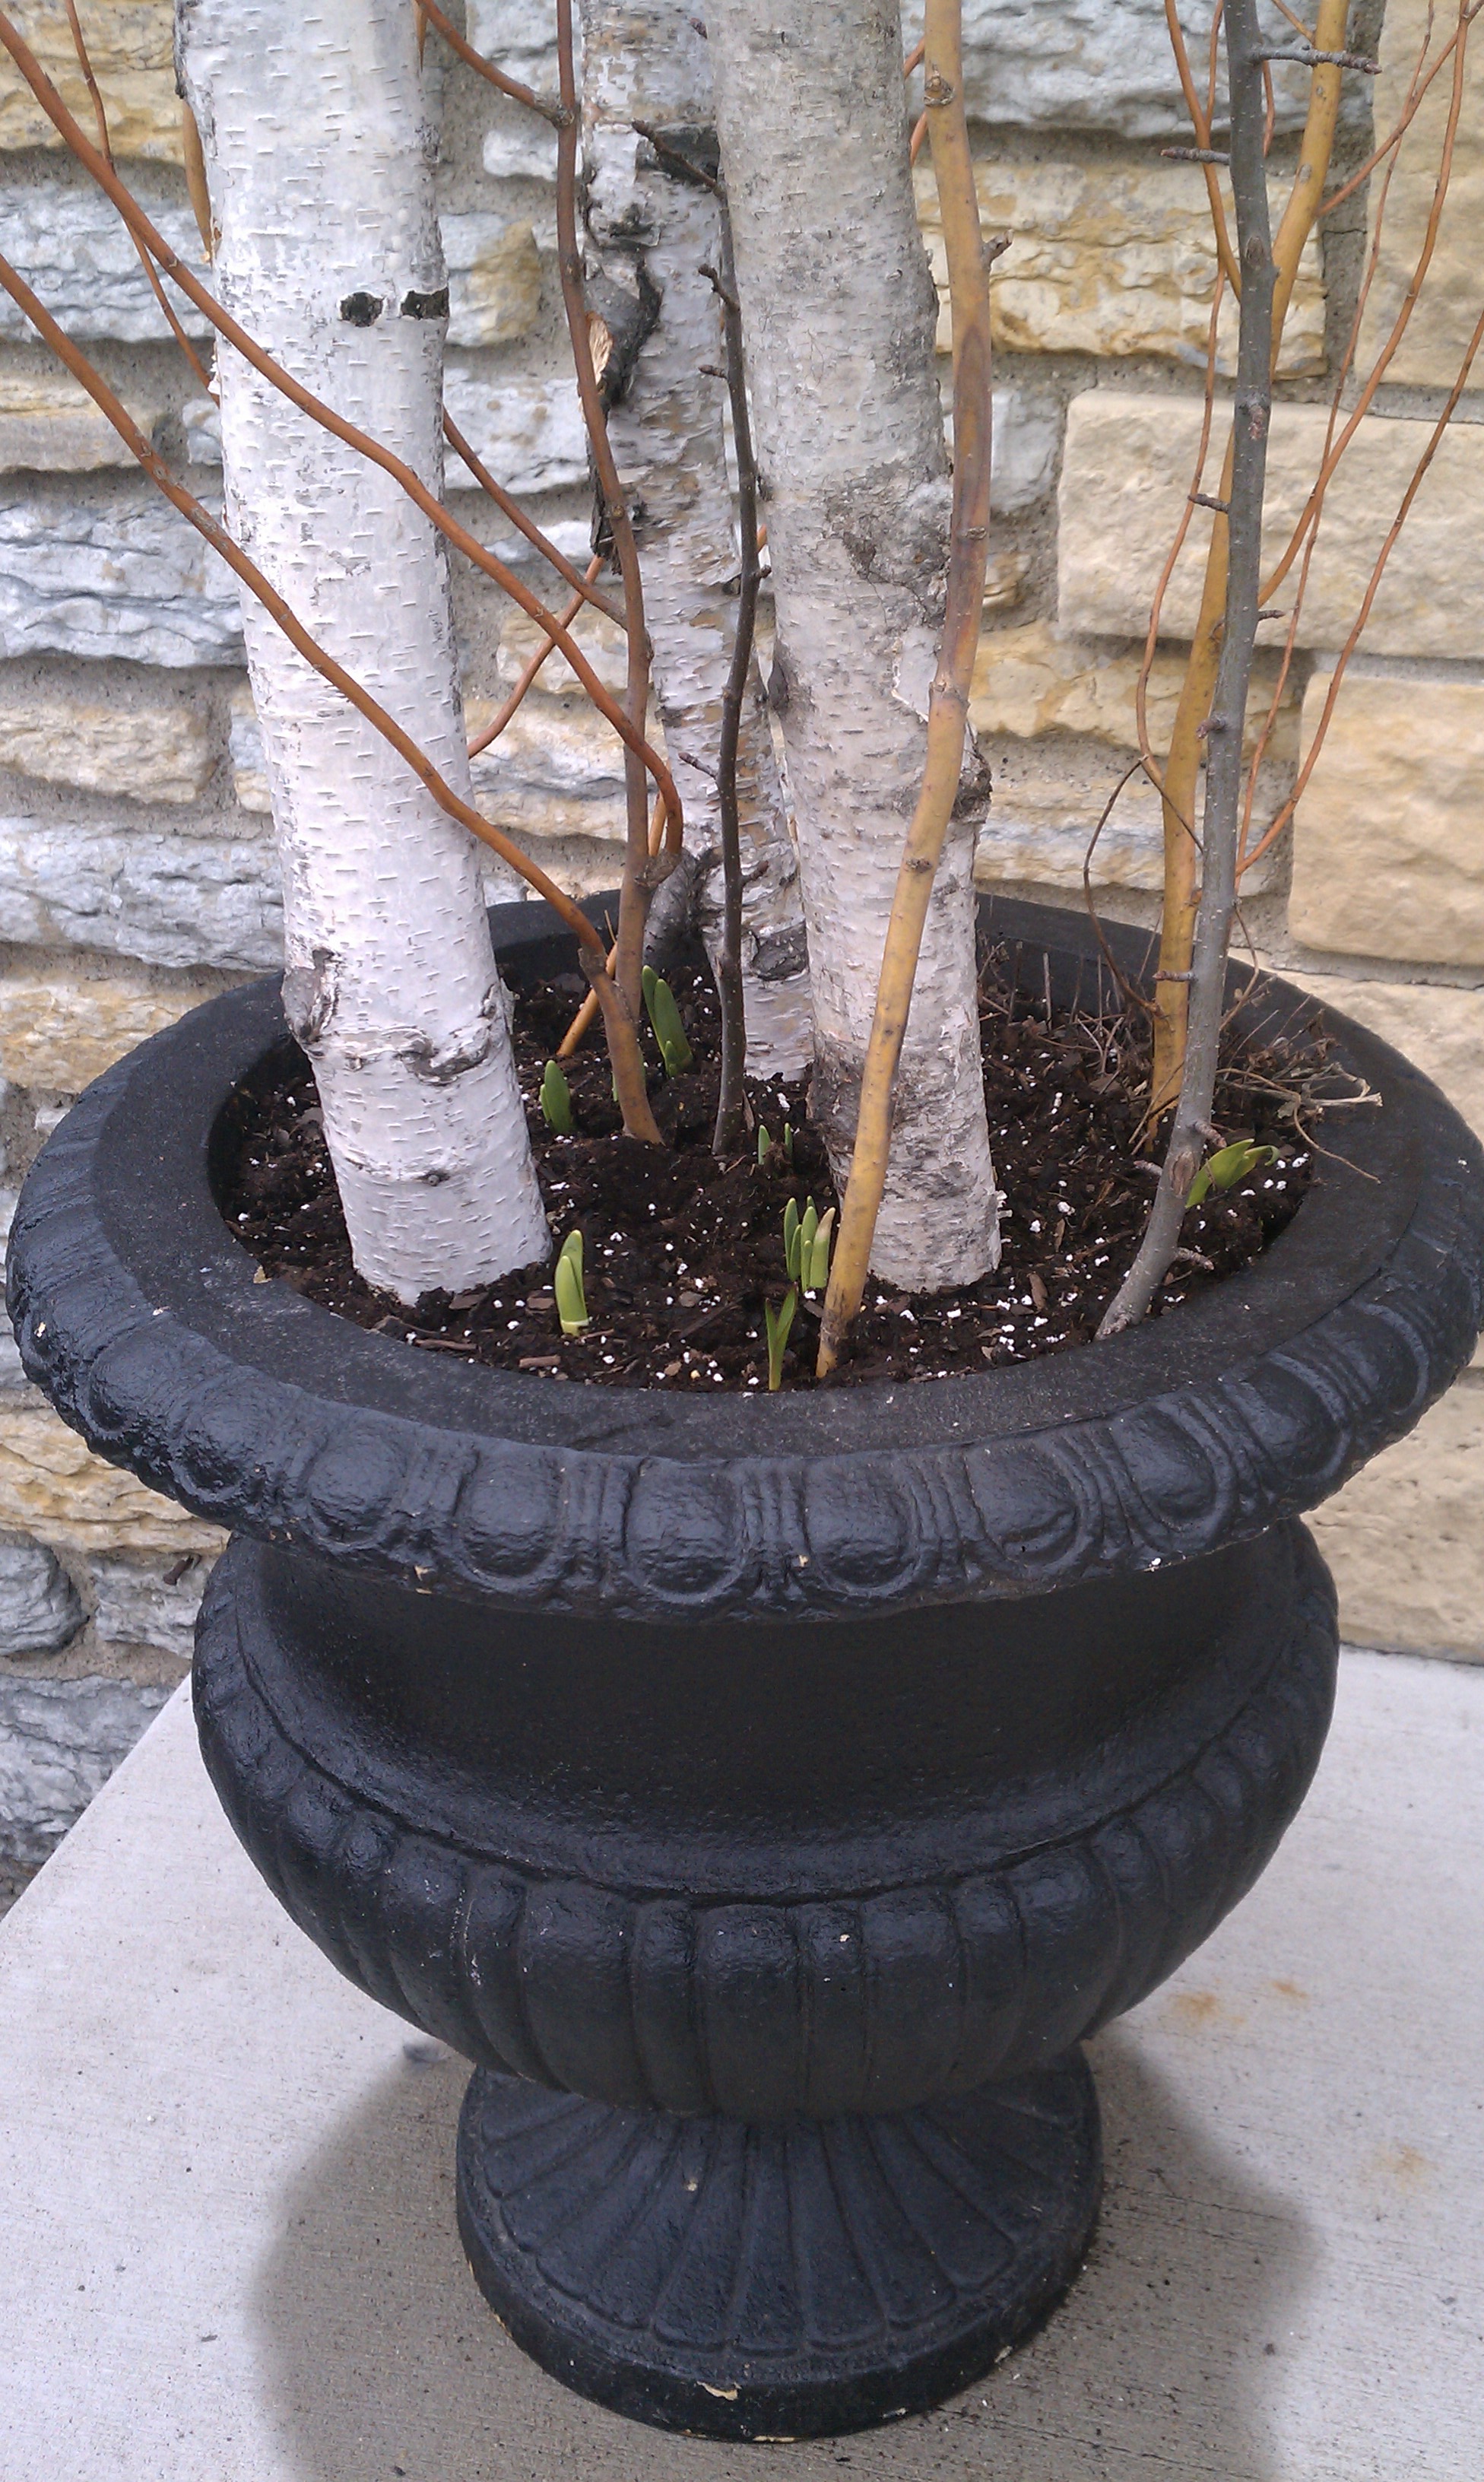
If you live in Minnesota you may be wondering whether we are still on track for spring planting given the late winter weather and seemingly endless amounts of snow… The bad news, is, yes, the cool/cold season crops are a week or two behind, but the good news is that forecast is for the 50s F, 60s F and even 70s F in the coming days in Minneapolis and with a few days of sun and dry weather the soil will begin drying out and warming up pretty quickly.
That said, I realize many of us are anxious to get out into our gardens, but again, we need to be flexible and need to keep the plant’s and soil’s best interests in mind. In other words we need to make sure the soil is “ready to be worked” prior to diving into the garden or we can do both our soil and our plants harm which can set us back years instead of just a couple of weeks. So how do you know if your soil is “ready to be worked”? Test for moisture content and temperature.
To test soil moisture content, simply grab a handful of soil and squeeze it. If it stays together in a clump it is still too wet to be worked. We want the soil to break apart in our hand when it is squeezed. Working soil when it’s too wet will cause compaction, which is detrimental to the soil and can take years to repair, we can prevent soil compaction by waiting to work the soil until it had properly dried out. Planting seeds when the soil is too wet can also cause the seeds and/or seedlings to rot and invites disease problems into the garden if the plant were to survive.
To test soil temperature, simply use a soil thermometer. Soil thermometers will help you observe whether your garden is ready for your plants. They are relatively inexpensive to buy and are available at most garden centers or nurseries and some hardware stores even carry them.
Keep in mind, when it comes to moving seedlings outdoors, if the air and soil aren’t warm enough, it is actually better for the plants to keep them inside under lights and in consistent temperatures than it is to put them into unfavorable conditions. In the long run, your plants will be stronger and do better if you keep them inside just a little bit longer.
Beyond Timing:
I highly recommend having a calendar just for gardening. You can mark the average last frost date, average first frost date (in the fall), when to start seeds and even when to harvest (by using the harvest information on the seed packet). You can also include when to do succession plantings and jot notes as to what you planted when (vs. your target planting dates). This is a great reference tool later and an excellent companion to a gardening journal!
Remember, gardening is supposed to be enjoyable. The timing is important, but not critical. Observe and be flexible!
Kate