Posts tagged ‘seed starting’

April 22, 2013

Seed Starting 101 (An Earth Day Project)

a-to-z-letters-s

Happy Earth Day!

What better way to celebrate Earth Day (and for those of us in Minnesota to forget that it’s snowing again) than starting seeds to plant a garden?

So here we go…

Seed Starting 101

IMAG3989

1.  Wash your hands.  This feels like an oxymoron. Wash your hands before getting them dirty?  In this case, yes.  When handling seeds and the soil they grow in, we are trying to start a life.  We want to make sure that we have a sterile environment in order to minimize as much bacteria, virus and contamination as possible.

Note: Hand washing is extremely important for smokers because Tomato-Tobacco Mosaic Virus Disease can be spread by the fingers of smokers touching plants, particularly those found in the Nightshade family (tomatoes, peppers, etc.).   More info on Tomato-Tobacco Mosaic Virus Disease can be found here.

2. Start with a new or sterilized seed tray, pot or other container with drainage holes.  Again, we’re looking for a clean sterile environment to start our seedlings in.  All containers must have drainage holes to allow water for proper drainage and to prevent drowning our precious seedlings.

Note: To sterilize containers, soak in a solution of 1 part household bleach to 10 parts water for 30 minutes.  Rinse thoroughly.

3. Pour soil-less seed starting mix into a sterilized container.

Note: Soil-less mixes work best because they are light weight and retain moisture while also providing air space and drainage necessary for seedlings.  Soil-less mixes are also sterilized to limit disease.  Soil (garden soil, top soil and potting soil) is not recommended for starting seedlings because there is an increased risk of disease, weed seeds and typically does not have adequate drainage required for seedlings.

IMAG3982  IMAG3987

4. Moisten seed mix, gradually adding water until the soil mix is like a damp sponge but not dripping wet.

Note: If using municipal water, make sure to “air out” water prior to using on plants.  To “air out” water pour tap water into a sterilized milk jugs or similar container.  Leaving the cover off, allow it to sit for for 24 hours to allow chlorine to evaporate.  Chlorine will cause leaf-drop and can kill plants.

IMAG3991

5.  Gently fill seed trays or containers with damp soil mix, and level off.  Do NOT pack the soil into the container.  Seedlings need air space for their delicate roots to get established.

IMAG3995 IMAG3997

6. Using a sterilized dibble or dull pencil, make a small impression on the surface of the soil in the middle each cell or container, about 1/4- inch deep.

IMAG4008 IMAG4009

7. Place 2 – 3 seeds in the hole (unless otherwise noted on the seed packet).

IMAG4003 IMAG4004

8. Label as you go.  Include the date you are planting and the variety planted.

IMAG4010

9. If seed packet says to plant 1/4 inch deep, lightly cover seeds by sprinkling a thin layer of seed starting mix or vermiculite onto the surface of the soil.

IMAG4012

10. Place seed tray or containers into a solid tray (without drainage holes).  Water seeds by gently misting the surface with a spray bottle filled with “aired out” water or by bottom watering.  If bottom watering, make sure to drain off extra water after soil is thoroughly moist to prevent “damping off” (a fungi which will kill seedlings).

IMAG4014

11.  If using a “green house” seed tray, cover, keeping vents closed if available, and place under plant lights (or a sunny window).

IMAG4028

12. Watch for seedlings to sprout.  If using a green house cover, adjust vents to allow for air circulation.

13. Check seedlings daily for water.  Do not allow seedlings to dry out or to sit in standing water.

Tips:

As seedlings grow, raise plant lights, always keeping as close to the plants as possible without touching them.  Don’t worry, plant lights do not generate enough heat to burn or harm the plants.  Keeping the plant lights close to the seedlings will keep the seedlings compact and prevent them from getting “leggy” (stretching for the light).

When the seedlings have developed 2 sets of leaves (the first set of leaves are the cotyledon or seed leaves, the second set of leaves are the “true leaves”) transplant to a larger container, if necessary.

Run an oscillating fan near the seedlings to mimic wind in order to grow stronger plants and help prevent damping off.  Place the fan close enough to provide a gentle breeze, but not so close as to be a gale-force wind.

Have fun!

Kate

March 20, 2013

16 Things to Do Now to Make it Feel Like Spring

It’s here!  It’s here!  Spring is here!

Yes, I know, you wouldn’t know it if you were to walk out your front door in Minnesota today.  In fact, you might think it were the middle of January.  I awoke this morning to the weather update of wah-wah, wah-wah, wah, wah with an -18 degree windchill.  Yikes!

If you look at Facebook at all today you’ll see a lot of whining, particularly here in Minnesota.  Unfortunately all of the meteorologists have been touting the weather we had this week last year at 70 and 80 degrees above zero making all of the complaining even worse.  The problem is, last year was NOT THE NORM.  The norm this time of the year in Minnesota is 35 to 40 degrees, which while a high of 18 today isn’t exactly tropical, if you compare it to being 20 degrees off the norm instead of 60 degrees off a record, it’s a little easier to chew.

Weather aside, or maybe because of the weather, I thought it was about time we all got excited for spring so I came up with a few things you can do to get by until the weather catches up with our eagerness.  Some of these things are specific to the Twin Cities area, but similar events are happening across the country.

  1. Force branches. Cut branches off of spring blooming trees and shrubs that need pruning, bring them in and put them in water.  In a few days you’ll have spring inside regardless of the weather outside. Learn more about which kinds of trees and shrubs and how-to here.
  2. Plant an indoor bulb garden.  Many nurseries and garden centers are now carrying bulb gardens that you can watch grow, or better yet, buy bulbs and make your own.
  3. Plan your garden.  Grab plans, pictures and notes from your garden journal and plot out your plan for this season.
  4. Build a plant stand with grow lights and start seeds indoors.
  5. Plant edible spring planters.
  6. Buy yourself some cut flowers.  It doesn’t have to be expensive, even $5 can bring a nice burst of color and a smile to your face.
  7. Go to a flower show.  Macy’s Flower Show is traveling the country.  Check here to see when they’ll be in a city near you.
  8. Make a fairy garden. Need inspiration?  The MN Landscape Arboretum is hosting Tiny Treasures: Fairies and Gnomes through March 31st.
  9. Visit a Farmer’s Market!  This Saturday, March 23, 2013, the Bachman’s on Lyndale will be hosting Fresh From the Freeze the Kingfield and Fulton Farmers Markets in the Greenhouse from 9am – 2pm.  There will be music, entertainment, beer, wine and hard cider too.  A vendor list is posted on their site.
  10. Looking to add some spring to your home?  Check out the Bachman’s Spring Ideas House 2013 from April 4th – April 28th.
  11. Visit the Como Park Conservatory. Can’t get there?  Check out the 360 degree view of The Sunken Gardens and The Palm Dome.
  12. Get baby chicks! Our chickens have brought so much sunshine and joy to some of the coldest days.  Egg|Plant Urban Farm Supply has chicks arriving on a weekly basis.  Order yours now. (I also know of a possible source if you’re local, contact me and I’ll connect you.) You can build your coop while they grow!  Not ready for your own?  Stop by and visit them.
  13. Start a windowsill garden.
  14. Plant grass in egg shells or a basket.  You’ll be ready for Easter.
  15. Take a trip down South.  No, actually I don’t mean on a plane or in a car.  Grab your jacket, don your hat, slip on those boots and head to the South side of your house, apartment building, what have you.  The South side of buildings gets the best sun and typically retains heat making that area a little micro-climate where the ground thaws early and plants emerge first.  A friend told me just yesterday that her tulips are “up” (poking through the ground) on the South side of her house.  Take a trip and report back on what you find!
  16. Feed the birds!  According to the birds spring is definitely here.  Don’t believe me?  Shut everything off, radio, TV, your kids 😉 and listen.  The birds a singing their sweet little heads off.  Want to hear them more clearly?  Hang a feeder in your yard (or fill-up that empty one), they’ll be singing songs of glory for you!

If all else fails, call me!  I’d be happy to chat about and help you plan your yard and garden for the upcoming season!

Happy Spring everyone!

Kate

March 21, 2012

Why You Can’t Afford Not to Plant an Edible Garden

Money may not grow on trees, but it does grow in your garden!

“HO-LY-COW! You’ve got to be kidding me!” Oh, geeze, did I really say that out loud?  I quickly glanced around the store, avoiding any eye contact with anyone who may have heard or at the very least seen my face when my eyes popped out of my head and my jaw hit the floor.   My eyes stop.  A woman is looking at me with a concerned, or maybe it’s disgusted, look on her face.  I’m busted.  I smile a sheepish smile and bolt from the produce section, round the corner to the next aisle with incredible speed, and pretend it never happened.  I stop and stare at a shelf of products I’m not even remotely interested in eating, much less buying, but I look like I’m focused on making a decision.  What’s really going through my mind is that if I breathe slow enough the blood in my flushed cheeks will begin to flow back down into the rest of my body… and…. I cannot wait to get my garden started!  I’m so tired of paying through the nose for produce when I could grow the same thing at home… for so much less!  Okay, so maybe I couldn’t grow them now, but in the summer I could.  I really should start my seeds…

That’s when I realized, nobody (except for maybe the appalled lady in the produce section) can afford not to plant an edible garden!  I’m serious!  Think about it.  When you go to the store, a, one, single, organic green pepper can easily cost between $2 and $3.  Make a meal using 3 or 4 of them and you’re talking $10 to $12 that’s just for the peppers.  That’s not to mention the other ingredients. Yikes!  (And if I haven’t convinced you to convert some of your purchases to organic yet, those conventional peppers aren’t too far behind.)  You can get so much more for so much less money in a garden, or a pot, or a bucket for that matter.

As I’m absorbed in thought about how gardens can solve all the worlds problems, I see this lady, not the produce section lady, but another lady.  Not all that much more friendly looking either.  She’s floating, hovering, covered in dust, no, its dirt, er, um soil, and leaves and straw…  What on earth?!?  She identities herself as the Ghost of Gardens Past.  She takes me by the hand and drags me on a little garden tour.  She shows me my failures.  The planned, but not planted.  The planted, but not watered.  The watered, but not harvested.  The wasted spaces that could have been a home for edible plants, but have nothing.  “Wow…  Right… ” I think to myself, “I guess I shouldn’t be complaining about the prices.  Got it.  Can I continue my shopping now?”  Much to my amazement she disappears.  I start down the next aisle, looking back over my shoulder, wondering this time not if people saw my face, but if they saw this woman, this Ghost.  I’m also checking to make sure she doesn’t pop out of nowhere again. Nobody appears to be alarmed.  I shake it off.

Thinking about my chance meeting, I round the next corner to find a woman covered in produce.  Not again…   But I notice this one is pretty, not angry and haggard looking like the first one.  Peppers hang from her short sleeves, or maybe they are her sleeves.  Broccoli or broccoli-raab looks like flowers in her auburn hair.  I look closer, her dress, the many layers upon layers of greens are… greens!  Oak lettuce, butter lettuce, arugula and spinach.  Uh oh, I’m being whisked away again.  This time we fast forward a couple of months.  I follow this Ghost of the Future Gardens.  The weather is glorious.  The garden centers and nurseries are buzzing with activity, we’re cruising the aisles looking at the transplants, because, back in March it was so unseasonably warm I completely forgot to order seeds, or did I buy them but forgot to plant them?  I don’t recall.  Now I kick myself a little as we look at the price of the green pepper plants.  Really?  Seriously?!?  $4.50, $6 or $7.  “Forget it!”  I think.  “I’ll wait until they go on sale in July.  Or buy peppers at the Farmer’s Market. ”  I love the Farmer’s Market,  so I quickly justify to myself why this make sense.  But the Ghost stops me.  I turn right around and try to grab that plant, but I can’t.  My hand goes right through it like it’s not there.  I’m disturbed.  We move on to the Farmer’s Market it’s mid-July or maybe August.  I see myself across the way.  Buying everything under the sun.  What am I doing?!  “You have a garden at home.  You don’t need all that stuff!”  I yell to myself.  “A little, maybe, but look at that!”  She takes me to the grocery store, where I buy more.  “Look at those tomatoes!  They’re not even ripe!  What are you doing?  Look at the money you’re spending!”  Confused, I look to my Ghost.  She said I never planted a garden… I never planted my seeds… I was too busy enjoying the warm weather in March.  Then she takes me to my family’s gardens, friends gardens… they’re picking cucumbers and tomatoes and peppers!  The peppers!  I’m green with envy.

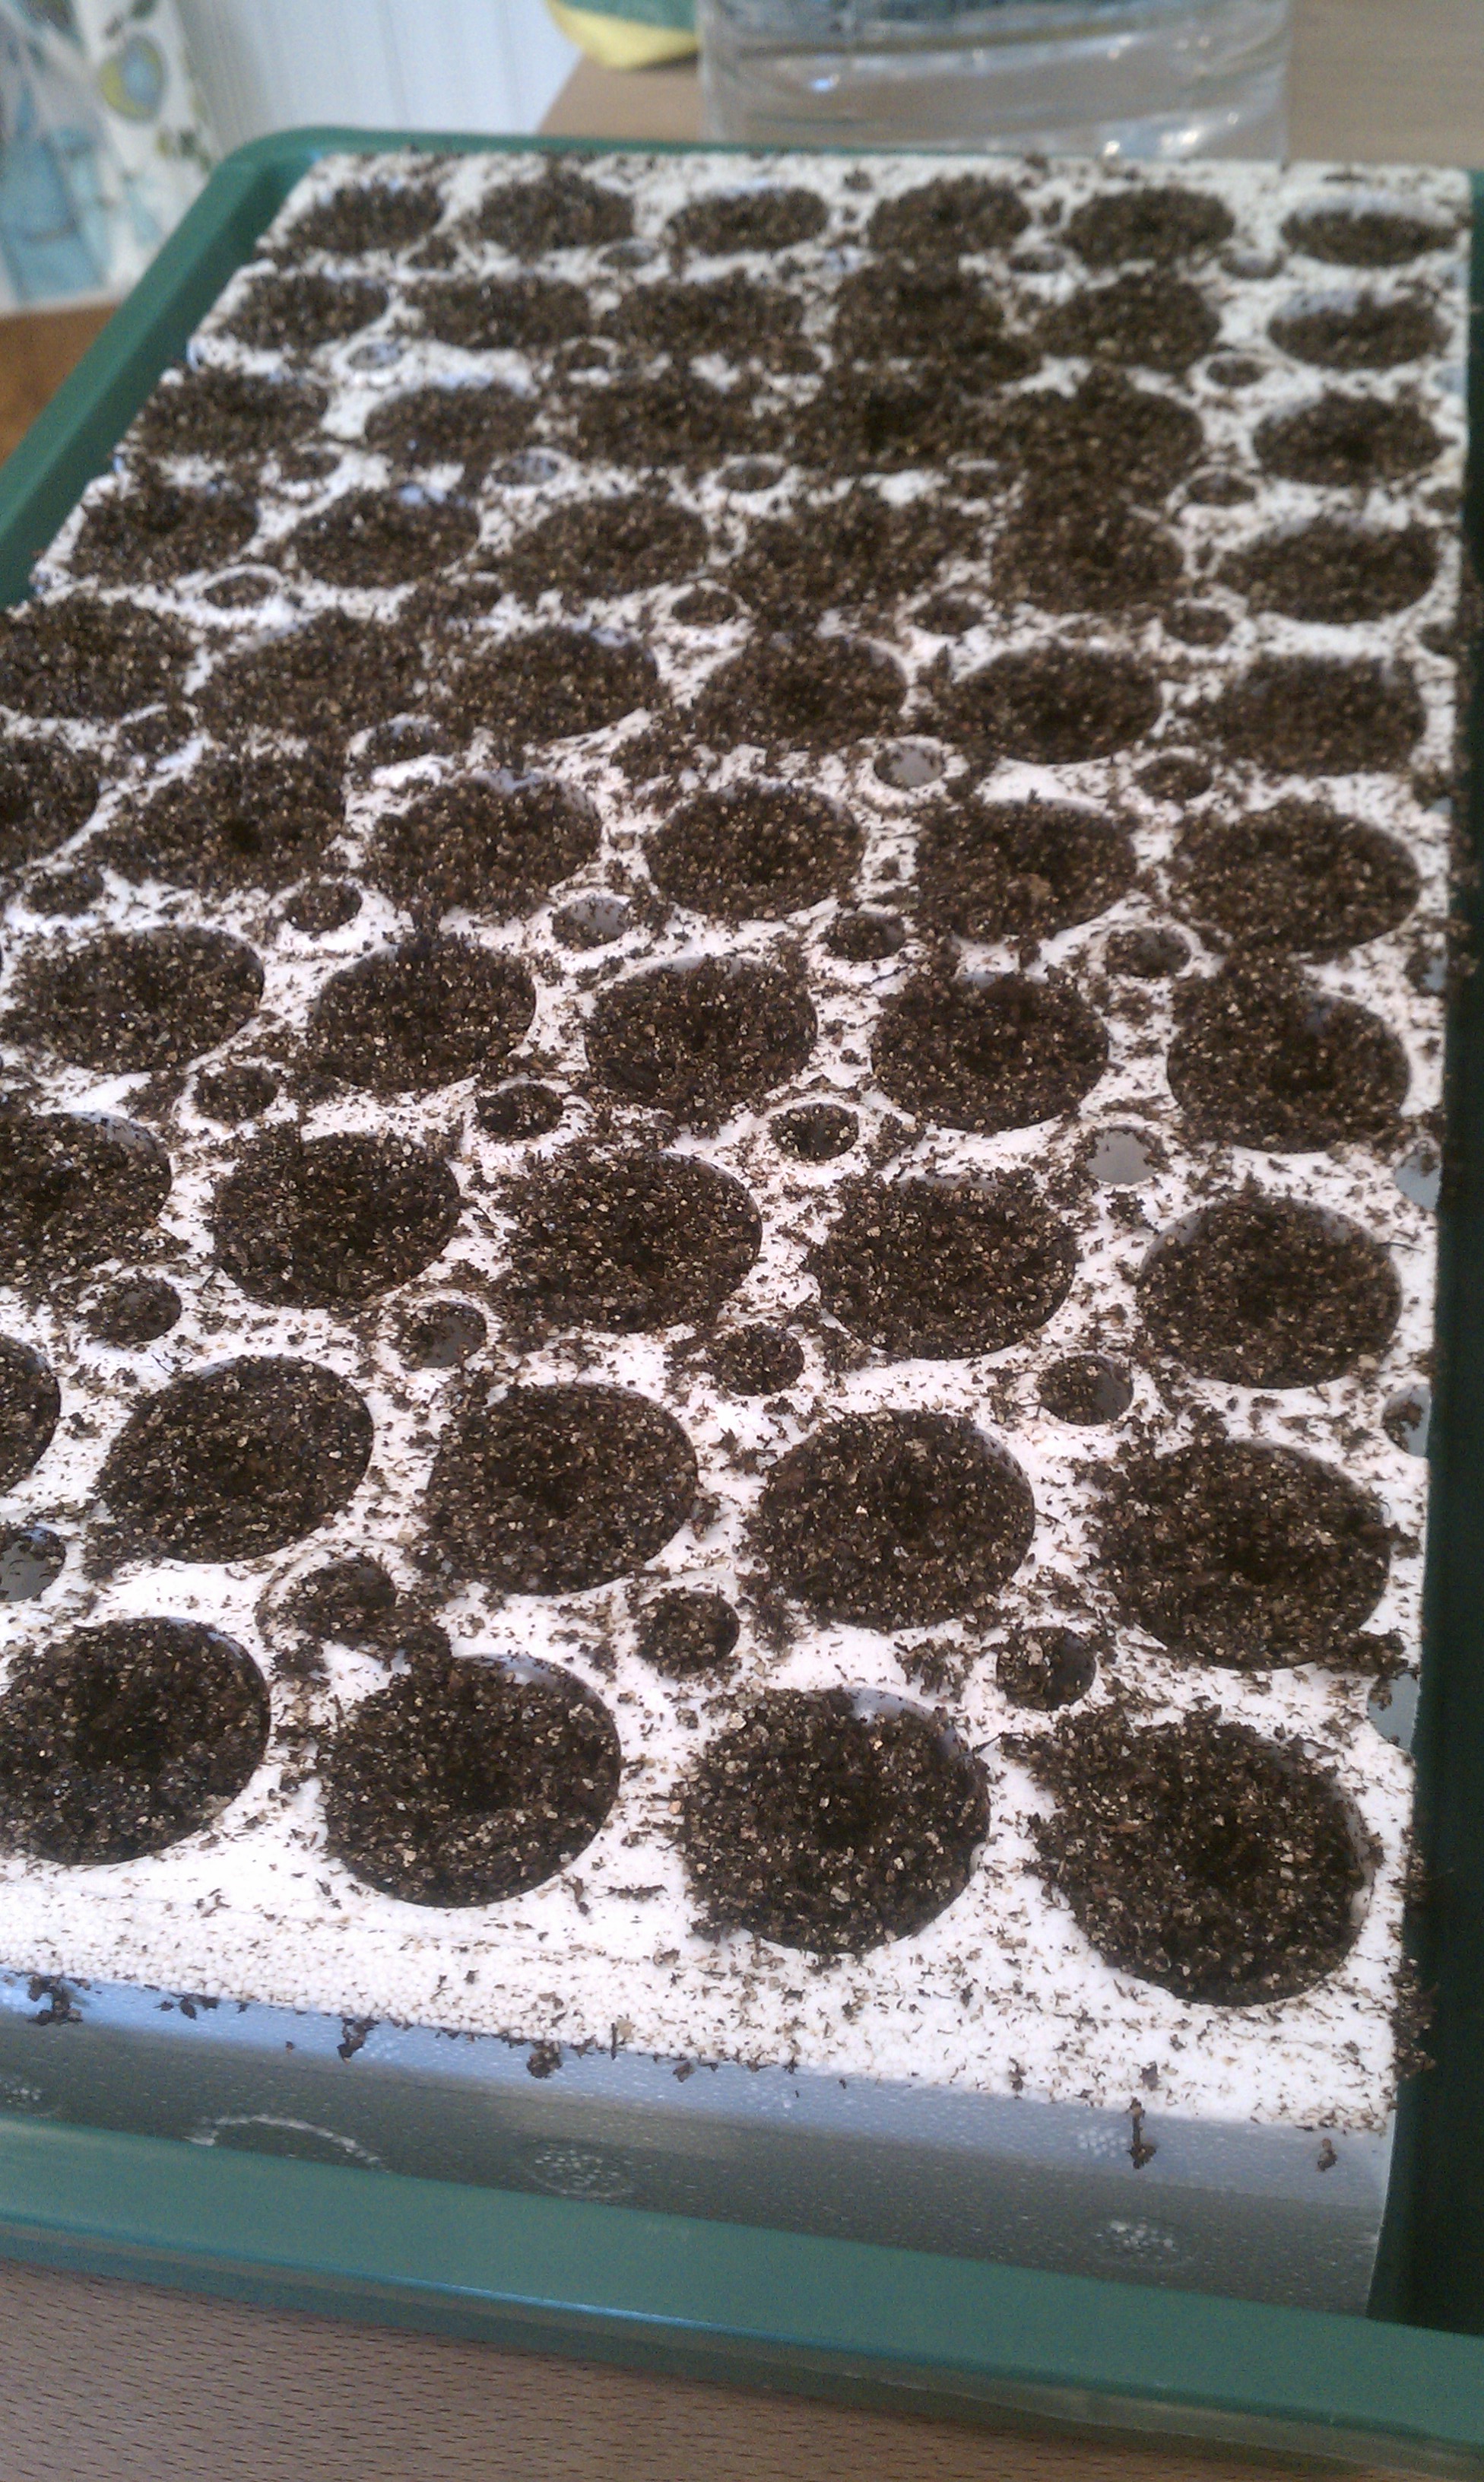
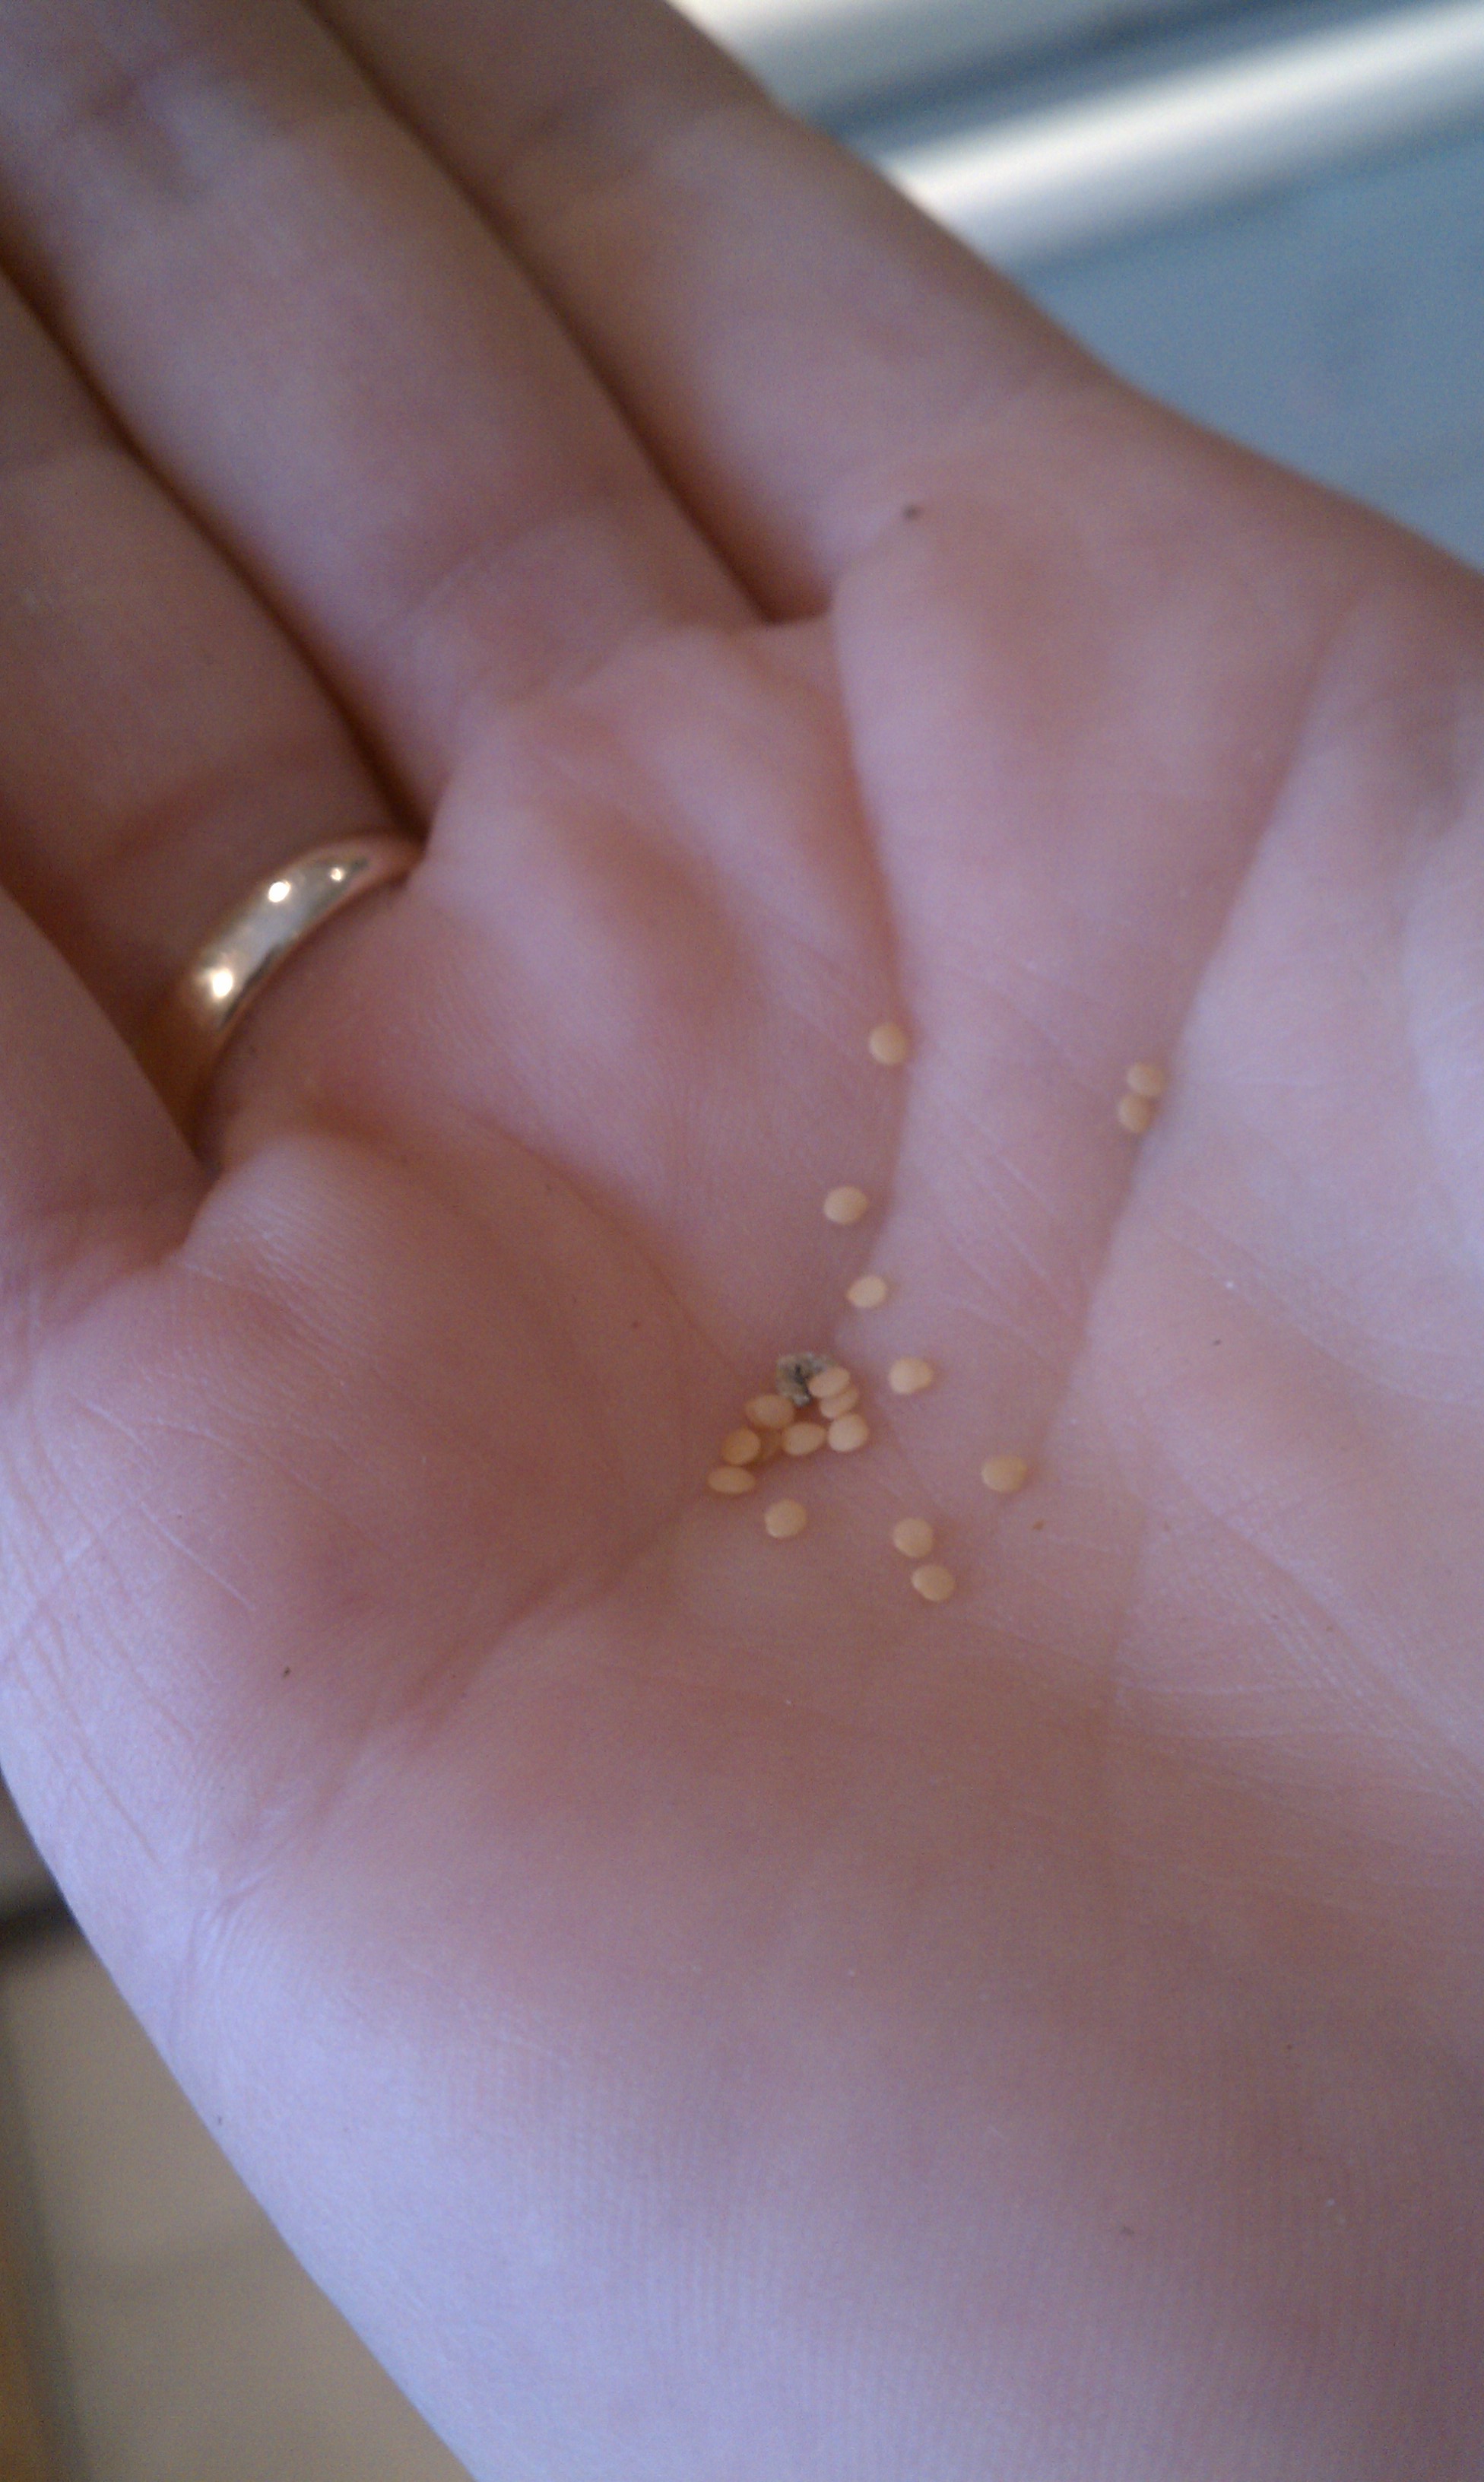
I come to in the refrigerator section.  A chill comes over me.  I think about my dream.  It was a dream, right?  Then I see the peppers in my cart.  I bought 4 peppers for dinner and it cost me $12!  I could buy two pepper plants for the same price and even if I only get two peppers on each plant I’ll break even.  More than that, I’m ahead.  I’m for sure buying transplants if don’t get my seeds started.  But think, I paid $2.75 for a packet of seeds. I could get way more than 2 plants from that packet that I paid $2.75 for and just think of how many peppers I could get!  Now we’re talking.  That’s some serious frugal shopping, right?

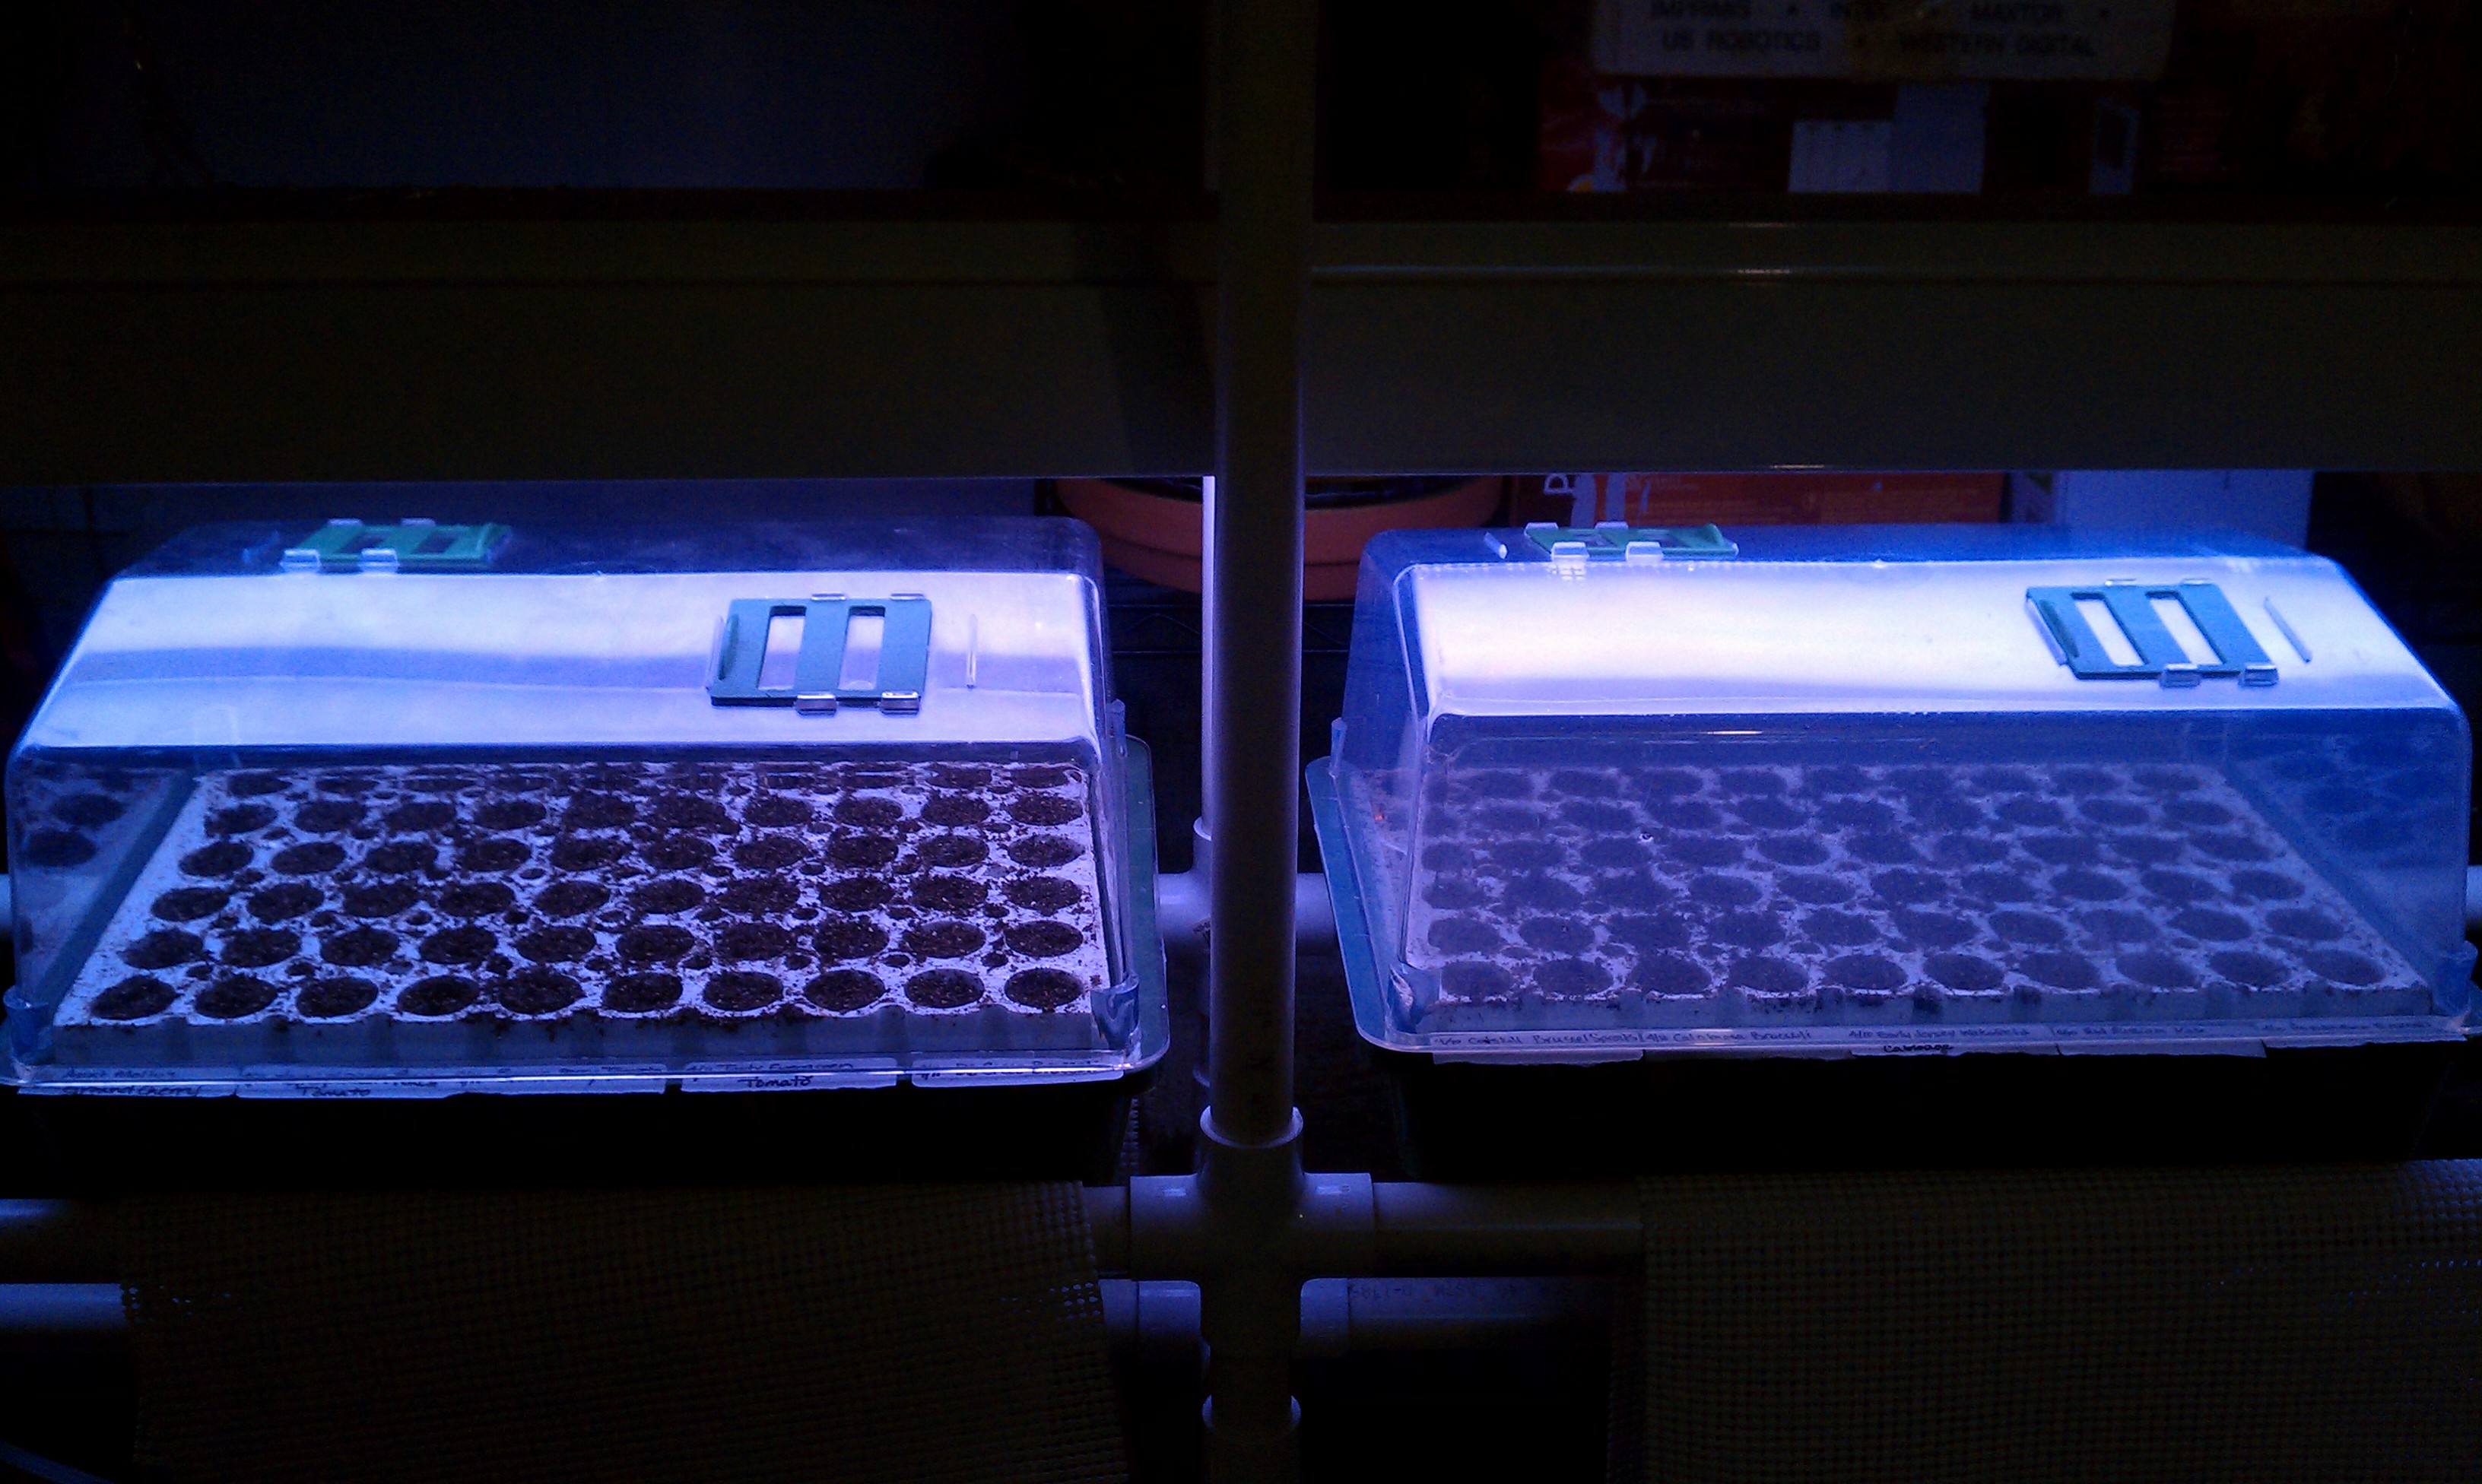
But it’s not over.  The Ghost of Present Gardens comes up the aisle motioning for me to follow.  I look back to make sure she’s looking at me, or more realistically, hoping she’s looking for someone else even though I know better than to believe that at this point.  My new ghost is adorned with seed packets and trowels and garden twine serves as a belt around her burlap potato sac dress.  Somehow the pot she wears upside down for a hat looks appropriate.  She takes my hand and guides me home.  She shows me the seeds and the soil and the plant lights.   All sitting empty.   She points to my garden calendar, to March 20th with my note “start seeds” and an arrow carrying through to April 3rd.  She flips the page to May.  She points to the 15th with my note “Avg. last frost – Plant!”.  She takes me out into my back yard.  The lawn is greening, trees are budding, perennials are popping up everywhere.  Rhubarb is poking up, asparagus is growing in front of my very eyes.  Then she takes me to my veggie garden.  It’s right where I left it last year.  She walks me down the block where neighbors are cleaning out their gardens, getting ready for the season to start.  I say “Hi!  Beautiful weather!  Can you believe this?!?”  They can’t hear me.  She shows me my friends, neighbors even people I don’t know, starting seeds.  She shows me my son.  Telling his teachers and friends how much he loves to grow things, but then tells people we aren’t growing anything from seed this year,  “My mom is too busy.” he says.  Suddenly I feel sick.  I don’t want to see any more.

I wake up to today.  Oh, my gosh! What day is today?  What’s the date?  Today is March 21st, the first official full day of spring.   It’s not too late!  It’s 8 weeks before I normally plant warm season crops like peppers in the garden.  I can plant my seeds!  Woo-hoo!!! HAPPY SPRING EVERYONE!

In case you didn’t follow all of that… the moral of the story is:  Get out there (or in there) and get planting!  Get those seeds started!  And if you don’t “do seeds”  then buy (organic) transplants later this season or you’ll continue to pay huge prices for produce. And don’t forget to keep it all in perspective – all the prices are relative.  Seeds are cheap because we do the work from the beginning.  We take the risk of losing a few.  Transplants cost us a little more because someone else took the risk and nurtured them for the first part of their lives until we buy them.  When buying transplants we take on their costs, loss and overhead to grow them, transport them, etc.  And if we buy at the Farmer’s Markets then they took it all on.  They grew the plants from the beginning until they produced fruit (or veggies) for us to buy.  They deserve what they charge, they’ve earned it.  And the organic producers who supply the grocery stores?  They take on all the risk too.  The extra cash out of our pockets comes from the larger scale… more of everything… more tending, more overhead production costs, more transportation costs, more people costs, not to mention the grocery store or co-op wants a cut too.

So, if you learn nothing else from my crazy co-op experience.  Please take away that you could stash a lot of cash in your pockets this summer by simply planting an edible garden.  Even if it’s just a container of patio tomatoes, think of the bang you’ll get for your buck!  So maybe money doesn’t grow on trees, but plant yourself an edible garden and it will feel like it grows in the garden.

This completes the lesson on why you can’t afford not to plant an edible garden this year.  The green peppers and ghosts in this story were fictional.  The prices reflect current market prices at local distributors.  Any similarity to actual green peppers, ghosts or distributors is purely coincidental, but if it gets you to get dirty and plant some seeds, then it’s not.

Happy Spring and Happy Planting!  Did I mention it’s time to start planting seeds?

Kate

March 9, 2012

Gearing up for starting seeds

“It’s 17 and sunny.”  the morning show host said brightly.  Did I hear him right?  Yikes!  Wasn’t it 55 yesterday?  No, wait, that was Tuesday, or was it Monday?  Oh, well.  Tomorrow is supposed to be in the 50s and looks like 60 is coming a couple of days after that.  But, basketball tournaments haven’t started yet so there’s still time for one more blizzard.

To some this may sound insane, but to those of us who live here, it’s simply called Minnesota.

Bright, sunny mornings make me smile and honestly, I prefer the 10 – 20 range more than the 20s and 30s.  Why? Because when we get into the 30s and get snow-melt the air is damp and as we say in Minnesota “it’s not the cold so much, it’s the dampness, it cuts right through ya”.  Despite the chill in the air I’m so excited to get the garden going.  In March?  Sure!  Okay, technically not outside, although you can sow seeds in snow, I’ve yet to experiment with that and this year is not the year to try considering we’ve been looking at brown grass far more than a white blanket of snow.

Snow or no snow though, it’s almost time to get seeds started inside.  Do you have everything you need?  A sunny window?  Plant Lights?  Seeds?  Seed trays?  Growing medium (soil)? Early March is a good time to get all of these things ready to go: plant lights set up, seeds ordered and delivered, garden calendar and garden journal ready.

Most warm season plants need to be started inside about 6-8 weeks prior to the average last frost.  In our area, that’s anytime between March 20th and April 3rd.  So if you haven’t gotten your supplies together, now’s the time to do it!

Seed catalogs typically start coming in the mail in January.  When they start filling my mailbox, my heart picks up a little speed, a smile crosses my face.  I immediately transport myself from a cold winter day to a warm sunny day in the middle of August, out in the garden with everything at its peak…. picking sun-ripened tomatoes, smelling the scent of basil and thyme as I brush against them on my stroll through the back yard.   And the raspberries!  Hanging there, just waiting to be plucked from their canes and popped into my mouth where the sweet burst of flavor sends tingles of happiness down to my toes.  But alas… it’s not August, it’s March.  But I can dream and so can you.  After all, it’s these dreams, these visions of perfection that get us in the spirit of gardening even when Mother Nature isn’t ready for us to play the soil just yet.

Back to seed catalogs.  If you haven’t ordered seeds… Do. It. NOW!  When perusing catalogs though and making those final decisions, there are a couple of things to keep in mind.  First, make sure the plants you select are suitable for your climate, and by climate, I mean cold hardiness zone.  Minnesota used to range from zone 4b in the south to 2b in the north, but in January 2012, they updated the USDA Plant Hardiness Zone Map to reflect recent temperature changes and shifted Minnesota into a slightly warmer zone.  Our new zones range from 5a in the south to 3a in the north.  So what does this mean?  The plant hardiness zone map is based on the average annual minimum winter temperature.  What does that mean for gardeners?  It’s a tool to help us determine which plants are most likely to thrive in our location.  When looking at seed catalogs, plant catalogs or plant tags in the nursery or garden center it should show the cold hardiness for each (perennial) plant.  For example, say I’m looking through the Seed Savers Exchange catalog (one of my favorites) and as I cruise through the description for “Oregano, Greek” – I see “Perennial in zones 4-9”.  If I live in northern Minnesota, in zone 3a, I think to myself, “nope, not a perennial here” but if I live in southern Minnesota, in zone 5a, I think, “hmm… maybe that’s why my oregano came through the winter last year”.

You typically won’t see a lot of cold hardiness information noted in fruit and vegetable seed catalogs.  Why?  Because the majority of these plants are annuals.  We plant them, grow them, harvest their fruit and they complete their life cycle all in one season.  However, perennial herbs, fruits and vegetables, perennial flowers, as well as trees and shrubs, will include cold hardiness information because they will continue living, growing and producing fruit year after year in the proper growing conditions.  What if you fall outside the perennial zones?  This doesn’t mean you shouldn’t take a shot at growing the plant, it just means you’ll need to think of it as an annual whereas other areas will think of it as a perennial.

The other thing to note, is if you will be growing the plant for its fruit, you want to make sure your climate has enough warm days during the growing season to allow the fruit to mature.  This will also be noted in the catalogs or on seed packets.  They will state “65 days to maturity”  or “75 days from transplant” (“transplant” signals that these need to be started from seed indoors prior to planting outside).  They may state “50 days”, they may state (with peas, for example) “Shell, 50-55 days” or they may state “Edible podded, 60 days”.  Basically what all of this means is that they need to have the number of days (shown on the package or in the catalog) during the growing season (average last frost in the spring until average first frost in the fall) to be able to produce fruit.  Keep in mind if you only have 75 days in your growing season you would be cutting it pretty close to not getting any fruit if you choose something in the 65+ range.  It would be a huge bummer to nurture a plant all summer to run out of warmth before you get fruit.

On to plant light stands.  If you don’t already have one, you can buy them ready-to-assemble or build your own.  Some plant light stands can be pretty darned expensive, I’ve seen them for as high as $800 for the mac daddy down to around $250 for a pretty basic structure.  However, you can build your own for just a little over $100 with hardware store materials and a little handiness.  Mine is built from PVC, which unless you like the look of white plastic in your house it’s not all that pretty, but the plants have yet to complain.

If you’ve never started seeds inside, I’d encourage you to try it.  It’s pretty fun, truly amazing to watch, can be disappointing at times, but be very rewarding and well worth the money you save versus buying transplants later in the season.  At the very least you get to say, “I grew that, from seed!”

The added bonus about starting your own plants from seed, is that if you want to eat local, organic food, there’s really no better way to know exactly where your food came from than to start with an organic seed, grow it in organic soil, provide water, sunlight and feed it with healthy, chemical-free fertilizer (a.k.a compost) until the day you harvest. It doesn’t get any more local or organic than this!

If haven’t tried seed starting and you’re not sure where to start, or if you have and ran into problems please give me a holler, leave a comment or drop me a line and I’d be happy to offer what I can to help you get things growing.

Kate